Building the Foundation: Why Your Network Matters First
When setting up your first smart home, the excitement of unboxing a new smart bulb or video doorbell often overshadows the most critical component of the entire ecosystem: your network foundation. A smart home is only as reliable as the network it operates on. If you attempt to connect thirty Wi-Fi-enabled devices to a standard ISP-provided router, you will inevitably experience dropped connections, unresponsive devices, and severe network congestion. Before you install a single smart switch or camera, you must establish a robust local network and choose the right central hub to orchestrate your devices.
This comprehensive guide will walk you through the essential steps of setting up your first smart home hub and network infrastructure. We will cover router requirements, protocol comparisons, hub selection, and the step-by-step physical and digital configuration required to ensure your home automation runs smoothly for years to come.
Step 1: Assessing and Upgrading Your Network Foundation
Most smart home devices operate on the 2.4GHz Wi-Fi band because it offers superior range and wall penetration compared to the 5GHz or 6GHz bands. However, the 2.4GHz spectrum is highly congested. To support a growing smart home, you need a router capable of handling high client density and, ideally, a mesh network system to eliminate dead zones.
Wi-Fi 6 and Mesh Networks
Upgrading to a Wi-Fi 6 (802.11ax) certified router is highly recommended. Wi-Fi 6 introduces OFDMA (Orthogonal Frequency-Division Multiple Access), which allows the router to communicate with multiple low-bandwidth IoT devices simultaneously, drastically reducing latency. For homes larger than 1,500 square feet, a mesh system is essential.
- Budget Option ($120 - $180): TP-Link Deco X20 (Wi-Fi 6 Mesh). Excellent for apartments and small homes, supporting up to 150 devices.
- Mid-Range Option ($180 - $250): Amazon Eero Pro 6E. Features a dedicated wireless backhaul and built-in Zigbee and Thread radios, acting as a network router and a smart home hub simultaneously.
- Prosumer Option ($350+): UniFi Dream Router or TP-Link Omada. Ideal for advanced users who want to create isolated VLANs (Virtual Local Area Networks) specifically for IoT security.
Pro Tip: Always connect your primary smart home hub to the router via an Ethernet cable. A wired backhaul frees up wireless bandwidth and ensures your automation routines execute instantly, even if the Wi-Fi experiences temporary interference.
Step 2: Choosing the Right Smart Home Hub
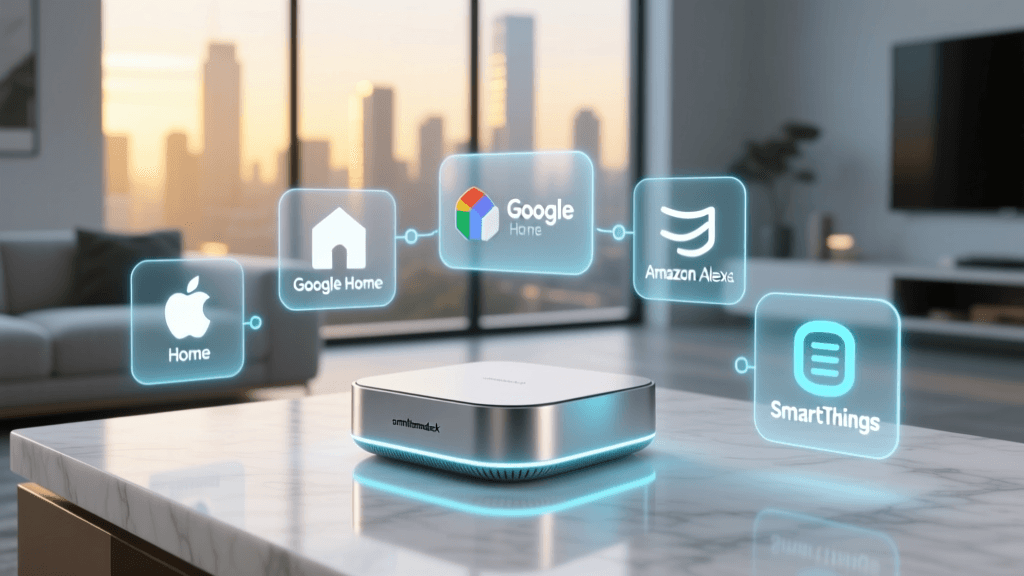
The smart home hub is the brain of your operation. It translates wireless protocols (like Zigbee or Thread) into commands your router and phone can understand, and it processes automation routines locally so they work even if your internet goes down. Choosing the right hub depends heavily on your preferred ecosystem and the devices you plan to buy.
| Hub Model | Supported Protocols | Ecosystem | Price Range | Ideal For |
|---|---|---|---|---|
| Samsung SmartThings Station v2 | Matter, Thread, Zigbee, Wi-Fi | Neutral / Open | $129 | Cross-platform homes, mixing brands |
| Apple HomePod Mini | Thread, Wi-Fi, Bluetooth | Apple HomeKit | $99 | Strict iOS households, privacy focus |
| Amazon Echo Show 8 (3rd Gen) | Matter, Zigbee, Wi-Fi | Amazon Alexa | $149 | Voice-first homes, budget setups |
| Home Assistant Green | Zigbee, Thread (via dongles) | Open Source | $99 | Advanced DIYers, local processing |
If you are just starting and want maximum flexibility without being locked into a single tech giant's ecosystem, a hub that supports the new Matter standard alongside legacy Zigbee is your best investment. The Samsung SmartThings Station or a dedicated Home Assistant box provides the most future-proof foundation.
Step 3: Understanding Wireless Protocols
Smart devices communicate using various wireless languages. Understanding these will dictate which devices you buy and how you place your hub.
- Wi-Fi: High bandwidth, high power consumption. Best for cameras, smart displays, and appliances. Avoid using Wi-Fi for dozens of simple sensors or bulbs, as it will crash your router.
- Zigbee 3.0: Low power, mesh networking. Best for motion sensors, contact sensors, and smart bulbs (like Philips Hue). Requires a hub.
- Z-Wave Plus: Operates on a sub-GHz frequency (908.42 MHz in the US), meaning it never interferes with your Wi-Fi. Excellent range and reliability for smart locks and garage door controllers.
- Thread & Matter: The future of smart homes. Thread is a low-power mesh networking protocol, while Matter is the universal application layer that sits on top of it. According to the Connectivity Standards Alliance, Matter ensures that devices from different manufacturers can communicate seamlessly and locally, reducing cloud dependency.
Chart Analysis: While Wi-Fi boasts the longest single-point range, its high power draw makes it unsuitable for battery-operated sensors. Zigbee and Thread have shorter single-node ranges (30-50 feet through walls), but they form a mesh network. Every plugged-in Zigbee or Thread device acts as a repeater, extending the network's range and reliability throughout your home.
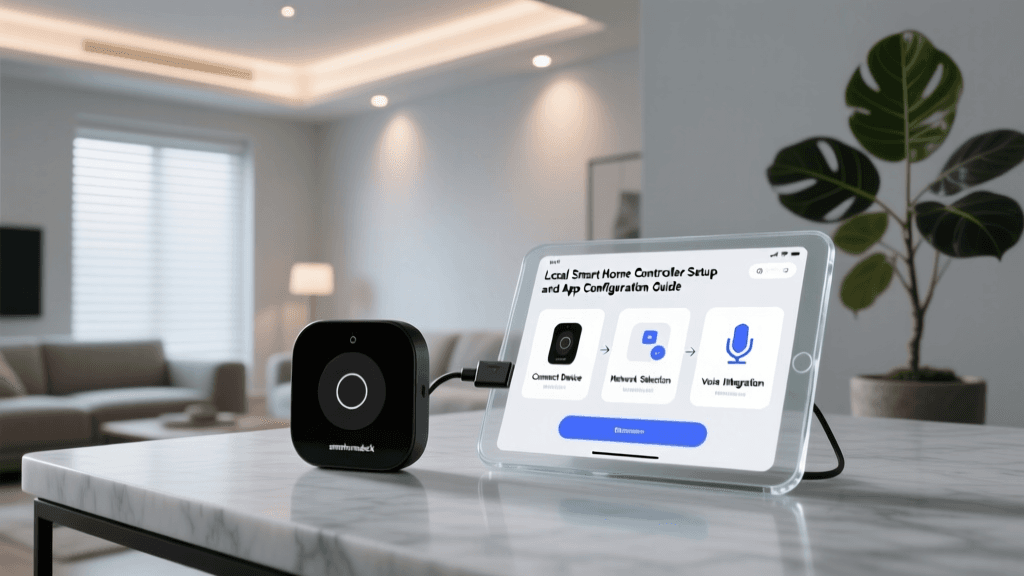
Step 4: Step-by-Step Hub Configuration
Once you have selected your hub and ensured your router is ready, follow these steps for a flawless physical and digital installation.
1. Optimal Physical Placement
Do not hide your smart home hub in a basement closet or behind a metal TV console. Metal and concrete are the enemies of wireless signals. Place your hub in a central, elevated location in your home, such as on a bookshelf in the living room or a hallway console table. If your hub supports Ethernet (like the SmartThings Hub v3 or Home Assistant Green), run a Cat6 cable directly to your primary router or mesh node.
2. Power and Network Connection
Plug the hub directly into a wall outlet or a high-quality surge protector. Avoid using extension cords, which can introduce power noise and cause intermittent reboots. Connect the Ethernet cable, then power the device on. Wait for the LED indicator to turn solid (usually green or blue), which indicates it has successfully acquired an IP address from your router via DHCP.
3. App Pairing and Firmware Updates
Download the manufacturer's companion app (e.g., SmartThings, Apple Home, or the Home Assistant web interface). Create your account and follow the on-screen prompts to add the hub to your network. Crucial Step: Before adding any smart devices, navigate to the hub's settings and force a firmware update. Manufacturers frequently release day-one patches to improve Thread and Matter handshake protocols.
4. Pairing Your First Device
Start with a simple, mains-powered device like a smart plug (e.g., Kasa or Eve Energy) or a smart bulb (e.g., Philips Hue). Put the device into pairing mode (usually by holding the physical button for 5-10 seconds until it blinks). In your hub's app, select 'Add Device' and scan the QR code on the device or its packaging. Because you are using a hub, the device will connect via Zigbee or Thread, keeping your Wi-Fi network uncluttered.
Step 5: Creating Your First Automation Workflow
The true magic of a smart home isn't controlling devices with your phone; it's the home controlling itself. Let's set up a foundational 'Good Morning' routine.
- Trigger (The 'IF'): Set the trigger to a specific time (e.g., 7:00 AM on weekdays) OR a sensor event (e.g., Bedroom Motion Sensor detects movement after 6:00 AM).
- Conditions (The 'AND'): Add a condition so the routine doesn't fire if you are on vacation. Set the condition to 'User Presence: Home'.
- Actions (The 'THEN'):
- Turn on Kitchen Under-Cabinet Lights to 50% brightness, warm white (2700K).
- Adjust Smart Thermostat (e.g., Ecobee or Nest) to 72°F.
- Start the smart coffee maker (via a heavy-duty smart plug).
- Have your hub read out the daily weather forecast via a connected smart speaker.
By processing this routine locally on your hub, the lights will turn on instantly when you walk into the kitchen, even if your ISP is experiencing an outage.
Step 6: Security and Power Redundancy
A smart home that goes offline during a power outage or gets hacked is a liability, not a luxury. Implementing basic security and redundancy measures is non-negotiable for a responsible DIY installer.
IoT Network Segregation (VLANs)
Many cheap, off-brand smart devices lack robust onboard security. If a malicious actor compromises a $10 smart plug, they could potentially use it as a bridge to access your personal computers or NAS drives. If your router supports it (like prosumer gear from Ubiquiti or TP-Link Omada), create a dedicated 'IoT VLAN'. This isolates your smart home devices on a separate network that can access the internet but cannot communicate with your primary devices.
Power Backup (UPS)
Smart locks, garage doors, and security cameras are useless during a blackout if your router and hub are dead. Invest in an Uninterruptible Power Supply (UPS). A compact unit like the CyberPower CP600SLG (approx. $80) can keep your modem, mesh router node, and smart home hub running for 4 to 8 hours during a power outage, ensuring your security automations and remote access remain active.
Firmware and Password Hygiene
According to the National Institute of Standards and Technology (NIST), IoT devices are frequent targets for botnets due to default passwords and unpatched firmware. Never leave a hub or device on its factory default password. Use a password manager to generate unique, complex passwords for your hub admin panel and your primary Wi-Fi network. Furthermore, enable automatic firmware updates for your hub and router to ensure security patches are applied the moment they are released.
Conclusion: Scaling Your Smart Home
Setting up your first smart home hub and network foundation requires a bit of upfront planning, but it pays massive dividends in reliability and ease of use. By investing in a Wi-Fi 6 mesh system, choosing a hub that supports modern protocols like Matter and Thread, and securing your network with VLANs and UPS backups, you are building a resilient ecosystem. Start small with a few sensors and smart plugs, master your automation workflows, and gradually expand your setup room by room. With a solid foundation in place, your home will truly work for you.