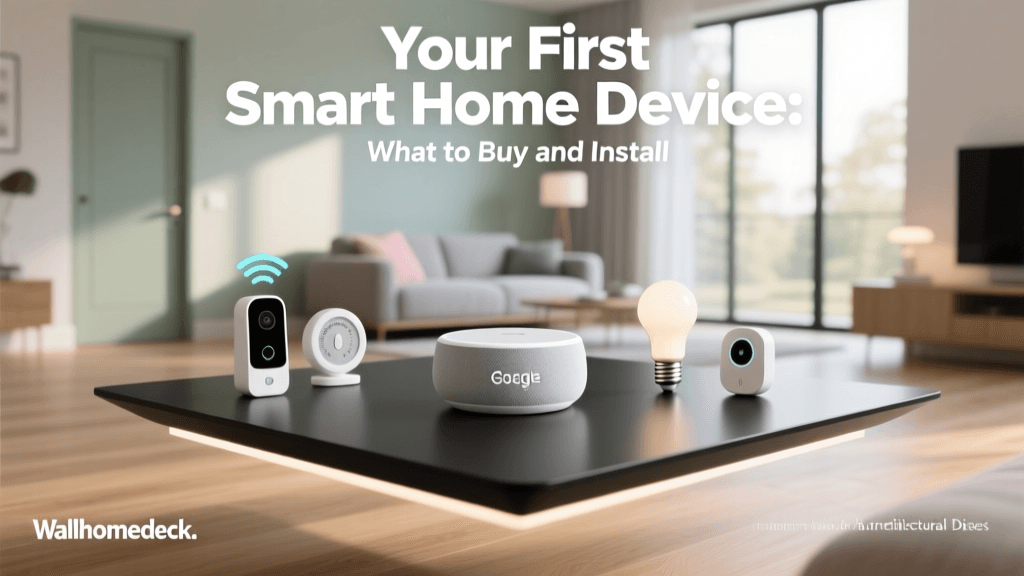
The Dilemma of the First Smart Home Device
Entering the smart home ecosystem can feel like stepping into a labyrinth of protocols, hubs, and compatibility charts. With thousands of connected gadgets on the market, the most common question for DIY installers and homeowners is: Which smart device should I buy and install first? The answer depends on your immediate goals, budget, and technical comfort level. However, choosing the right entry point is critical. A frustrating first installation can deter you from expanding your system, while a seamless setup builds confidence and lays the groundwork for a fully automated home.
In this comprehensive guide, we will break down the top contenders for your first smart home device, compare their installation requirements, and provide a step-by-step walkthrough for the ultimate beginner-friendly category. Whether you are looking to save energy, enhance security, or simply automate your morning coffee, this guide will help you make an informed, practical decision.
Top Contenders for Your First Smart Device
Smart Plugs: The Ultimate Gateway
Smart plugs are widely considered the best entry point into home automation. They are inexpensive, require zero electrical wiring, and instantly make "dumb" appliances smart. By plugging a lamp, fan, or coffee maker into a smart plug (such as the TP-Link Kasa EP25 or Wyze Plug), you gain app-based control, scheduling, and voice integration. The primary limitation is that they only control the flow of electricity; they cannot change the color of a bulb or adjust the speed of a multi-setting appliance.
Smart Bulbs: Ambiance and Automation
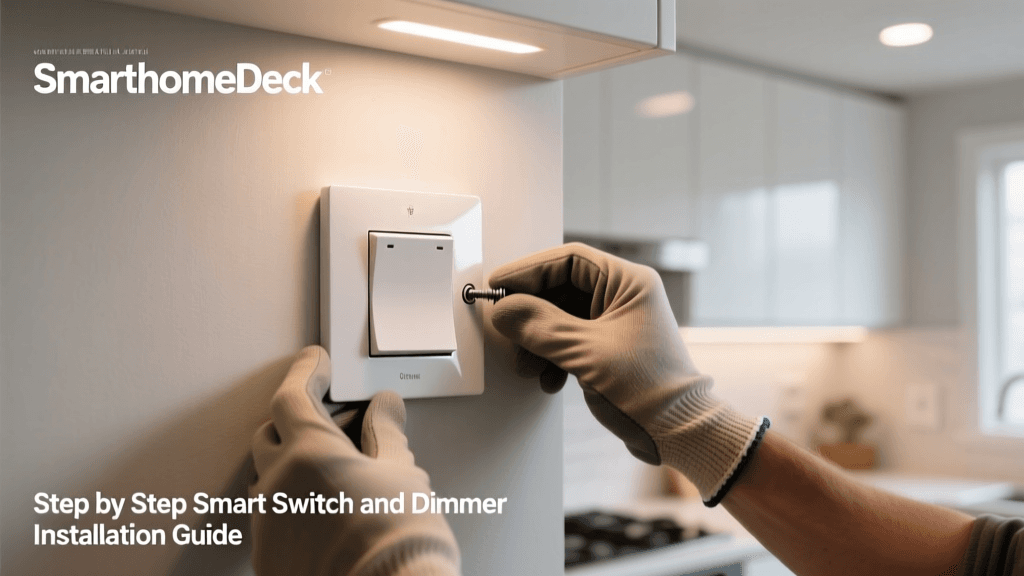
If lighting ambiance is your priority, smart bulbs like Philips Hue or LIFX are fantastic first purchases. They allow for color changing, dimming, and circadian rhythm scheduling. However, smart bulbs introduce a unique behavioral hurdle: the physical wall switch must remain "on" at all times for the bulb to stay connected to the network. For whole-home setups, you may eventually need to bypass the physical switch or install smart switches instead, which requires basic electrical wiring knowledge.
Smart Thermostats: The Energy Saver
For homeowners focused on ROI and energy efficiency, a smart thermostat (like the Ecobee SmartThermostat or Google Nest Learning Thermostat) is a powerful first device. According to the U.S. Department of Energy, smart thermostats can significantly reduce heating and cooling costs by learning your schedule and optimizing HVAC usage. While the upfront cost is higher, the installation is straightforward for most modern homes with a dedicated C-wire (common wire), though it does require turning off the breaker and handling low-voltage wiring.
Comparison Chart: Cost, Installation, and Impact
| Device Type | Average Entry Cost | Installation Difficulty | Hub Required? | Best For |
|---|---|---|---|---|
| Smart Plug | $12 - $20 | Very Easy (Plug & Play) | No (Wi-Fi) | Beginners, renters, appliance automation |
| Smart Bulb | $15 - $50 | Easy (Screw in) | Sometimes (Zigbee/Hue) | Lighting scenes, ambiance, renters |
| Smart Switch | $30 - $60 | Moderate (Wiring required) | No (Wi-Fi/Z-Wave) | Homeowners, permanent lighting control |
| Smart Thermostat | $100 - $250 | Moderate (Low-voltage wiring) | No (Wi-Fi) | Energy savings, climate control |
Visualizing the Entry Cost of Smart Home Devices
When budgeting for your first smart home setup, it is helpful to visualize the barrier to entry. The chart below illustrates the average starting cost for the most popular device categories.
Average Entry Cost by Device Type
Step-by-Step: Installing Your First Smart Plug
Because smart plugs offer the highest reward-to-effort ratio, we recommend them as the definitive first device. Here is a detailed, hands-on guide to installing and configuring a standard Wi-Fi smart plug.
Step 1: Physical Placement and Network Check
Before unboxing, identify the appliance you want to automate. Ensure the appliance has a physical toggle switch that can be left in the "ON" position (like a lamp or a coffee maker). Next, check your Wi-Fi router. Most smart plugs operate exclusively on the 2.4 GHz Wi-Fi band. This frequency is used because it offers better wall penetration and requires less bandwidth, which is ideal for IoT devices. If your router uses a combined SSID (same name for 2.4 GHz and 5 GHz), you may need to temporarily separate them in your router settings or walk far enough from the router during setup to force your phone onto the 2.4 GHz band.
Step 2: App Download and Account Creation
Download the manufacturer’s app (e.g., Kasa, Wyze, or Tapo). Create an account using a strong, unique password. Pro Tip: Always enable Two-Factor Authentication (2FA) immediately to protect your home network from unauthorized access.
Step 3: Provisioning the Device
- Plug the smart plug into a wall outlet. The LED indicator should begin blinking rapidly, indicating pairing mode.
- Open the app and tap "Add Device".
- Enter your 2.4 GHz Wi-Fi credentials. The app will send the network details to the plug via Bluetooth or a temporary Wi-Fi direct connection.
- Wait 30-60 seconds for the plug to connect to your router and the manufacturer's cloud servers.
Step 4: Naming and Grouping
Assign a clear, logical name to the device (e.g., "Living Room Lamp" or "Kitchen Coffee Maker"). Avoid generic names like "Plug 1," as this will cause confusion when you start building voice commands and automation routines later.
Understanding Smart Home Protocols
As you move beyond your first plug, you will encounter different communication protocols. Understanding these is crucial for a stable multi-room setup.
- Wi-Fi: Connects directly to your router. Great for a few devices, but can congest your network if you add dozens of them.
- Zigbee / Z-Wave: Low-power mesh networks that require a dedicated hub (like the Samsung SmartThings Hub or Amazon Echo with built-in Zigbee). They do not slow down your Wi-Fi and are ideal for sensors and locks.
- Matter: The new industry-standard protocol backed by Apple, Google, and Amazon. Matter devices use Thread (a low-power mesh network) or Wi-Fi, promising seamless cross-platform compatibility without relying on cloud servers.
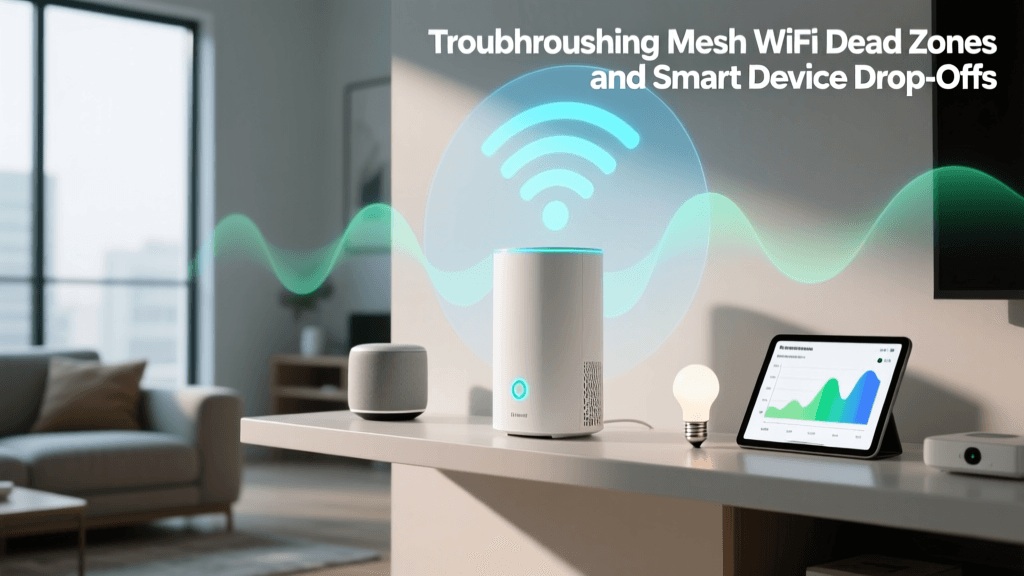
Building a Network Foundation for Future Devices
Your first smart device is only as reliable as the network it connects to. Many DIY installers make the mistake of overloading a standard ISP-provided router with 30+ IoT devices, leading to dropped connections and offline devices.
Installer Tip: If you plan to expand beyond 10 smart devices, consider upgrading to a Mesh Wi-Fi system (like Eero, TP-Link Deco, or Netgear Orbi). Many mesh systems allow you to create a dedicated "IoT Network" or Guest Network specifically for your smart home devices, isolating them from your personal computers and phones for enhanced security and bandwidth management.
Voice Assistant Integration and Automation Workflows
Once your first device is online, the real magic happens when you integrate it with a voice assistant and create automation workflows.
Linking to Alexa, Google Home, or Apple HomeKit
Open your preferred voice assistant app. Navigate to "Skills" (Alexa) or "Works with Google" and link the account you created in Step 2. Once linked, run a device discovery. You can now test your installation by saying, "Hey Google, turn on the Living Room Lamp."
Creating Your First Routine
Automation transforms a remote-controlled device into a truly "smart" device. Let's create a "Good Morning" routine:
- Open your Alexa or Google Home app and navigate to Routines.
- Set the Trigger: Time of day (e.g., 6:30 AM) or a voice phrase ("Start my morning").
- Set the Actions: Turn on the "Kitchen Coffee Maker" smart plug. Wait 5 minutes. Turn on the "Bedroom Lamp" smart plug to 50% brightness.
- Save and test the routine.
Troubleshooting Common Setup Issues
Even the easiest installations can hit snags. Here is how to troubleshoot the most common first-time setup errors:
- "Device not found during setup": This is almost always a 2.4 GHz vs 5 GHz issue. Ensure your phone is connected to the 2.4 GHz band, or disable 5 GHz temporarily in your router admin panel.
- "Incorrect Password": Smart home apps often struggle with special characters in Wi-Fi passwords. If setup fails repeatedly, try changing your Wi-Fi password to alphanumeric characters only, at least for the initial setup phase.
- Device keeps dropping offline: The device may be too far from the router, or the wall outlet may have poor clearance causing the plug's internal antenna to be shielded. Try moving the device closer to the router to rule out hardware failure.
- Firmware Update Loops: If a device gets stuck updating, perform a hard reset (usually by holding the physical button on the plug for 10-15 seconds until it blinks rapidly) and start the provisioning process over.
Security Best Practices for New Installers
Connecting devices to the internet introduces cybersecurity considerations. When expanding into major home systems, always prioritize certified and secure hardware. For instance, when upgrading to smart HVAC controls, look for the ENERGY STAR certification, which not only guarantees energy efficiency but also mandates strict data encryption and security standards for connected devices.
Always change default passwords, keep your router firmware updated, and disable remote access features (like UPnP) on your router unless explicitly required by a specific device.
Conclusion: Taking the First Step
Choosing your first smart home device is about building momentum. A smart plug offers an immediate, low-risk victory that teaches you the fundamentals of app provisioning, network requirements, and automation logic. Once you have successfully automated your first lamp or coffee maker, the transition to smart bulbs, thermostats, and whole-home security systems becomes a logical, manageable next step. Start small, secure your network, and enjoy the convenience of a home that works for you.