The Foundation of a Reliable Smart Home
When most people decide to build their first smart home, they immediately start shopping for flashy gadgets: color-changing bulbs, smart locks, and automated blinds. However, experienced DIY installers know that buying devices before establishing a robust network and hub infrastructure is a recipe for frustration. A smart home is only as reliable as the network it operates on. If your foundation is weak, your lights will lag, your security cameras will drop offline, and your automated routines will fail when you need them most.
Setting up your first smart home requires a strategic approach to network topology, wireless spectrum management, and hub selection. In this comprehensive installation guide, we will walk you through the exact steps to build a resilient, low-latency smart home foundation. From upgrading to a Wi-Fi 6 mesh system and configuring IoT network segmentation to selecting a future-proof hub that supports the new Matter and Thread protocols, this guide covers everything you need to know before you wire your first device.
Step 1: Building a Robust Mesh Network Foundation
The standard router provided by your Internet Service Provider (ISP) is rarely equipped to handle the sheer volume of concurrent connections required by a modern smart home. While a laptop or smartphone actively streams heavy data, smart home devices maintain dozens of low-bandwidth, persistent connections. When you add 30 to 50 smart bulbs, switches, and sensors to a legacy router, its CPU and RAM quickly bottleneck, leading to dropped packets and unresponsive devices.
To solve this, your first installation step should be deploying a Mesh Wi-Fi system with Wi-Fi 6 (802.11ax) capabilities. According to the Wi-Fi Alliance, Wi-Fi 6 introduces OFDMA (Orthogonal Frequency-Division Multiple Access), a technology that allows a router to communicate with multiple low-bandwidth IoT devices simultaneously within a single transmission window. This drastically reduces network congestion and latency.
Choosing the Right Mesh Hardware
For a beginner to intermediate smart home (up to 60 devices), a two-node or three-node mesh system is usually sufficient. Here are the top recommendations for your first setup:
- Eero Pro 6E (Approx. $400 for a 2-pack): Excellent for beginners. The Eero app makes setup incredibly simple, and it includes a built-in Zigbee radio, meaning it can double as a smart home hub for compatible devices like Philips Hue or Aqara sensors.
- TP-Link Deco XE75 (Approx. $350 for a 2-pack): Offers Wi-Fi 6E support, utilizing the new 6GHz band for wireless backhaul between nodes. This ensures that your smart home commands don't compete with your 4K Netflix streams for bandwidth.
- ASUS ZenWiFi XT9 (Approx. $450 for a 2-pack): Ideal for advanced DIYers who want granular control over their network settings, including the ability to create isolated VLANs for IoT security.
Node Placement and Backhaul Strategy
When installing your mesh nodes, avoid placing them in kitchens or near large metal appliances, which can cause severe signal degradation. If your home has Ethernet drops in the walls, use them to create a 'wired backhaul' by connecting the mesh nodes via Ethernet cables. This frees up the wireless spectrum entirely for your devices. If you must use a wireless backhaul, ensure that nodes are placed no more than 30 feet apart, with a clear line of sight through standard drywall.
Step 2: Selecting Your Primary Smart Hub
The smart hub is the brain of your operation. It processes your automation routines, translates different wireless protocols (like Zigbee, Z-Wave, and Thread), and provides a unified interface for your smartphone. When setting up your first smart home, you must choose between cloud-dependent hubs and local-processing hubs.
Cloud hubs rely on remote servers to process commands. If your internet connection drops, your smart switches may stop working entirely. Local hubs process commands directly inside your home, ensuring near-instant latency and continued operation during internet outages.
| Hub Ecosystem | Processing Type | Protocol Support | Estimated Cost |
|---|---|---|---|
| Apple HomePod mini | Local / Cloud Hybrid | Wi-Fi, Bluetooth, Thread | $99 |
| Amazon Echo (4th Gen) | Cloud-Dependent | Wi-Fi, Bluetooth, Zigbee, Matter | $99 |
| Samsung SmartThings Station | Cloud-Dependent | Wi-Fi, Thread, Matter | $79 |
| Home Assistant Green | 100% Local | Wi-Fi, Ethernet (Requires USB dongles for Zigbee/Thread) | $99 |
For your very first setup, the Amazon Echo (4th Gen) or the Apple HomePod mini are the most accessible entry points. They feature simple plug-and-play installation and act as Thread Border Routers, which we will discuss later. However, if you are technically inclined and prioritize privacy and speed, investing in a Home Assistant Green box will give you ultimate local control without requiring advanced coding knowledge.
Step 3: Understanding Hub Capacity and Ecosystem Limits
A common mistake first-time installers make is overwhelming a single hub with too many devices. Every hub has a maximum routing capacity, and exceeding it leads to 'mesh network collapse,' where devices randomly drop off the network and fail to reconnect.
Below is a visualization of the maximum recommended IoT devices per major hub ecosystem. Keep in mind that these numbers assume a healthy network environment with minimal wireless interference.
If you plan to install smart bulbs in every socket and sensors on every door (easily pushing past 200 devices), you will need to rely on a robust Zigbee mesh network where the devices themselves act as repeaters, or invest in a local server like Home Assistant running on a dedicated mini-PC with ample RAM and a high-powered coordinator dongle.
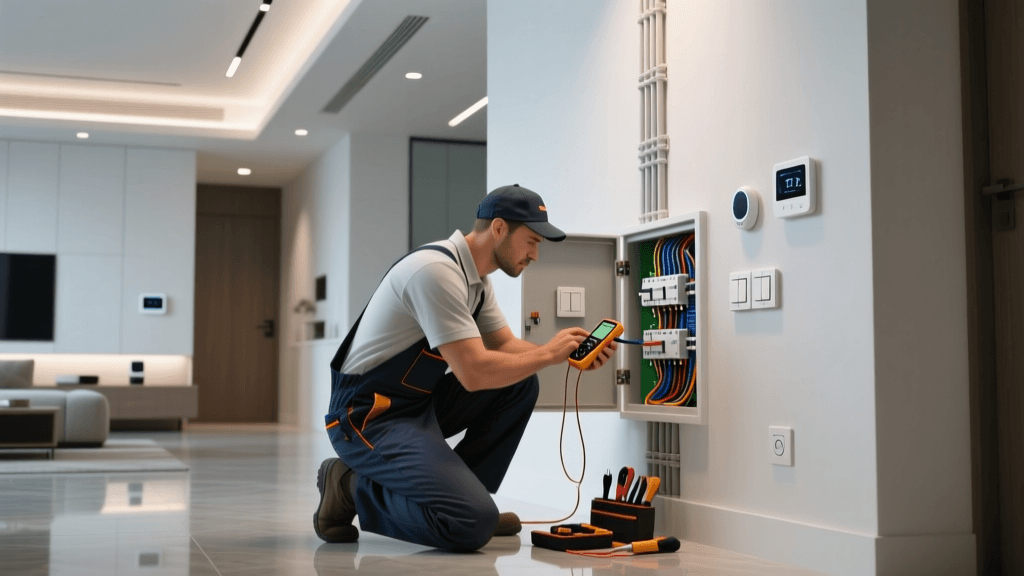
Step 4: Physical Installation and Interference Mitigation
Where you physically plug in your hub and Zigbee/Z-Wave coordinators matters immensely. Most smart home devices (excluding cameras and high-bandwidth appliances) operate on the 2.4GHz wireless spectrum. This includes Wi-Fi, Bluetooth, Zigbee, and even your microwave oven.
The 2.4GHz spectrum is incredibly crowded. If your Wi-Fi router and your Zigbee hub are transmitting on overlapping channels, they will cause destructive interference, resulting in smart switches that take 3 to 5 seconds to turn on.
The Golden Rule of Channel Separation
To mitigate this during installation, you must manually configure your router and hub channels so they do not overlap:
- Set your Wi-Fi 2.4GHz network to Channel 1, 6, or 11. (Channel 1 is preferred for smart homes).
- Set your Zigbee Hub to Channel 15, 20, or 25. Zigbee channels are offset differently than Wi-Fi channels. By placing Zigbee on Channel 15 or 20, it sits perfectly in the 'empty space' between Wi-Fi Channel 1 and Channel 6.
- Keep hubs away from USB 3.0 ports. Poorly shielded USB 3.0 cables and ports emit wideband noise specifically in the 2.4GHz range. Never plug your Zigbee or Thread USB coordinator directly into a Raspberry Pi or router without a 3-foot USB extension cable to move it away from the noise source.
Step 5: Securing Your Network via Segmentation
Smart home devices are notoriously vulnerable to cyber threats. Many budget IoT sensors and smart plugs lack basic encryption and receive infrequent firmware updates. If a malicious actor compromises a cheap smart plug, they could potentially use it as a bridge to access your personal computers and NAS drives on your main network.
The National Institute of Standards and Technology (NIST) strongly recommends network segmentation for IoT environments to limit the blast radius of a potential security breach.
How to Set Up an IoT VLAN or Guest Network
If your mesh router supports Virtual Local Area Networks (VLANs) or a dedicated IoT network profile, use it. Here is the standard setup workflow:
- Main Network (WPA3 Secured): Reserve this for your smartphones, laptops, smart TVs, and primary smart hubs.
- IoT Network (WPA2/WPA3, Client Isolation Enabled): Connect all smart bulbs, plugs, and basic sensors here. Enable 'AP Isolation' or 'Client Isolation' if available. This prevents IoT devices from talking to each other, forcing them to only communicate outbound to the cloud or to your primary hub.
- Camera Network (Optional): If you use Wi-Fi security cameras, place them on a separate VLAN that allows outbound internet access (for cloud recording) but blocks inbound local access, preventing local snooping.
When configuring your hub to bridge these networks, ensure the hub resides on the Main Network and has firewall rules allowing it to discover devices on the IoT subnet via mDNS or SSDP protocols.
Step 6: Embracing Matter and Thread Border Routers
As you build your first smart home, you will inevitably encounter the 'Matter' logo on new device packaging. Matter is the new universal smart home language, backed by Apple, Amazon, Google, and Samsung. It allows a smart lock bought for Amazon Alexa to be seamlessly transferred to Apple HomeKit without changing the hardware.
However, Matter is just the application layer. Underneath, it relies on a networking protocol called Thread. Unlike Wi-Fi, Thread is a low-power, self-healing mesh network designed specifically for battery-operated devices like door sensors and smart locks.
According to the Connectivity Standards Alliance, Thread devices do not connect directly to your Wi-Fi router. Instead, they connect to a 'Thread Border Router.' When setting up your home, you must ensure you have at least two Thread Border Router devices plugged into the wall to create a redundant mesh. Excellent Thread Border Routers include the Apple TV 4K (3rd Gen), the Amazon Echo (4th Gen), and the Nest Hub Pro. By placing one in the living room and one in the bedroom, you ensure that a battery-powered Thread door sensor will always have a low-latency path back to your main hub.
Finalizing Your Setup and Automation Workflows
Once your mesh network is broadcasting, your hub is centrally located on a USB extension cable, and your IoT VLAN is secured, you are ready to pair your first devices. Always start by pairing your smart switches and plugs that act as Zigbee or Z-Wave repeaters. Build your 'mesh backbone' first by installing wired devices throughout the home. Only after the backbone is established should you pair battery-operated sensors, ensuring they have a strong, nearby repeater to connect to.
Setting up your first smart home hub and network is an investment in reliability. By taking the time to properly install your infrastructure, separate your wireless channels, and secure your network topology, you will create a smart home that responds instantly, operates securely, and scales effortlessly as your automation needs grow.