Introduction to the Smart Home Brain
Setting up your first smart home is an exciting journey into modern convenience, energy efficiency, and automated security. However, many beginners make the critical mistake of buying a dozen Wi-Fi-enabled devices without a central coordinator. While Wi-Fi is excellent for high-bandwidth tasks like streaming video, it is notoriously inefficient for low-power, always-on smart home sensors and switches. Connecting dozens of smart bulbs and plugs directly to your primary Wi-Fi router will quickly overwhelm its IP address allocation table, leading to dropped connections, laggy response times, and network instability.
This is where a dedicated smart home hub comes in. Think of the hub as the central nervous system or the 'brain' of your smart home. It handles the localized communication between your devices, processes automation routines without relying on cloud servers, and bridges the gap between different wireless protocols. In this comprehensive guide, we will walk you through selecting the right hub, understanding the underlying wireless protocols, physically installing the device, and configuring your first automated ecosystem.
Understanding Smart Home Protocols: Matter, Zigbee, and Thread
Before purchasing a hub, it is essential to understand the wireless languages your devices will use to communicate. The smart home industry is currently undergoing a massive unification effort, but legacy and transitional protocols are still heavily in use.
Zigbee
Zigbee is a low-power, mesh-networking protocol that has been the backbone of smart homes for over a decade. It operates on the 2.4 GHz frequency and allows devices to pass signals from one to another, extending the range of your network. According to the Connectivity Standards Alliance, Zigbee remains one of the most reliable and widely supported protocols for battery-operated sensors and smart lighting due to its incredibly low power consumption.
Thread
Thread is the modern successor to Zigbee. Built on IPv6, Thread allows smart home devices to have their own IP addresses on a low-power mesh network. This means Thread devices can communicate directly with border routers (like modern smart speakers) without needing a proprietary bridge. The Thread Group highlights that Thread's self-healing mesh network ensures that if one device loses power, the network automatically reroutes data through neighboring devices, ensuring rock-solid reliability.
Matter
Matter is not a wireless protocol itself; rather, it is an application layer that runs on top of Thread and Wi-Fi. Backed by Apple, Amazon, Google, and Samsung, Matter ensures that a device bought from one brand will seamlessly integrate with a hub from another. The Connectivity Standards Alliance developed Matter to eliminate the ecosystem lock-in that historically frustrated smart home adopters.
Choosing Your First Smart Home Hub
For a beginner, the best hub is often one that doubles as a device you already need, such as a smart speaker or a streaming box. Below is a comparison of the top entry-level hubs that support modern mesh protocols.
| Hub Model | Protocol Support | Best Ecosystem | Approx. Cost |
|---|---|---|---|
| Amazon Echo (4th Gen) | Zigbee, Matter, Thread | Alexa | $99 |
| Apple TV 4K (Wi-Fi + Ethernet) | Thread, Matter | Apple HomeKit | $149 |
| Samsung SmartThings Station | Zigbee, Thread, Matter | SmartThings | $59 |
If you are heavily invested in Apple products, the Apple TV 4K with Ethernet is a phenomenal Thread border router. If you prefer a budget-friendly, voice-first approach, the Amazon Echo (4th Gen) contains a built-in Zigbee and Matter hub, allowing you to pair devices directly via voice commands. For those who want a dedicated, app-centric dashboard without the smart speaker footprint, the Samsung SmartThings Station is an incredibly affordable entry point.
Step-by-Step Hub Installation and Network Setup
Proper physical placement and network configuration are the most common points of failure for DIY smart home installers. Follow these steps to ensure optimal performance.
1. Physical Placement
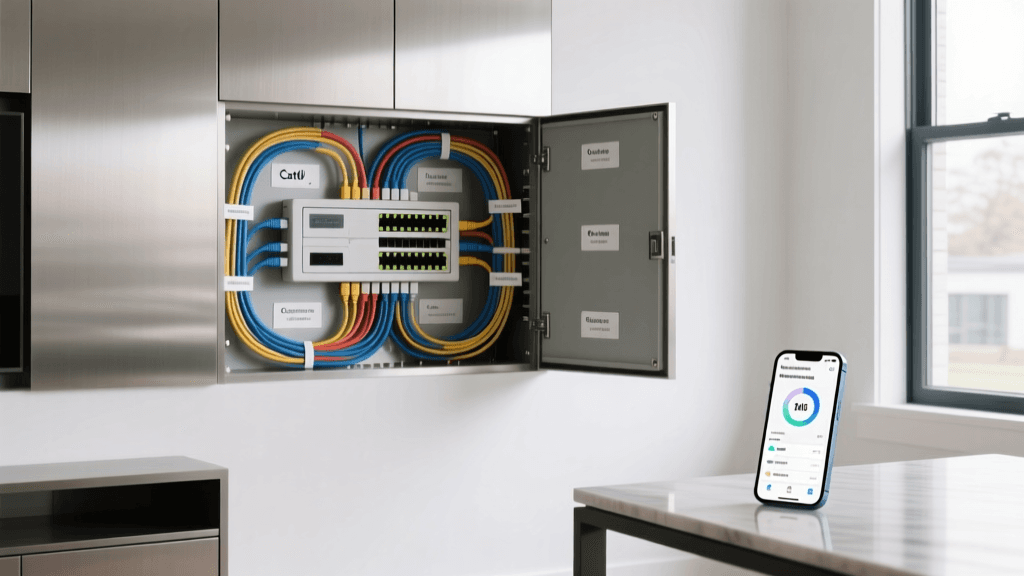
Do not hide your hub inside a metal media cabinet or behind a television. Metal and thick masonry walls severely degrade 2.4 GHz and Thread signals. Place your hub in a central, elevated location in your home, such as on a bookshelf in a central hallway or living room. Keep it at least three feet away from microwave ovens, cordless phones, and baby monitors, which can cause electromagnetic interference.
2. Network Configuration
Smart home hubs require a stable internet connection for initial setup, cloud authentication, and remote access. However, to protect your home network and reduce congestion, consider the following network setups:
- Dedicated IoT SSID: Create a separate 2.4 GHz Guest Network or VLAN on your router specifically for smart home devices. This prevents a compromised smart bulb from accessing your personal computers or NAS drives.
- Band Steering: Disable 'band steering' (where 2.4 GHz and 5 GHz networks share the same name) on your router. Many budget smart plugs and bulbs only support 2.4 GHz and will fail to connect if the router attempts to force them onto a 5 GHz band during the handshake process.
- Ethernet Backhaul: If your hub supports it (like the Apple TV 4K or Samsung SmartThings Station), connect it directly to your router via an Ethernet cable. This frees up wireless bandwidth and ensures the hub never drops offline during router reboots.
Pairing Your First Three Devices
Once your hub is online and connected to your app (Alexa, Apple Home, or SmartThings), it is time to build the foundation of your mesh network. We recommend starting with three specific device types to test your network's range and capabilities.
Device 1: The Smart Plug (The Range Tester)
Start with a Matter or Zigbee smart plug. Plug it into an outlet in a room adjacent to your hub. Put the plug into pairing mode (usually by holding the physical button for 5 seconds until the LED blinks rapidly). Open your hub's app, select 'Add Device,' and scan the Matter QR code or search for Zigbee devices. Once connected, use the app to check the signal strength (RSSI). A healthy Zigbee/Thread signal should be stronger than -65 dBm.
Device 2: The Smart Bulb (The Mesh Builder)
Next, install a smart bulb in an overhead fixture. Smart bulbs are typically 'mains-powered' devices, meaning they act as signal repeaters for your mesh network. When you pair the bulb, it will route its signal through the smart plug you just installed, effectively extending your hub's reach. Always ensure smart bulbs are installed in fixtures controlled by physical switches that remain permanently turned 'ON' to maintain the mesh.
Device 3: The Contact Sensor (The Battery Test)
Finally, pair a battery-operated door/window contact sensor. Mount it on your front door using the included adhesive tape. Because it runs on a small coin-cell battery, it relies entirely on the mesh network created by your smart plug and smart bulb to reach the hub. If the sensor responds instantly when the door opens, your mesh network is functioning perfectly.
Creating Your First Automation Workflow
A smart home is only as good as its automations. Manual app control is a novelty; automated routines provide true value. Let us build a foundational 'Goodnight' workflow that secures your home and saves energy.
- Open your Hub App and navigate to the 'Routines' or 'Automations' tab.
- Create a New Routine and name it 'Goodnight'.
- Set the Trigger: Choose 'Time of Day' and set it for 11:00 PM, or select a virtual 'Goodnight' button on your phone's home screen dashboard.
- Add Actions:
- Turn OFF all smart plugs (e.g., coffee maker, decorative lamps).
- Dim overhead smart bulbs to 0% (Turn Off).
- Set smart thermostat to 'Sleep' mode (e.g., 68°F).
- Add Notifications: Set the automation to send a push notification to your phone if the front door contact sensor is left 'Open' when the routine triggers, reminding you to lock up.
Pro Tip: When building automations, always include a 'fallback' state. If your internet goes down, a high-quality hub with local processing (like SmartThings or HomeKit) will still execute this Goodnight routine because the logic is stored locally on the hub, not in the cloud.
Securing Your Smart Home Network
As you expand your installation, security must remain a priority. IoT devices are frequent targets for botnets if left unsecured. Ensure you change the default admin passwords on your router and smart home hubs. Regularly check your hub's companion app for firmware updates, which frequently contain critical security patches. By isolating your smart home devices on a dedicated guest network, you ensure that even if a vulnerable smart plug is compromised, the attacker remains sandboxed away from your primary devices where sensitive financial and personal data reside.
Troubleshooting Common Setup Issues
Even with careful planning, DIY installers encounter hurdles. Here is how to solve the most common setup issues:
- Device Shows 'Offline' in App: This is usually a mesh routing issue. The device may be too far from a mains-powered repeater. Try adding a smart plug halfway between the hub and the offline device to bridge the gap.
- Hub Fails to Discover Devices: Ensure your smartphone is connected to the exact same 2.4 GHz network as the hub during the initial pairing process. Many apps use local network broadcasting (mDNS) to find the hub and the new device; being on a 5 GHz band or cellular data will block this discovery.
- Delayed Response Times: If your Zigbee or Thread devices take several seconds to respond, your mesh network may be congested. Reboot your primary hub to force the mesh network to recalculate the most efficient routing paths.
By carefully selecting a hub that supports modern protocols like Thread and Matter, strategically placing your hardware, and building a robust mesh network, you lay the groundwork for a smart home that is not only intelligent but exceptionally reliable. As you grow more comfortable, you can confidently expand your installation to include smart locks, security cameras, and advanced multi-room audio systems, knowing your core infrastructure is built to handle the load.