The Foundation: Why Network and Hub Setup Matters
Setting up your first smart home is an exciting journey that promises unparalleled convenience, energy efficiency, and security. However, many beginners make the critical mistake of buying random smart devices without first establishing a robust underlying infrastructure. A smart home is only as reliable as the network it operates on and the central hub that orchestrates its commands. Without proper network configuration and hub placement, you will inevitably face dropped connections, delayed automation routines, and frustrating offline devices.
This comprehensive guide will walk you through the essential steps of upgrading your home network, selecting the right smart hub ecosystem, understanding wireless protocols, and securing your IoT (Internet of Things) environment. By the end of this article, you will have a professional-grade foundation ready to support dozens of smart devices seamlessly.
Step 1: Assessing and Upgrading Your Network Capacity
Before plugging in a single smart bulb or thermostat, you must evaluate your router. The average modern household now contains over 20 connected devices, ranging from smartphones and laptops to smart plugs and security cameras. Older Wi-Fi 5 (802.11ac) routers often choke under this density, leading to network congestion.
To handle high device density, upgrading to a Wi-Fi 6 (802.11ax) router or a mesh Wi-Fi system is highly recommended. Wi-Fi 6 introduces OFDMA (Orthogonal Frequency-Division Multiple Access), which allows a single router transmission to serve multiple devices simultaneously. This is a game-changer for smart homes where dozens of low-bandwidth IoT devices are constantly pinging the network for status updates.
Pro Tip: If your home is larger than 2,000 square feet or has thick masonry walls, invest in a Wi-Fi 6 Mesh system like the TP-Link Deco XE75 or the Eero Pro 6E. Mesh nodes eliminate dead zones and ensure that smart devices in the garage or backyard maintain a stable connection to your hub.
For a deeper understanding of how modern routers handle IoT traffic, refer to the Wi-Fi Alliance Wi-Fi 6 Overview, which details the efficiency improvements designed specifically for dense smart home environments.
Step 2: Choosing Your Primary Smart Hub Ecosystem
A smart hub acts as the brain of your home, translating commands from your smartphone or voice assistant into the specific wireless protocols your devices understand. Choosing the right ecosystem early on will save you from compatibility headaches later.
| Ecosystem | Primary Hub Hardware | Supported Protocols | Best For | Estimated Cost |
|---|---|---|---|---|
| Samsung SmartThings | SmartThings Station / Hub v3 | Zigbee, Z-Wave, Thread, Matter, Wi-Fi | Power users, complex automations, mixed brands | $60 - $130 |
| Apple HomeKit | HomePod Mini / Apple TV 4K | Thread, Matter, Wi-Fi, Bluetooth | iPhone users, privacy-focused setups | $99 - $179 |
| Amazon Alexa | Echo Dot (5th Gen) / Echo Show | Zigbee (built-in on some), Matter, Wi-Fi | Voice-control enthusiasts, budget-friendly starts | $30 - $100 |
| Home Assistant | Raspberry Pi / Intel NUC | ALL (via USB dongles) | DIY tinkerers, coders, local-only privacy | $75 - $200+ |
For most beginners, a Samsung SmartThings Station or an Amazon Echo Dot with built-in Zigbee offers the easiest onboarding experience while maintaining broad compatibility across different device brands.
Step 3: Demystifying Wireless Protocols (Zigbee, Z-Wave, Thread, and Matter)
Not all smart devices use Wi-Fi. In fact, relying solely on Wi-Fi for smart bulbs and sensors will quickly overwhelm your router. Dedicated smart home protocols operate on different frequencies and create their own mesh networks, keeping your main Wi-Fi bandwidth free for streaming and browsing.
- Zigbee (2.4 GHz): Extremely common in Philips Hue and Aqara devices. It creates a mesh network where every plugged-in device acts as a signal repeater.
- Z-Wave (908.42 MHz in US): Operates on a lower frequency, meaning it penetrates walls better than Zigbee. Highly popular in smart locks and security sensors (e.g., Ring, Yale).
- Thread (2.4 GHz): An IP-based, low-power mesh networking protocol. It requires a Thread Border Router (like the Apple TV 4K or Nest Hub Max) to connect to your home network.
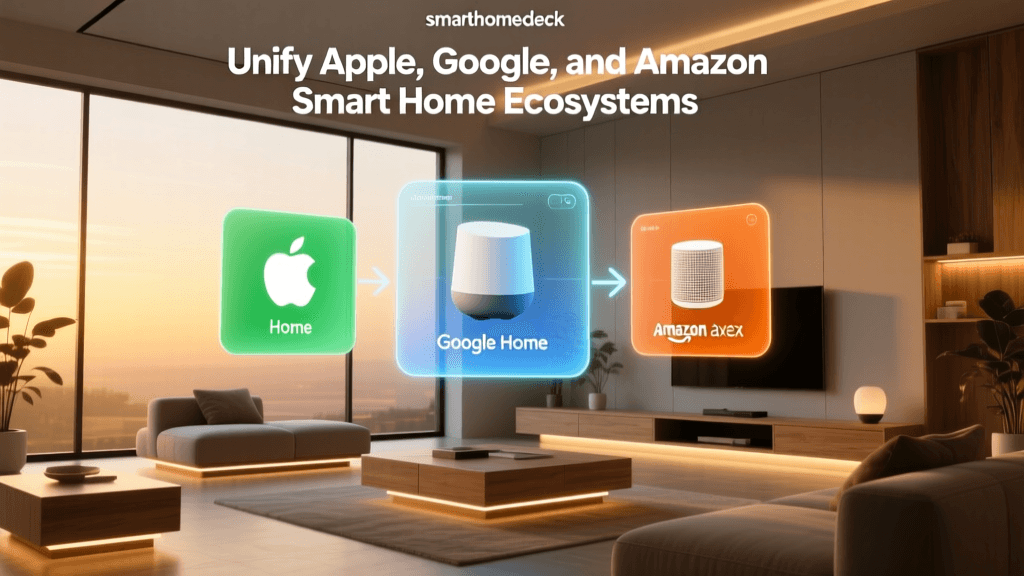
- Matter: The new industry-unifying standard. Matter is not a wireless protocol itself; rather, it is an application layer that runs over Thread, Wi-Fi, or Ethernet. It allows devices to work seamlessly across Apple, Amazon, and Google ecosystems simultaneously. Learn more about this unified standard on the Connectivity Standards Alliance Matter Page.
Step 4: Securing Your Network with IoT Segmentation
Security is paramount when introducing IoT devices into your home. Many budget smart plugs and cameras lack robust encryption and can serve as entry points for malicious actors to access your personal computers or NAS drives. According to the CISA IoT Security Guidelines, isolating your smart devices from your primary network is one of the most effective ways to mitigate cyber risks.
How to Set Up an IoT VLAN or Guest Network
- The Guest Network Method (Beginner): Log into your router's admin panel and enable the "Guest Network" feature. Connect all your smart home devices to this guest SSID. Ensure the setting "Allow guests to access my local network" is turned OFF. This prevents IoT devices from communicating with your personal laptops or phones.
- The VLAN Method (Advanced): If you use prosumer networking gear (like Ubiquiti UniFi or TP-Link Omada), create a dedicated VLAN specifically for IoT traffic. Configure firewall rules to block the IoT VLAN from initiating connections to your main data VLAN, while still allowing your main VLAN to send commands to the smart hub.
Step 5: Physical Hub Placement and Signal Optimization
Where you place your smart hub physically dictates the reliability of your Zigbee, Z-Wave, and Thread networks. Because these protocols rely on low-power radio waves, physical obstructions and electromagnetic interference are your biggest enemies.
- Avoid Metal Enclosures: Never place your hub inside a metal AV rack, a filing cabinet, or behind a television. Metal acts as a Faraday cage, blocking radio signals entirely.
- Stay Away from 2.4 GHz Noise: Microwaves, cordless phones, and baby monitors operate on or near the 2.4 GHz spectrum. Keep your hub at least 10 feet away from these appliances to prevent signal degradation.
- Centralize the Hub: Place your hub in a central, elevated location in your home (e.g., on top of a bookshelf in the living room or hallway). This ensures an even distribution of the mesh network to all corners of the house.
Step 6: Step-by-Step Device Onboarding Workflow
As your smart home grows, keeping track of devices becomes a logistical challenge. Adopting a strict onboarding workflow from day one will save you hours of troubleshooting later.
The Ideal Onboarding Checklist:
- Update Firmware First: Before pairing a new device to your main hub, use the manufacturer's native app to update its firmware. Some devices will not successfully pair with Matter or Thread networks until they are on the latest firmware.
- Standardize Naming Conventions: Use a consistent naming syntax across all platforms. The industry standard format is:
[Room].[Device Type].[Brand/Identifier]. For example:Kitchen.SinkLight.PhilipsorFrontDoor.Lock.Yale. This makes voice commands and automation logic infinitely easier to manage. - Assign Static IPs to Hubs: Log into your router's DHCP settings and assign a Static IP address (or a DHCP reservation) to your primary smart hub, smart speakers, and bridging devices. This ensures that if your router reboots, your hub's IP address doesn't change, preventing local API integrations from breaking.
- Test the Mesh Repeater: If you are installing a hardwired Zigbee or Z-Wave device (like a smart wall switch), wait 10 minutes after installation before pairing battery-powered sensors in that same room. This gives the new wall switch time to register as a repeater on the mesh network map.
Conclusion: Building for the Future
Setting up your first smart home is less about buying the flashiest gadgets and more about building a resilient, secure, and scalable infrastructure. By upgrading to a Wi-Fi 6 router, choosing a versatile hub like SmartThings or Apple HomeKit, utilizing low-power mesh protocols like Thread and Zigbee, and strictly segmenting your network for security, you are laying the groundwork for a truly intelligent living space. Take your time with the setup process, document your network configurations, and enjoy the seamless automation that a properly architected smart home provides.