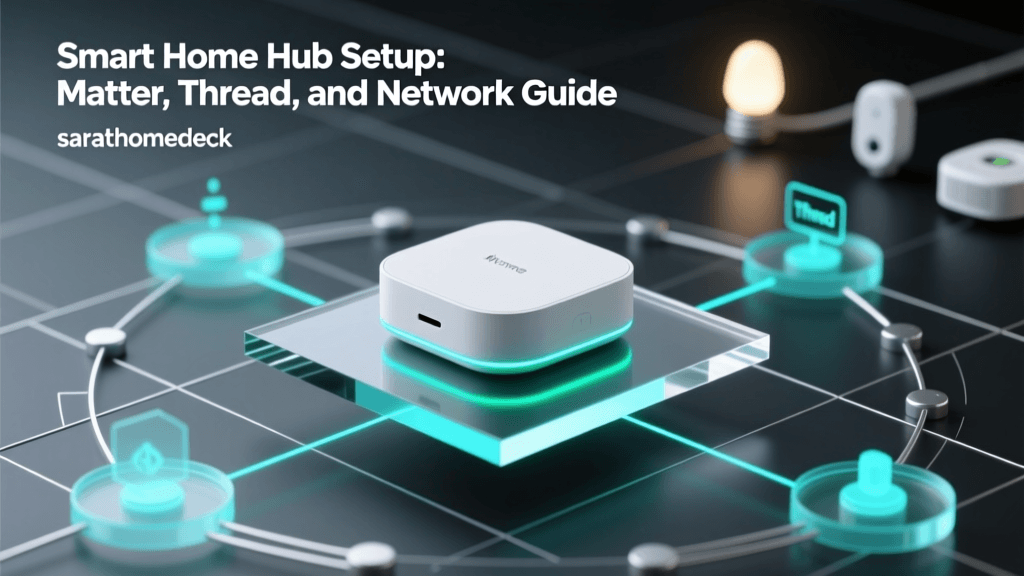
The Foundation of a Reliable Smart Home
Building a smart home is an exciting journey, but many DIY enthusiasts make the critical mistake of purchasing dozens of smart bulbs, sensors, and switches before establishing a robust underlying infrastructure. Without a dedicated smart home hub and a properly segmented network, your devices will suffer from latency, dropped connections, and severe security vulnerabilities. This comprehensive, step-by-step guide will walk you through the physical installation, network configuration, and protocol selection required to build a bulletproof smart home foundation.
Step 1: Assessing and Upgrading Your Network Infrastructure
Before unboxing your new hub, you must evaluate your home network. Smart home devices primarily communicate over the 2.4GHz Wi-Fi band or dedicated low-power mesh networks like Zigbee and Z-Wave. A standard ISP-provided router often struggles to handle the concurrent connections of 50+ IoT devices, leading to network congestion and dropped packets.
Implementing IoT VLANs and Guest Networks
Security is paramount when installing IoT devices. Many smart plugs and budget cameras lack robust encryption, making them potential entry points for malicious actors. To protect your primary devices (laptops, phones, NAS drives), you should isolate your smart home devices on a separate network.
- Guest Network Isolation: If you have a consumer mesh system like the TP-Link Deco X20 or Eero Pro 6, enable the 'IoT Guest Network' feature. This prevents smart devices from communicating with your main network while still granting them internet access for cloud-based hubs.
- VLAN Segmentation: For advanced users utilizing Ubiquiti UniFi or TP-Link Omada enterprise gear, create a dedicated VLAN (e.g., VLAN 20 for IoT) and configure firewall rules to block inbound traffic from the IoT VLAN to your primary LAN, while allowing outbound internet access and specific local ports for hub discovery (like mDNS on port 5353).
Step 2: Choosing and Installing the Core Hub
The hub is the brain of your smart home. It translates wireless protocols into Ethernet data that your router can understand. Selecting the right hub depends on your desire for local control versus cloud convenience.
| Hub Model | Avg. Cost | Supported Protocols | Local Execution | Best For |
|---|---|---|---|---|
| Home Assistant Green | $99 | Ethernet, Thread/Matter (via dongle) | Yes (100%) | Advanced DIY & Privacy |
| Samsung SmartThings Station | $99 | Wi-Fi, Thread, Matter | Partial | Samsung Ecosystem Users |
| Hubitat Elevation | $149 | Zigbee, Z-Wave, LAN | Yes | Complex Automations & Reliability |
| Apple TV 4K (Wi-Fi + Ethernet) | $149 | Thread, Matter, HomeKit | Yes | Apple HomeKit & Siri Users |
Physical Placement and Wiring
Where you place your hub dictates the reliability of your entire mesh network. RF (Radio Frequency) signals are easily degraded by physical obstructions and electromagnetic interference.
- Centralize the Hub: Place the hub in the geographic center of your home. A hub tucked away in a basement corner will struggle to reach a Zigbee motion sensor on the second floor.
- Elevate the Antenna: Position the hub at least 4 to 5 feet off the ground. This clears furniture, human bodies, and dense flooring materials that absorb RF signals.
- Avoid Interference: Keep the hub at least 3 feet away from your primary Wi-Fi router, microwaves, cordless phones, and large metal appliances. Wi-Fi and Zigbee both operate on the 2.4GHz spectrum; placing them too close together causes co-channel interference.
- Use Ethernet Backhaul: Whenever possible, connect your hub directly to your router or network switch using a Cat6 Ethernet cable. This frees up Wi-Fi bandwidth and ensures that automation commands are executed with zero latency, even if your Wi-Fi network experiences temporary congestion.
Pro Tip: Never place your smart home hub inside a metal media cabinet or directly behind a television. The metal and electromagnetic interference will severely degrade Zigbee and Z-Wave signal strength, creating dead zones in your home.
Step 3: Understanding Wireless Protocols and Matter
Modern smart homes rely on a mix of wireless protocols. Understanding these is crucial for buying compatible devices and expanding your mesh network effectively.
The Rise of Matter and Thread
Matter is the new industry-standard application layer that allows devices from different brands to communicate seamlessly. According to the Connectivity Standards Alliance (CSA), Matter operates over existing technologies like Wi-Fi, Ethernet, and Thread. Thread, an IP-based mesh networking protocol detailed by the Thread Group, is specifically designed for low-power IoT devices, eliminating the need for proprietary hubs and allowing border routers (like the Apple TV 4K or Nest Hub) to manage the mesh directly.
Legacy Mesh Networks: Zigbee and Z-Wave
While Matter is the future, Zigbee 3.0 and Z-Wave Plus V2 remain the workhorses of the smart home industry. Z-Wave operates on a sub-GHz frequency (908.42 MHz in the US), which allows it to penetrate walls and floors much more effectively than 2.4GHz protocols, though it supports fewer total nodes. The Z-Wave Alliance mandates strict S2 security encryption for all certified devices, making it highly resistant to hacking.
Step 4: The Device Pairing Sequence
One of the most common installation errors is pairing devices in a random order. Mesh networks rely on 'routing nodes' to pass signals from distant devices back to the hub. If you pair a battery-powered sensor at the edge of your property before establishing a strong mesh route, the device will likely fail to connect or drain its battery trying to shout over the void.
The Golden Rule: Mains-Powered First
- Install Mains-Powered Devices: Start by pairing all hardwired devices and plug-in modules. Smart switches, in-wall dimmers, smart plugs, and hardwired light bulbs act as 'repeaters' or 'routers' in Zigbee and Z-Wave networks. They are constantly powered and actively repeat signals for other devices.
- Build the Mesh Outward: Pair devices starting from the hub and working your way outward to the perimeter of your home. This ensures that each new device has a strong, nearby repeater to latch onto.
- Install Battery-Powered Sensors Last: Once your mesh of repeaters is fully established, pair your battery-operated door/window sensors, motion detectors, and leak sensors. These are 'sleepy end devices' that do not repeat signals; they only wake up to send data to the nearest router.
Step 5: Security Hardening and Firmware Management
Installation does not end when the devices are paired. Securing the foundation is an ongoing process that begins immediately after setup.
Enforcing S2 Security and Local Control
When pairing Z-Wave devices, always ensure your hub is configured to use S2 Security. This requires you to enter a PIN code found on the device or scan a QR code during the inclusion process, ensuring that the encryption keys are securely exchanged. For Zigbee and Thread networks, prioritize devices that support local execution. Local execution means that if your internet connection goes down, your physical light switches and motion-triggered automations will continue to function flawlessly because the processing happens on your internal hub, not on a remote cloud server.
Firmware Update Strategy
Before finalizing your installation, allocate time to update the firmware on your core hub, router, and all connected endpoints. Manufacturers frequently release patches to fix mesh-routing bugs and patch security vulnerabilities. Schedule these updates for late at night, as devices often become unresponsive or reboot during the flashing process.
Troubleshooting Common Installation Roadblocks
Even with meticulous planning, DIY installers frequently encounter roadblocks. Here is how to resolve the most common foundation issues:
Ghost Nodes and Mesh Healing
If you move a smart plug to a different room without properly 'excluding' or 'removing' it from the hub first, the hub will continue trying to route signals through the plug's old location. This creates a 'ghost node' that slows down your entire mesh network. Always remove devices via the hub's software before physically moving them. If your network feels sluggish, initiate a 'Z-Wave Repair' or 'Zigbee Mesh Heal' from your hub's dashboard. This forces the network to recalculate the most efficient routing paths based on the new physical layout of your repeaters.
2.4GHz Band Steering Conflicts
Many modern mesh Wi-Fi systems use 'band steering' to combine the 2.4GHz and 5GHz networks under a single SSID (network name). Budget IoT devices, like older smart bulbs and Wi-Fi cameras, often lack the intelligence to separate these bands and will fail to connect. If you encounter persistent pairing failures, temporarily disable the 5GHz band in your router settings, connect your IoT device to the 2.4GHz network, and then re-enable 5GHz once the device has saved its credentials.
Conclusion
Installing a smart home system step by step, starting with a robust network and a centrally located hub, is the difference between a frustrating gadget collection and a truly automated, intelligent home. By segmenting your network, understanding the physics of RF mesh protocols, and adhering to the mains-first pairing sequence, you create a resilient foundation. Whether you choose the privacy-focused Home Assistant Green or the Apple-centric Thread ecosystem, the principles of solid installation remain the same: prioritize local control, secure your perimeter, and let the mesh do the heavy lifting.