Introduction to Whole-Home Smart System Installation
Embarking on a whole-home smart system installation is one of the most rewarding DIY projects a homeowner can undertake. However, the difference between a frustrating, disjointed collection of gadgets and a seamless, automated living space lies entirely in the foundational setup. Many beginners make the critical mistake of purchasing random smart devices before establishing a robust network and central hub infrastructure. This comprehensive, step-by-step guide will walk you through the professional methodology for installing a smart home system, ensuring your devices communicate reliably, securely, and efficiently.
Step 1: Assess and Upgrade Your Home Network Foundation
Your home network is the central nervous system of your smart home. Before installing a single smart bulb or thermostat, you must ensure your router can handle the bandwidth and concurrent connection limits of modern IoT (Internet of Things) ecosystems. A standard ISP-provided router typically maxes out at 30 to 40 concurrent connections before experiencing packet loss or dropping devices offline.
According to the Wi-Fi Alliance, upgrading to a Wi-Fi 6 (802.11ax) or Wi-Fi 6E mesh system is highly recommended for smart homes. Wi-Fi 6 introduces OFDMA (Orthogonal Frequency-Division Multiple Access), which allows the router to communicate with multiple low-bandwidth IoT devices simultaneously, drastically reducing latency and network congestion.
Choosing the Right Router Architecture
| Router Type | Best For | Estimated Cost | IoT VLAN Support |
|---|---|---|---|
| Traditional Single Router | Apartments, small homes (<1,200 sq ft) | $80 - $150 | Rare |
| Consumer Mesh System (e.g., Eero Pro 6E) | Medium to large homes (1,500 - 3,500 sq ft) | $250 - $500 | Limited (Guest Network) |
| Prosumer/Enterprise (e.g., Ubiquiti UniFi) | Power users, large estates, complex VLANs | $600 - $1,500+ | Full VLAN Support |
For most DIY installers, a high-quality consumer mesh system like the TP-Link Deco XE75 or Amazon Eero Pro 6E provides the best balance of coverage, ease of use, and dedicated backhaul channels to keep your smart home traffic from bottlenecking your streaming and gaming bandwidth.
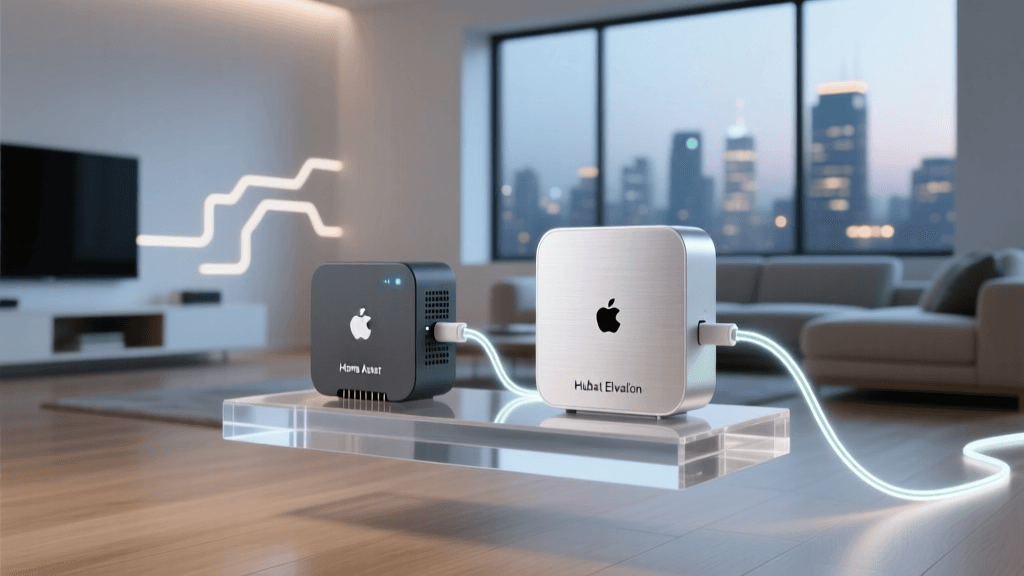
Step 2: Select Your Central Hub and Protocol Ecosystem
While Wi-Fi is excellent for high-bandwidth devices like security cameras and smart displays, it is terrible for low-power sensors and switches. This is where dedicated smart home protocols come into play. Your central hub acts as a translator, bridging these localized mesh networks to your main Wi-Fi router.
Understanding the Protocol Landscape
Before the advent of the Matter standard, installers had to choose strictly between Zigbee, Z-Wave, or proprietary ecosystems. Today, the landscape has shifted. Thread (the networking layer for Matter) offers a self-healing, IP-based mesh network that doesn't rely on a single point of failure.
Smart Home Protocol Range and Power Comparison
Hub Recommendations:
- Home Assistant Green: Best for advanced DIYers who want local processing, ultimate privacy, and cross-protocol compatibility (Zigbee, Z-Wave, Matter, Thread).
- Aeotec Smart Home Hub: An excellent choice for Z-Wave heavy installations, offering robust local execution and deep device configuration.
- Apple HomePod (2nd Gen) / Apple TV 4K: Ideal for users fully invested in the Apple ecosystem, acting as a Thread border router and Matter controller.
Step 3: Physical Installation and Hub Placement
The physical location of your smart home hub dictates the reliability of your entire mesh network. Zigbee and Z-Wave operate on the 2.4 GHz and 900 MHz spectrums, respectively. While Z-Wave penetrates walls better, both are highly susceptible to interference from metal objects, mirrors, and competing 2.4 GHz signals (like microwaves and older cordless phones).
Placement Best Practices
- Centralize the Hub: Place your primary hub in the geometric center of your home. Avoid basements or far-corner offices.
- Elevate the Antenna: Position the hub at least three to four feet off the ground. Radio waves propagate outward and slightly downward; placing a hub on the floor wastes signal on the foundation.
- Avoid the Media Console: Do not hide your hub inside a closed metal AV rack or directly behind a large flat-screen TV. The metal backing of modern TVs acts as a Faraday cage, blocking RF signals.
- Use Mains-Powered Repeaters: In a Zigbee or Z-Wave network, only devices plugged into wall power (like smart plugs and hardwired switches) act as signal repeaters. Battery-powered sensors do not repeat signals. Plan your installation so that smart plugs are distributed evenly between the hub and distant battery sensors.
Step 4: Network Configuration and IoT Security
IoT devices are notoriously insecure. Many cheap smart plugs and cameras lack robust encryption and can serve as entry points for malicious actors to access your home network. Securing your smart home installation is not optional; it is a critical necessity.
The Cybersecurity and Infrastructure Security Agency (CISA) strongly recommends segregating IoT devices from your primary computing network. If you are using a prosumer router like a UniFi Dream Machine or a firewalla, you should create a dedicated VLAN (Virtual Local Area Network) specifically for IoT devices.
Setting Up an IoT VLAN
- Create VLAN ID 10 (IoT): Assign your smart home hub, smart TVs, and Wi-Fi IoT devices to this network.
- Block LAN-to-LAN Traffic: Configure your firewall rules so devices on the IoT VLAN cannot initiate connections to your primary VLAN (where your PCs, phones, and NAS drives live).
- Allow Hub Communication: Create a specific exception allowing your central hub's IP address to communicate across VLANs so your smartphone app can still control the devices.
If your router does not support VLANs, the absolute minimum security measure is to utilize your router's 'Guest Network' feature for all Wi-Fi smart devices, ensuring AP Isolation (client isolation) is enabled.
Step 5: Hardwired Device Installation and Wiring Basics
While battery-powered sensors are easy to install, the backbone of a reliable smart home consists of hardwired devices: smart switches, dimmers, and thermostats. This step requires turning off the power at the circuit breaker and using a non-contact voltage tester to verify the lines are dead.
The Neutral Wire Dilemma
The most common hurdle in smart switch installation is the neutral wire. Traditional mechanical switches only interrupt the hot wire. Smart switches, however, are essentially small computers that require constant power to maintain their Wi-Fi or Zigbee radios. To get this constant power, they require a neutral wire connection.
- Identifying the Neutral: In standard US wiring, the neutral is typically a bundle of white wires tucked into the back of the junction box. If you see a bundle of white wires capped together with a wire nut, you likely have a neutral available.
- No Neutral? No Problem: If your home was built before the 1980s, you may lack neutral wires in the switch boxes. In this case, you must use specialized 'No-Neutral' switches, such as the Lutron Caseta line, which utilize a proprietary low-frequency protocol (Clear Connect) and do not require a neutral wire to function.
Thermostat Wiring and the C-Wire
Smart thermostats like the Ecotobee SmartThermostat or Nest Learning Thermostat require a 'C-Wire' (Common Wire) to provide continuous 24V AC power. If your current thermostat only has 4 wires (R, W, Y, G), you will need to install a C-Wire adapter kit at your HVAC control board, or pull a new 18/5 thermostat cable from the furnace to the wall plate.
Properly installing and configuring these devices yields massive dividends. The EPA Energy Star program notes that certified smart thermostats can save homeowners an average of 8% on heating and cooling bills annually, effectively paying for the device installation over a few years.
Step 6: Device Onboarding and Naming Conventions
Once your network is secure and your physical devices are wired and powered, it is time to onboard them into your hub. The biggest mistake DIYers make during this phase is using vague or inconsistent naming conventions. Voice assistants like Alexa, Siri, and Google Assistant rely entirely on precise phonetic naming to execute commands without errors.
The Room.Device.Type Naming Formula
Adopt a strict naming convention from day one. We recommend the following structure: [Room] [Device Type] [Modifier].
- Bad Name: "Living Room Light 1"
- Good Name: "Living Room Overhead" or "Living Room Lamp Left"
- Bad Name: "Bedroom Fan"
- Good Name: "Master Bedroom Ceiling Fan"
Furthermore, group devices into 'Rooms' and 'Zones' within your hub software. Creating a zone called "Downstairs Lights" allows you to trigger a single voice command or automation to turn off every light on the ground floor simultaneously, without having to list every individual bulb.
Step 7: Building Your First Automation Workflows
With the hardware installed and the software configured, you can now transition from remote control to true home automation. A robust automation relies on the Trigger-Condition-Action framework.
Example: The Circadian Lighting Workflow
- Trigger: Time of day (Sunset) OR Motion Sensor detects occupancy.
- Condition: Luminance sensor reads below 50 lux (meaning the room is actually dark).
- Action: Turn on hallway smart bulbs to 40% brightness, set color temperature to 2700K (warm white).
By utilizing local hubs like Home Assistant or Hubitat, these automations execute in milliseconds, completely independent of your internet connection. If your ISP goes down, your motion-sensor lights will still turn on, preserving the core functionality and safety of your home.
Troubleshooting Common Installation Hurdles
Even the most meticulously planned smart home installation will encounter hiccups. Here is how to troubleshoot the most common issues:
- Z-Wave Pairing Failures: Z-Wave devices often need to be physically close to the hub during the initial pairing process. Bring the device within three feet of the hub, pair it, and then move it to its final installation location. The mesh network will automatically route the signal once it is powered on in its permanent spot.
- Wi-Fi Camera Dropouts: If your 2.4 GHz Wi-Fi cameras constantly disconnect, check your router's channel congestion. Use a Wi-Fi analyzer app on your smartphone to find the least crowded channel (usually 1, 6, or 11) and manually lock your router's 2.4 GHz band to that channel.
- Ghost Switching: If smart bulbs flicker or turn on by themselves, it is often caused by LED incompatibility with older dimmer switches. Ensure you are using smart dimmers specifically rated for the exact wattage and type of LED bulbs you have installed.
Conclusion
A successful smart home system installation is a marathon, not a sprint. By prioritizing your network infrastructure, carefully selecting your central hub ecosystem, adhering to strict electrical safety and wiring standards, and implementing robust IoT security measures, you build a foundation that will serve your home for decades. Take your time, document your IP addresses and wiring configurations, and enjoy the unparalleled convenience of a truly automated living space.