The Smart Home Installation Dilemma: DIY vs. Professional
Transitioning to a smart home is one of the most effective ways to increase your property value, improve energy efficiency, and elevate daily convenience. However, the bridge between purchasing a device in its sleek retail packaging and actually having it function seamlessly on your wall is paved with complex wiring, network configurations, and safety considerations. For homeowners and DIY enthusiasts, the most pressing question is rarely about which brand to buy, but rather who should install it. Should you tackle the installation yourself to save on labor, or hire a licensed professional to guarantee safety and performance?
In this comprehensive guide, we break down the true costs of DIY versus professional installation for the two most impactful smart home categories: smart thermostats and hardwired smart lighting. We will examine specific product ecosystems like Ecobee, Google Nest, and Lutron Caseta, analyze the hidden costs of electrical upgrades, and provide a clear financial roadmap to help you decide which route makes the most sense for your home.
Smart Thermostat Installation: HVAC Wiring Demystified
Smart thermostats, such as the Ecobee SmartThermostat Premium or the Google Nest Learning Thermostat, are the command centers for your home climate. According to the U.S. Environmental Protection Agency and ENERGY STAR, certified smart thermostats can save homeowners roughly 8% on heating and cooling bills annually. However, achieving these savings requires a proper physical installation that interfaces directly with your HVAC control board.
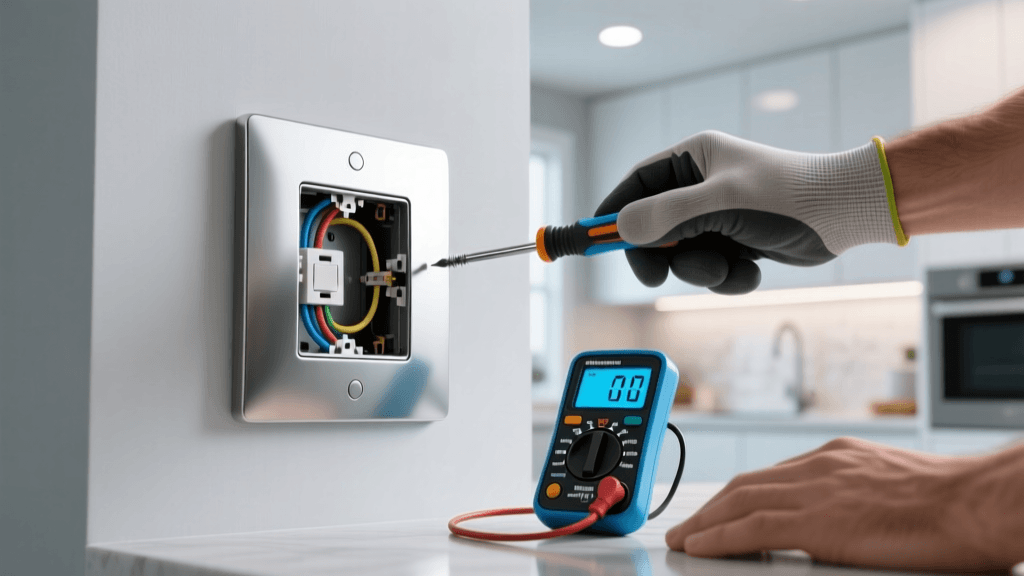
The DIY Route: C-Wire Adapters and Voltage Testing
Installing a smart thermostat yourself is generally considered a moderate DIY project. The primary hurdle for most DIYers is the lack of a C-wire (Common wire). Older HVAC systems often only have four wires (Red, White, Yellow, Green), which rely on power-stealing techniques that can cause modern Wi-Fi-enabled thermostats to reboot randomly or drain internal batteries.
- Device Cost: $150 to $250
- Tools Required: Non-contact voltage tester, Phillips and flathead screwdrivers, smartphone for app configuration.
- C-Wire Solutions: If your wall lacks a C-wire, you will need to install a Power Extender Kit (PEK) or an Add-A-Wire adapter at the HVAC furnace control board. This involves opening the furnace panel, locating the 24V AC terminals, and wiring the adapter inline.
- Time Investment: 1 to 3 hours, depending on whether you need to access the attic or basement to modify the HVAC control board.
- Total DIY Cost: $150 - $270 (including optional adapter kits).
The Professional Route: HVAC Techs and Electricians
If you are uncomfortable opening your furnace control board, or if you have a complex multi-stage HVAC system (such as dual-fuel heat pumps or whole-home humidifiers), hiring a professional is highly recommended. HVAC technicians possess the diagnostic tools to ensure your smart thermostat properly communicates with auxiliary heat strips and reversing valves.
- Labor Rates: HVAC technicians typically charge between $85 and $150 per hour.
- Service Call Fee: Many companies charge a flat dispatch fee of $75 to $125 just to arrive on site.
- Total Professional Cost: $250 to $450 (including device and labor).
Hardwired Smart Lighting: Switches, Dimmers, and Neutrals
While smart bulbs are easy to screw in, they are inefficient for primary lighting circuits because they lose smart functionality if someone flips the physical wall switch. Hardwired smart switches and dimmers, like the Lutron Caseta Wireless or Leviton Decora Smart lines, replace the physical switch and maintain constant connectivity. This is where electrical complexity—and cost—increases significantly.
DIY Smart Switch Installation
Replacing a standard single-pole switch with a smart switch requires understanding line (power in), load (power out), ground, and the notoriously tricky neutral wire. Most modern smart switches require a neutral wire to complete the circuit for their internal Wi-Fi or Zigbee radios when the light is turned off. If your home was built before the 1980s, your switch boxes likely lack neutral wires.
- Device Cost: $50 to $70 per switch. A Lutron Caseta Smart Bridge hub costs an additional $80.
- 3-Way and 4-Way Switches: Converting multi-way switches (where two or more switches control one light) is a major DIY pain point. Lutron solves this by allowing you to cap the traveler wires and use a wireless Pico remote mounted to the wall, saving hours of rewiring.
- Time Investment: 30 to 45 minutes per switch for single-pole; up to 2 hours for complex 3-way conversions.
- Total DIY Cost (5-Switch Setup): $380 to $430 (including hub and switches).
Professional Electrician Rates for Smart Lighting
Electricians bring speed, code compliance, and safety. They can quickly identify miswired circuits, replace damaged gang boxes, and ensure your smart switches do not overload the circuit amperage. According to the National Fire Protection Association (NFPA), electrical failures or malfunctions are a leading cause of home fires, making professional installation a wise investment for older homes with degraded wiring.
- Labor Rates: Licensed electricians charge $75 to $150 per hour.
- Minimum Call Fee: Expect a minimum service fee of $150 to $250, which usually covers the first hour of work.
- Per-Switch Labor: Once on site, an electrician can typically install a smart switch in 15 to 20 minutes.
- Total Professional Cost (5-Switch Setup): $750 to $1,050 (including devices, hub, and labor).
Comprehensive Cost Comparison Table
To visualize the financial differences, review the breakdown below comparing a standard smart thermostat upgrade and a 5-switch smart lighting overhaul.
| Project Scope | DIY Estimated Cost | Pro Estimated Cost | Primary Risk Factor | Time Required |
|---|---|---|---|---|
| Smart Thermostat (Standard HVAC) | $150 - $270 | $250 - $450 | Fried control board / No C-Wire | 1 - 3 Hours |
| Smart Thermostat (Multi-Stage/Heat Pump) | $200 - $300 | $350 - $600 | Incorrect O/B wire configuration | 2 - 4 Hours |
| Smart Lighting (5 Single-Pole Switches) | $380 - $430 | $650 - $850 | Missing neutral wires / Arc faults | 2.5 - 4 Hours |
| Smart Lighting (5 Multi-Way Switches) | $450 - $550 | $850 - $1,200 | Traveler wire confusion / Hub pairing | 4 - 8 Hours |
Charting the Break-Even Point: Upfront Costs
The following chart illustrates the stark contrast in upfront capital required for DIY versus professional installation across core smart home categories.
Hidden Costs: Network Infrastructure and Drywall Repair
When budgeting for smart home installation, both DIYers and professionals often overlook the peripheral costs required to make the ecosystem function reliably.
Network Infrastructure and Mesh Wi-Fi
Smart switches and thermostats rely heavily on stable 2.4GHz Wi-Fi or proprietary RF hubs. If your electrical panel or HVAC system is located in a far corner of your basement or attic, your primary router may not reach it. Upgrading to a Mesh Wi-Fi system like the Eero Pro 6 or Netgear Orbi adds $200 to $500 to your total smart home setup cost. Without this, you risk devices constantly dropping offline, rendering your expensive automation useless.
Drywall Repair and Gang Box Upgrades
Smart switches are physically deeper than standard toggle switches due to the internal relays and radios. In older homes, the existing electrical gang boxes may be too shallow, or the drywall around them may crumble when removing decades-old paint seals. You may need to purchase Old Work deep gang boxes ($5 to $10 each) and spend time patching, mudding, and repainting the drywall surrounding the switch. A professional electrician will often charge an additional $50 to $100 per switch if drywall cutting and box replacement are required.
Safety First: When DIY Becomes Dangerous
The U.S. Department of Energy heavily promotes the energy savings of smart thermostats, but they also implicitly rely on safe electrical practices. You should immediately abort a DIY installation and call a licensed professional if you encounter any of the following red flags:
- Aluminum Wiring: Common in homes built between 1965 and 1973, aluminum wiring requires special CO/ALR rated connectors and anti-oxidant paste. Connecting standard copper-rated smart switches to aluminum wires can cause arcing and severe fire hazards.
- Knob-and-Tube Wiring: Found in pre-1950s homes, this ungrounded wiring system lacks the safety ground wire required by modern smart home devices and is generally uninsurable without a full home rewire.
- Double-Tapped Breakers: If you open your main electrical panel to install a smart breaker (like the Leviton Smart Panel) and see two wires connected to a single breaker terminal not rated for it, your panel is a code violation and a fire risk.
- Burn Marks or Melted Plastic: Any sign of heat damage on existing switches or thermostat backplates indicates an overloaded circuit or a loose connection that requires professional diagnostic tools.
Final Verdict: Choosing Your Installation Path
The decision between DIY and professional installation ultimately hinges on your home electrical infrastructure, your personal risk tolerance, and the value of your time.
Choose the DIY Route If:
- Your home was built after 1990, meaning your switch boxes likely contain neutral wires and your HVAC system has a dedicated C-wire.
- You are comfortable using a non-contact voltage tester and can confidently identify line, load, and traveler wires.
- You are installing a hub-based system like Lutron Caseta, which minimizes Wi-Fi strain and simplifies 3-way switch conversions via wireless Pico remotes.
Hire a Professional If:
- You own an older home with outdated wiring, missing ground wires, or shallow gang boxes.
- You are integrating smart devices into a complex, multi-stage HVAC system with dual-fuel capabilities or whole-home dehumidifiers.
- You are planning a whole-home overhaul involving 15+ switches, automated motorized blinds, and hardwired smart lighting panels, which require load balancing and dedicated circuit planning.
By accurately assessing your home wiring and understanding the true labor rates in your area, you can budget effectively for your smart home transformation. Whether you choose the satisfaction of a weekend DIY project or the peace of mind that comes with a licensed electrician, the long-term energy savings and daily convenience of a properly installed smart home are well worth the investment.