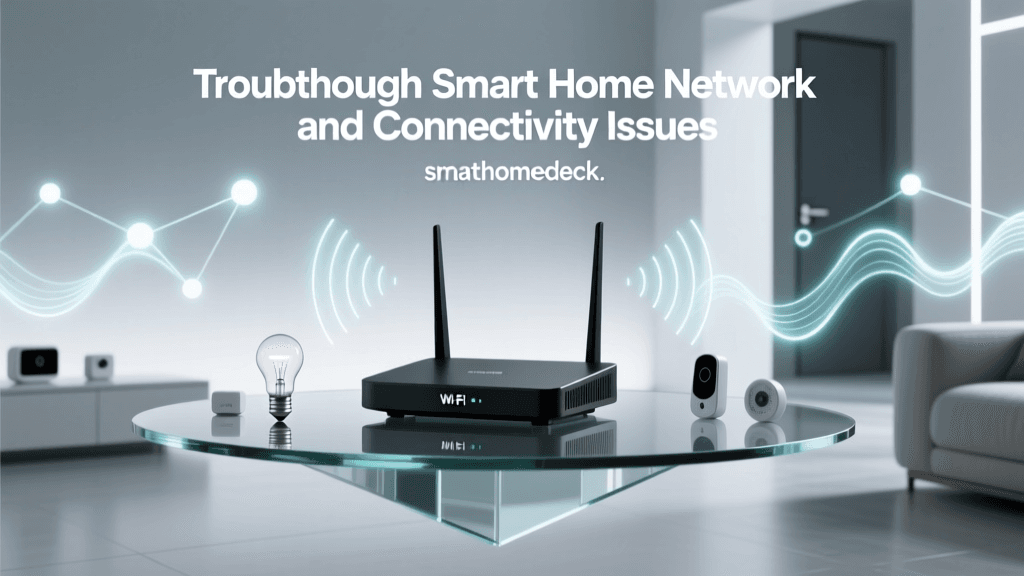
The Foundation of a True Smart Home
The foundation of any reliable, high-performance smart home is not a mesh Wi-Fi system or a cloud-based hub; it is a robust, well-planned structured wiring infrastructure. While wireless protocols like Zigbee, Z-Wave, Matter, and Thread have made significant strides in reliability, they cannot match the bandwidth, latency, and sheer stability of hardwired connections. For DIY installers and homeowners embarking on a whole-home automation journey—whether integrating Control4, Savant, Home Assistant, or Lutron—understanding low-voltage wiring is the most critical step in the installation process. A properly wired home eliminates wireless interference, reduces latency, and ensures that your automation workflows execute flawlessly every single time.
Planning Your Low-Voltage Wiring Blueprint
The golden rule of structured wiring is the "star topology." Unlike older daisy-chained telephone or coaxial networks, a star topology requires every single cable to run directly from the room's endpoint back to a centralized distribution point, typically known as a Structured Media Enclosure (SME) or a dedicated IT closet. This approach ensures that if a single cable fails, the rest of the network remains unaffected. It also allows for maximum flexibility; a Cat6a cable run to a bedroom wall plate can be used for a Wi-Fi access point today, an IP camera tomorrow, or a hardwired automation touch panel the next day.
When mapping out your blueprint, identify all potential "smart zones." This includes not just obvious locations like living rooms and home offices, but also ceilings for wireless access points (WAPs), exterior eaves for PoE security cameras, and deep wall cavities for in-wall smart speakers and motorized shade controllers. According to guidelines from the BICSI (Building Industry Consulting Service International), planners should always install at least two Cat6a drops to every primary room, and a minimum of one drop to every ceiling-mounted WAP location. Furthermore, always leave a 30% spare capacity in your conduit pathways for future upgrades, as smart home technology evolves rapidly.
Essential Cables for Modern Smart Homes
Choosing the right cable is paramount to the longevity of your installation. The industry has largely moved past Cat5e, and while Cat6 is acceptable for basic gigabit networking, Cat6a (Augmented Category 6) is the undisputed standard for new construction and major retrofits. Cat6a supports 10-Gigabit Ethernet (10GBASE-T) over distances up to 100 meters, ensuring your network will not become a bottleneck as 8K video streaming, local AI processing, and high-fidelity IP audio become commonplace.
For audiovisual and traditional cable needs, RG6 Quad-Shield coaxial cable remains necessary for over-the-air (OTA) antennas and cable internet modems. For whole-home audio, 16/2 AWG (American Wire Gauge) oxygen-free copper (OFC) speaker wire is sufficient for most in-ceiling and in-wall speakers, though 14/2 AWG is recommended for longer runs exceeding 50 feet to prevent signal degradation. For lighting control and motorized shades, 18/4 AWG stranded wire provides the necessary conductors for proprietary low-voltage smart lighting protocols like Lutron's Sivoia QS or DALI (Digital Addressable Lighting Interface).
| Cable Type | Gauge / Spec | Primary Smart Home Use | Est. Cost per 1000ft |
|---|---|---|---|
| Cat6a (Shielded) | 23 AWG | 10G Networking, PoE Devices, Hubs | $150 - $200 |
| OM4 Fiber Optic | 50/125µm | Backbone, Long-Run AV, Network Links | $350 - $450 |
| RG6 Quad-Shield | 18 AWG | OTA Antennas, Cable Modems | $90 - $120 |
| Speaker Wire | 16/2 AWG OFC | In-Ceiling / In-Wall Whole-Home Audio | $80 - $110 |
| Control Wire | 18/4 AWG | Motorized Shades, Smart Lighting | $70 - $95 |
Power over Ethernet (PoE) for Smart Devices
One of the most transformative technologies for whole-home automation is Power over Ethernet (PoE). By delivering both data and electrical power over a single Cat6a cable, PoE eliminates the need to hire an electrician to install high-voltage outlets for every smart device. The IEEE 802.3bt standard (PoE++) can deliver up to 90 watts of power, which is more than enough to run advanced PTZ (Pan-Tilt-Zoom) security cameras, smart home touch panels like the Brilliant or Control4 Neeo, and high-performance Wi-Fi 6E access points.
To implement PoE, you will need a managed PoE switch housed in your central IT closet. The Ubiquiti UniFi Switch Pro Max or Netgear M4300 series are excellent choices that offer per-port power management and VLAN segmentation. VLANs (Virtual Local Area Networks) are crucial for security; they allow you to isolate your IP cameras and IoT devices from your primary personal computing network, preventing potential vulnerabilities from compromising your sensitive data. The Federal Communications Commission (FCC) highly recommends segmenting home networks to protect against unauthorized access to smart home devices.
The Structured Media Enclosure (SME) Setup
The SME is the brain of your hardwired smart home. For a typical 3,000-square-foot home, a 42-inch or larger enclosure from brands like Leviton or On-Q is recommended. This enclosure should be mounted in a climate-controlled, easily accessible area, such as a basement, garage, or dedicated utility closet. Attempting to cram a modern smart home networking stack into a standard 14-inch residential box will lead to overheating and severe cable management issues.
Inside the SME, organization is just as important as the hardware itself. Use Velcro straps to bundle cables neatly. Never use plastic zip ties, as overtightening them can crush the dielectric insulation of Cat6a and cause crosstalk or signal degradation. Install a dedicated 20-amp high-voltage electrical circuit specifically for the SME to power your router, switches, and home automation servers (like a Home Assistant Green or a Control4 EA-5). Additionally, integrate a UPS (Uninterruptible Power Supply) to ensure your smart home remains functional—and your security cameras keep recording—during brief power outages.
Wiring Cost Comparison
Code Compliance and Safety Best Practices
When pulling low-voltage wire, adherence to the National Electrical Code (NEC) is non-negotiable for safety and insurance purposes. The National Fire Protection Association (NFPA) outlines strict separation rules in NFPA 70 (NEC Article 800 and 830). Low-voltage communication cables must maintain a minimum separation of 12 inches from high-voltage AC wiring to prevent electromagnetic interference (EMI) and reduce fire hazards. If crossing high-voltage lines is unavoidable, the cables must intersect at a strict 90-degree angle to minimize the footprint of potential interference.
Furthermore, always use fire-rated (Plenum or CMP) cables when running wires through HVAC ducts or drop ceilings that act as air return pathways. Plenum-rated cables feature a special jacket that emits less toxic smoke and burns slower in the event of a fire. For standard wall cavities, Riser-rated (CMR) cables are perfectly acceptable and more cost-effective. Always check local municipal codes, as some jurisdictions require low-voltage installers to hold a specific C-7 or equivalent telecommunications license.
Termination, Labeling, and Testing
A structured wiring job is only as good as its termination. Use T568B wiring standards for all RJ45 keystones and patch panels, ensuring consistency across the entire home. Invest in high-quality shielded keystones if you are using shielded Cat6a cable to mitigate alien crosstalk, and ensure the shielding is properly grounded at the patch panel.
Labeling is the most frequently skipped step by amateur installers, yet it is the most vital for long-term maintenance. Use a professional label printer to tag both ends of every single cable with its destination room, wall location, and port number. Finally, do not skip the testing phase. Use a certification tester, such as a Fluke Networks DSX-5000, to verify that every Cat6a run meets the strict bandwidth and signal-to-noise ratio requirements. This provides a baseline report and ensures you do not spend hours troubleshooting a "dead" port that was actually just a poorly crimped wire.
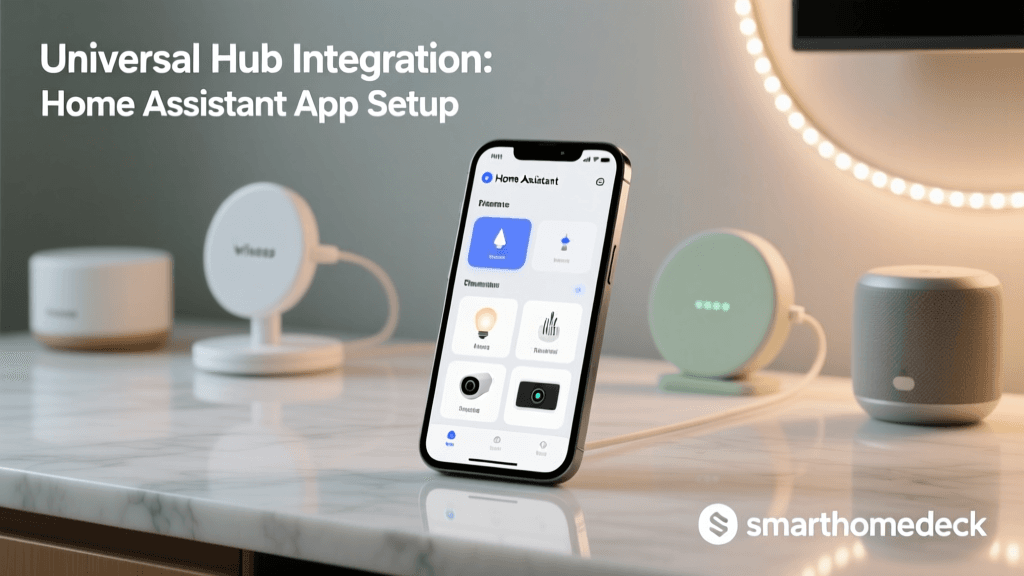
Integration with Smart Home Hubs
Once the physical layer is complete, integrating your hardwired infrastructure with your chosen smart home ecosystem is remarkably seamless. Hardwired Zigbee or Z-Wave antennas connected via USB-over-IP can be placed in optimal central locations throughout the home, while the core server remains safely in the SME. For systems like Lutron RadioRA 3 or HomeWorks, the main repeaters and processors connect directly to your core network switch via Ethernet, ensuring that lighting commands are executed with zero latency.
Pro Tip: When setting up Home Assistant or similar local hubs, utilize VLANs to isolate your IoT devices. Hardwire your primary server to the core switch, but route your smart plugs, bulbs, and sensors through a dedicated 2.4GHz Wi-Fi SSID or isolated IoT VLAN to prevent network congestion and enhance security.
By investing the time and capital into a comprehensive structured wiring installation, you future-proof your home against the rapid evolution of smart technology. Wireless will always have a place for retrofit sensors and battery-powered devices, but the backbone of a truly intelligent, responsive, and reliable whole-home automation system will always be copper and glass. Proper planning, adherence to code, and meticulous termination will yield a smart home that performs flawlessly for decades.