Introduction to Home Assistant Hub Configuration
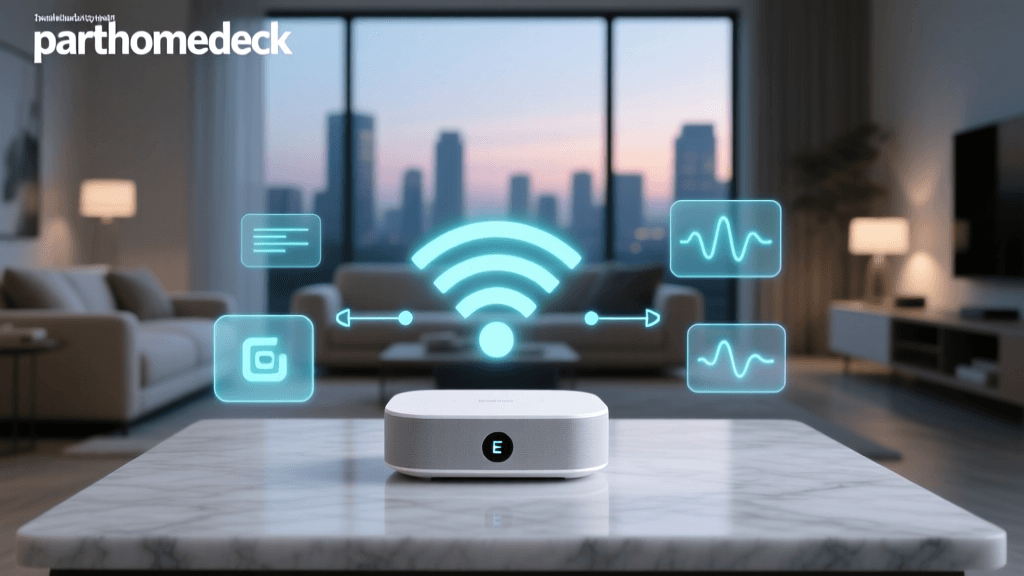
Transitioning from fragmented, cloud-dependent smart home ecosystems to a centralized, local-first controller is the ultimate goal for many DIY smart home enthusiasts. Home Assistant has emerged as the undisputed champion of local smart home automation, offering unparalleled privacy, lightning-fast response times, and compatibility with over 2,500 integrations. However, the sheer power of Home Assistant can be intimidating for newcomers. Proper hub configuration and mobile app setup are critical to ensuring your smart home operates reliably, securely, and efficiently.
Unlike proprietary hubs that rely on remote servers to process basic commands, a properly configured Home Assistant instance processes automations locally. This means your lights will still turn on when motion is detected even if your internet connection goes down. In this comprehensive guide, we will walk through the essential steps of selecting hardware, securing your network, pairing devices, and configuring the Home Assistant Companion App for seamless whole-home control.
Hardware Selection and Initial Hub Installation
The foundation of a reliable smart home controller is the hardware it runs on. While early adopters often relied on Raspberry Pi single-board computers, the modern Home Assistant ecosystem offers dedicated, purpose-built hardware that eliminates the common pitfalls of SD card corruption and thermal throttling.
According to the official Home Assistant installation documentation, running the Home Assistant Operating System (HAOS) is the recommended path for most users. HAOS provides a complete, containerized environment that allows you to use Supervisor and Add-ons, making it incredibly easy to install companion services like Zigbee2MQTT, Node-RED, and Mosquitto MQTT.
Comparing Hub Hardware Options
| Hardware Option | Estimated Cost | Storage Type | Performance & Reliability | Best For |
|---|---|---|---|---|
| Home Assistant Green | $99 | eMMC (Included) | Excellent, Plug-and-Play | Beginners & Standard Homes |
| Home Assistant Yellow | $199+ | NVMe SSD (BYO) | Superior, Built-in Zigbee/Thread | Advanced Users & Large Homes |
| Intel NUC / Mini PC | $150 - $300 | SATA/NVMe SSD | Exceptional, High Headroom | Power Users, Frigate NVR, Docker |
| Raspberry Pi 4 / 5 | $75 - $120 | MicroSD / External SSD | Moderate (SD cards fail) | Budget DIY Tinkerers |
For the vast majority of users, the Home Assistant Green is the best starting point. It requires zero technical assembly and boots directly into the onboarding wizard. If you plan to run local AI object detection for security cameras (such as Frigate) or manage a home with over 150 Zigbee devices, investing in an Intel NUC with an NVMe SSD is highly recommended to handle the increased database write operations.
Network Configuration and Security Best Practices
Connecting your smart home hub to your network requires careful consideration of security and traffic management. Smart home devices are notorious for generating a high volume of local network chatter, which can congest your primary Wi-Fi network and degrade performance for streaming and gaming devices.
The Cybersecurity and Infrastructure Security Agency (CISA) strongly recommends segmenting IoT devices from your primary computing network to mitigate the risk of lateral movement in the event a smart device is compromised. Using a router capable of VLAN (Virtual Local Area Network) creation, such as a UniFi Dream Router or a pfSense box, allows you to isolate your smart home devices.
Essential Network Setup Steps
- Assign a Static IP: Reserve a static IP address for your Home Assistant hub in your router's DHCP settings (e.g., 192.168.1.50). This ensures that your mobile app and local integrations never lose connection due to IP lease renewals.
- Create an IoT VLAN: Place all Wi-Fi-connected smart bulbs, plugs, and switches on a dedicated 2.4GHz IoT VLAN. Block this VLAN from accessing your main LAN, but allow the Home Assistant hub (on the main LAN) to initiate connections to the IoT VLAN via firewall rules.
- Disable Cloud Dependencies: Where possible, flash devices with local firmware like Tasmota or ESPHome to remove reliance on external Chinese or US-based cloud servers, drastically reducing outbound network traffic.
Pairing Devices: Zigbee, Z-Wave, and Wi-Fi
Home Assistant shines when aggregating multiple wireless protocols into a single dashboard. To achieve this, you need the appropriate radio dongles. The Home Assistant SkyConnect (now Connect ZBT-1) is the official USB stick supporting both Zigbee and Thread/Matter protocols.
Zigbee Configuration: You have two primary choices for Zigbee integration: ZHA (Zigbee Home Automation) and Zigbee2MQTT. ZHA is built directly into Home Assistant and offers a streamlined, native UI. However, Zigbee2MQTT is favored by advanced users because it supports a much wider array of obscure devices and decouples the Zigbee network from Home Assistant's core restarts. Crucial Tip: Always use a USB 2.0 extension cable to move your Zigbee dongle away from the hub's USB 3.0 ports, which generate severe 2.4GHz interference that can cripple your mesh network.
Z-Wave Configuration: For Z-Wave devices, the Z-Wave JS UI add-on is the gold standard. It provides a dedicated control panel for managing Z-Wave mesh routes, updating device firmware, and adjusting association groups, which the native integration lacks.
Matter and Thread: As the new industry standard, Matter over Thread is natively supported in Home Assistant via the OpenThread Border Router add-on. This allows low-power devices to communicate over a mesh network without congesting your Wi-Fi.
Companion App Configuration and Remote Access
The true power of your smart home is unlocked when you can control it from anywhere. The Home Assistant Companion App, available on iOS and Android, serves as your mobile command center. As outlined in the Home Assistant Companion App documentation, the app not only provides remote control but also turns your smartphone into a powerful multi-sensor, feeding GPS location, battery status, and step counts back into your automations.
Setting Up Remote Access
To use the app outside your home network, you need a secure remote access method. There are three primary routes:
- Nabu Casa (Recommended): For $7.99 per month, the official Nabu Casa service provides a secure, zero-configuration remote connection via WebSockets. It directly funds the development of Home Assistant and supports local push notifications.
- Tailscale: A free, peer-to-peer VPN solution that installs as an add-on on your hub and an app on your phone. It is highly secure but requires manual URL configuration in the companion app settings.
- Cloudflare Tunnels: A free method that exposes your dashboard to the internet via a secure tunnel. It is complex to set up and requires strict authentication middleware (like Authentik or Nginx Proxy Manager with MFA) to prevent unauthorized access.
App Sensor and Notification Setup
Once remote access is established, open the Companion App, navigate to Settings > Companion App, and enable location tracking. Set the 'Background Location' to 'Always' to allow geofencing automations, such as turning on the porch lights when you pull into the driveway. Additionally, enable 'Mobile App Notifications' to receive actionable alerts. Actionable notifications allow you to press a button directly on the push notification to execute a script, such as unlocking the front door for a delivery driver or silencing a smoke alarm.
Average Command Latency: Local Hub vs Cloud-Dependent Hub
Designing the Ultimate Dashboard
The default Home Assistant dashboard is functional, but creating a customized, user-friendly interface for your family requires leveraging the Lovelace UI and custom frontend repositories via HACS (Home Assistant Community Store).
The most popular design paradigm currently is the use of Mushroom Cards. Mushroom provides a clean, minimalist, and highly customizable set of cards that look native to modern mobile operating systems. By combining Mushroom cards with a custom theme like 'iOS Dark Mode', you can create a dashboard that feels like a premium, commercially available smart home app.
Dashboard Best Practices
A well-designed dashboard should prioritize speed and context. The home screen should only display the most critical, actionable items: lighting scenes, security status, and climate controls. Secondary data, like historical energy usage or detailed device logs, should be relegated to separate tabs to prevent visual clutter and reduce rendering times on mobile devices.
- Use Views for Context: Create separate dashboard views for 'Home', 'Security', 'Climate', and 'Media'. Use conditional cards to hide elements that are not currently relevant (e.g., hiding the fireplace control during summer months).
- Implement Kiosk Mode: If you are mounting a tablet on the wall as a dedicated control panel, install the 'Kiosk Mode' add-on to hide the top header and side navigation bars, maximizing screen real estate.
- Optimize for Touch: Ensure that buttons and sliders are appropriately sized for touch interfaces. Use the 'Button Card' custom integration to create large, visually distinct tiles for common scenes like 'Movie Time' or 'Goodnight'.
Troubleshooting Common App and Hub Issues
Even the most meticulously configured smart home will occasionally encounter hiccups. Understanding how to diagnose issues is a core skill for any Home Assistant administrator.
Webhook and Location Errors: If your geofencing automations fail to trigger, check the Companion App's location settings. Ensure that the app has 'Full Access' to location services and that background app refresh is enabled in your phone's OS settings. Verify that your internal and external URLs are correctly defined under Settings > System > Network in the Home Assistant web UI.
Zigbee Mesh Dropouts: If devices frequently show as 'unavailable', your Zigbee mesh may be suffering from interference or a lack of router nodes. Ensure you have enough mains-powered Zigbee devices (like smart plugs or wired switches) acting as routers to repeat the signal across your home. Check the Zigbee2MQTT map to identify weak links in the mesh.
Database Bloat and Sluggishness: Home Assistant records state changes for every entity. If your dashboard takes too long to load or your automations lag, your database might be bloated. Navigate to your configuration.yaml file and configure the Recorder integration to exclude entities that change state rapidly but do not need historical tracking, such as CPU temperature sensors or media player progress bars. This simple step can reduce database size by over 80% and drastically improve hub responsiveness.
By carefully selecting your hardware, securing your network topology, and optimizing both your dashboard and companion app, Home Assistant transforms from a complex hobby project into a robust, enterprise-grade smart home controller that will reliably serve your household for years to come.