The Foundation of a Reliable Smart Home
Building a comprehensive smart home ecosystem goes far beyond simply plugging in a smart bulb and connecting it to your primary Wi-Fi network. As your device count scales from a handful of smart plugs to a whole-home automation system featuring dozens of sensors, locks, cameras, and thermostats, your network architecture becomes the critical backbone of your setup. According to the Cybersecurity and Infrastructure Security Agency (CISA), Internet of Things (IoT) devices are frequently targeted by malicious actors due to default passwords, unpatched firmware, and a general lack of native encryption. Segregating these devices onto a dedicated network and routing them through a centralized multi-protocol hub bridge is no longer just a best practice for advanced users; it is a fundamental requirement for security, privacy, and reliability.
In this comprehensive guide, we will walk through the exact steps required to design a secure IoT Virtual Local Area Network (VLAN), select and position the right multi-protocol hub bridge, configure wireless channels to avoid interference, and establish strict firewall rules to keep your main network safe while allowing your smart home to function flawlessly.
Why Segregate Your Smart Home Network?
Most home routers operate on a single, flat network architecture. This means your smart TV, your personal laptop, your network-attached storage (NAS), and your $15 smart light bulb all share the same broadcast domain. If a vulnerability is exploited in a cheap, poorly secured IoT device, a malicious actor could potentially pivot laterally across your network to access your personal computers, steal data, or deploy ransomware.
The National Institute of Standards and Technology (NIST) strongly recommends network segmentation as a primary defense mechanism for IoT deployments. By creating a dedicated IoT VLAN, you establish a digital quarantine zone. Devices on this VLAN can communicate with the internet to reach their respective cloud servers, and they can communicate with your central hub bridge, but they are explicitly blocked from initiating connections to your primary LAN where your phones, PCs, and sensitive data reside.
Step 1: Designing the IoT VLAN Architecture
To begin, you need a router or gateway that supports VLAN tagging and multiple SSIDs. Consumer mesh systems like standard Eero or basic Netgear Orbi setups often lack robust VLAN capabilities. For a true smart home network, prosumer gear like the UniFi Dream Router, TP-Link Omada ER605, or an ASUS router running Merlin firmware is highly recommended.
Subnet and SSID Configuration
Create a new VLAN specifically for your IoT devices. Assign it a distinct subnet to make firewall rules easier to manage. For example, if your main LAN is 192.168.1.x/24, assign your IoT VLAN to 192.168.10.x/24.
- VLAN ID: 10
- Subnet: 192.168.10.0/24
- SSID Name: HomeNetwork-IoT
- Security: WPA2-AES (Many older IoT devices do not support WPA3, so WPA2 is often required for compatibility)
- Band: 2.4GHz only (Disabling 5GHz on the IoT SSID prevents dual-band devices from stubbornly connecting to the wrong frequency and dropping offline).
By restricting the IoT SSID to 2.4GHz, you eliminate a massive troubleshooting headache. Most smart plugs, switches, and sensors only operate on 2.4GHz. If your router broadcasts a combined SSID, these devices often fail during the initial provisioning phase. A dedicated 2.4GHz IoT SSID solves this instantly.
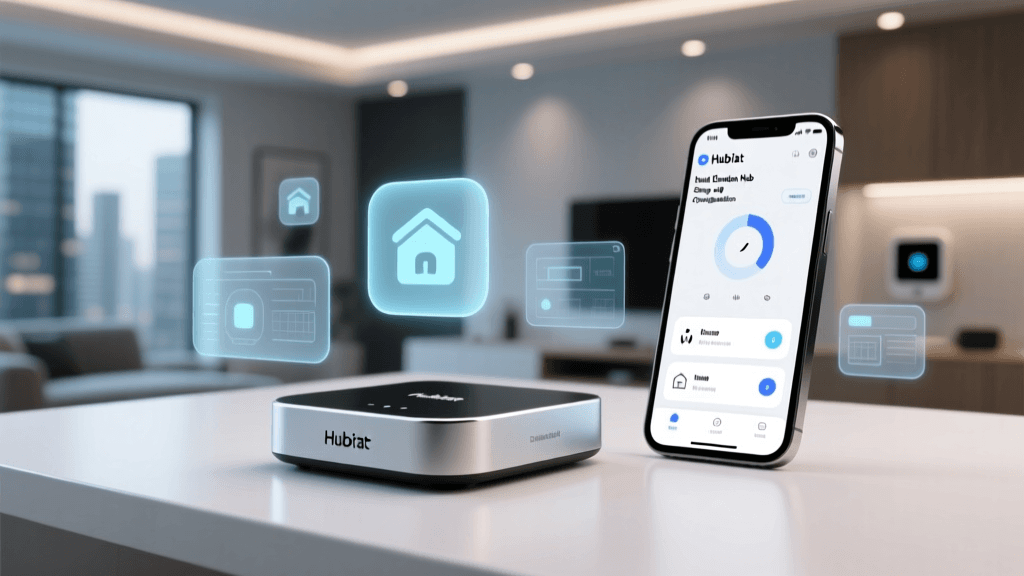
Step 2: Selecting Your Multi-Protocol Hub Bridge
A hub bridge acts as the universal translator for your smart home. While Wi-Fi handles high-bandwidth devices like cameras, low-power sensors rely on mesh protocols like Zigbee, Z-Wave, and the emerging Thread/Matter standards. Choosing a hub that supports local processing ensures your automations run even if your internet connection drops.
| Hub Model | Supported Protocols | Local Processing | VLAN Friendliness | Estimated Cost |
|---|---|---|---|---|
| Home Assistant Green | Zigbee, Thread, Wi-Fi, Z-Wave (via USB) | Yes (100% Local) | Excellent (Native VLAN support) | $99 - $150 |
| Hubitat Elevation C-8 | Zigbee, Z-Wave, Wi-Fi, LAN | Yes (Local rules engine) | Good (Requires static IP routing) | $150 - $180 |
| Samsung SmartThings Station Pro | Zigbee, Thread, Matter, Wi-Fi | Partial (Cloud dependent) | Poor (Cloud discovery issues) | $80 - $100 |
| Home Assistant Yellow | Zigbee, Thread, Wi-Fi, Z-Wave (via USB) | Yes (100% Local) | Excellent (Built-in PoE & VLAN) | $200+ |
For users building a robust, VLAN-segregated network, Home Assistant (via the Green or Yellow hardware, or a custom Docker build) is the undisputed champion. It natively supports mDNS reflection, IGMP snooping, and cross-VLAN device discovery, which are critical when your hub lives on the main LAN but your Wi-Fi IoT devices live on the IoT VLAN.
Step 3: Hub Placement and RF Interference
Physical placement of your hub bridge is just as important as network configuration. Zigbee and Z-Wave operate on radio frequencies that are highly susceptible to physical obstruction and electromagnetic interference.
The USB 3.0 Interference Problem
If you are using a USB dongle for Zigbee or Z-Wave (such as the Sonoff Zigbee 3.0 USB Dongle Plus or the Aeotec Z-Stick 7), you must never plug it directly into the back of your server, router, or Raspberry Pi. USB 3.0 ports generate massive amounts of broadband noise in the 2.4GHz spectrum, which will effectively deafen your Zigbee dongle, reducing its range from 30 feet to less than 5 feet.
The Solution: Always use a 1-meter to 2-meter USB 2.0 extension cable. Position the dongle away from the server chassis, ideally elevated and in a central location in your home. Avoid placing the hub inside metal server racks, near microwave ovens, or directly behind large flat-screen TVs.
Step 4: Configuring Zigbee, Z-Wave, and Thread Channels
Coordinating the wireless channels of your hub bridge with your Wi-Fi network is essential to prevent packet loss and device dropouts. The 2.4GHz spectrum is crowded, and overlapping channels will cause your smart home mesh to degrade.
Wi-Fi networks should be locked to channels 1, 6, or 11. Zigbee operates on channels 11 through 26. To avoid overlap, you should configure your Zigbee network to use Channel 15, 20, or 25. Thread and Matter operate similarly and should be aligned with these non-overlapping Zigbee channels to ensure a harmonious RF environment.
By aligning your Wi-Fi to Channel 1 or 11, and your Zigbee/Thread hub bridge to Channel 15 or 25, you create dedicated lanes for your data traffic, drastically improving the responsiveness of your motion sensors and smart switches.
Step 5: Firewall Rules and mDNS Routing
Once your IoT VLAN is active and your hub bridge is configured, you must establish firewall rules to enforce the security boundary while allowing necessary communication.
Blocking Lateral Movement
Create a rule that drops all traffic originating from the IoT VLAN (192.168.10.0/24) destined for your Main LAN (192.168.1.0/24). This ensures that a compromised smart bulb cannot scan your main network for open ports on your PC or NAS.
Allowing Essential Services
Before the drop rule, create allow rules for essential services that IoT devices need to function:
- DNS: Allow UDP port 53 to your router or Pi-hole so devices can resolve domain names.
- NTP: Allow UDP port 123 so smart plugs and switches can sync their internal clocks for scheduling.
- Hub Communication: Allow traffic from the IoT VLAN to the specific IP address of your Hub Bridge on required ports (e.g., TCP 8123 for Home Assistant, TCP 443 for cloud proxies).
Solving the mDNS Discovery Problem
Multicast DNS (mDNS) is used by devices like Chromecasts, Sonos speakers, and Apple HomeKit accessories to announce their presence on the network. However, mDNS broadcast packets do not cross VLAN boundaries by default. If your phone is on the Main LAN and your smart speaker is on the IoT VLAN, your phone will not see the speaker.
To fix this, enable an mDNS Reflector or Repeater on your router or firewall (available in pfSense, OPNsense, and UniFi). This service listens for mDNS broadcasts on the IoT VLAN and intelligently mirrors them to the Main LAN, allowing your phone to discover and control casting devices seamlessly without compromising the underlying firewall security.
Troubleshooting Common Bridge Issues
Even with a perfect network setup, mesh networks require occasional maintenance. Here are solutions to the most common hub bridge issues:
Z-Wave Mesh Routing Failures
Z-Wave relies on a mesh topology where mains-powered devices act as repeaters. If a Z-Wave lock or sensor becomes unresponsive, the mesh routing table may be outdated. Access your hub bridge and run a Z-Wave Mesh Repair or Heal Network function. This forces the hub to recalculate the most efficient routing paths. Note: Perform this at night, as it generates heavy network traffic and can temporarily slow down device responses.
Zigbee Router Node Dropouts
If Zigbee devices at the edge of your property keep dropping offline, your mesh likely lacks sufficient router nodes. Zigbee end-devices (like battery-powered door sensors) cannot route traffic. You must strategically place mains-powered Zigbee devices (like smart plugs or wired switches) to act as repeaters, extending the mesh network outward from the central hub bridge.
Matter and Thread Border Router Sync
The Connectivity Standards Alliance (CSA) designed Matter to unify smart home ecosystems, relying heavily on Thread. If your Thread devices are slow to respond, ensure your hub bridge is acting as a primary Thread Border Router and that you do not have conflicting Border Routers (like multiple Apple TVs or Nest Hubs) fighting for mesh leadership on the same network segment.
Conclusion
Configuring a dedicated smart home network and a multi-protocol hub bridge requires an upfront investment of time and technical configuration, but the dividends it pays in security, speed, and reliability are immeasurable. By isolating your IoT devices on a dedicated VLAN, optimizing your RF channels to eliminate interference, and utilizing a local-first hub bridge, you transform a fragile collection of smart gadgets into a resilient, enterprise-grade home automation system. Whether you are adding your first Zigbee sensor or integrating your fiftieth Thread device, this network foundation will scale with your smart home ambitions for years to come.