Introduction to Presence-Based Automation Workflows
The holy grail of smart home technology is invisibility. A truly intelligent home should not require you to issue voice commands or open a smartphone app to turn on the lights or adjust the thermostat. Instead, the environment should react organically to your presence, anticipating your needs based on context, time of day, and environmental factors. Configuring presence-based automation workflows is the cornerstone of achieving this seamless experience. By shifting from manual triggers to predictive, sensor-driven logic, DIY installers and homeowners can drastically improve both the convenience and energy efficiency of their living spaces.
However, building a reliable presence-based workflow requires more than simply pairing a motion sensor to a smart bulb. It demands a deep understanding of sensor technologies, network topology, hub processing latency, and advanced logic conditions like hysteresis and multi-sensor fusion. In this comprehensive guide, we will break down the exact hardware, network configurations, and software logic required to build bulletproof presence-based automation workflows for lighting and climate control.
The Sensor Landscape: PIR vs. mmWave Technology
The foundation of any presence workflow is the sensor. Historically, smart homes have relied on Passive Infrared (PIR) sensors. PIR sensors detect changes in infrared radiation, meaning they require a person to be in motion to trigger. This leads to the infamous "reading a book in the dark" problem: if you sit still for too long, the PIR sensor assumes the room is empty and turns off the lights, forcing you to wave your arms to restore illumination.
To solve this, the industry has rapidly adopted millimeter-wave (mmWave) radar sensors. Unlike PIR, mmWave sensors emit high-frequency radio waves and measure the micro-Doppler shifts caused by microscopic movements, such as the rise and fall of your chest while breathing. This allows mmWave sensors to detect "static presence," ensuring the lights stay on as long as you are in the room, even if you are completely motionless.
| Feature | PIR Sensors (e.g., Philips Hue Motion) | mmWave Sensors (e.g., Aqara FP2, Sonoff SNZB-06P) |
|---|---|---|
| Detection Method | Infrared heat movement | Radar micro-Doppler shifts |
| Static Presence Detection | No (Requires macro-motion) | Yes (Detects breathing/heartbeat) |
| Typical Range | 5m to 9m (120-degree cone) | Up to 6m x 6m (Zone-mappable) |
| Average Cost | $25 - $40 | $35 - $70 |
| Best Use Case | Hallways, closets, garages | Living rooms, bedrooms, home offices |
For a robust workflow, a hybrid approach is often best. Use PIR sensors for transitional spaces like hallways where immediate, high-accuracy motion detection is required, and deploy mmWave sensors in destination rooms where occupants will remain stationary for extended periods. The Aqara FP2 is a premier choice for zone-based tracking, allowing you to map up to 30 distinct zones within a single room via Wi-Fi, while the Sonoff SNZB-06P offers an affordable Zigbee alternative for general static presence.
Hub Architecture: Cloud vs. Local Execution
When configuring automation workflows, the processing engine—the hub—dictates the speed and reliability of your system. Cloud-reliant hubs (like early iterations of SmartThings or basic Wi-Fi ecosystems) send sensor data to a remote server, process the logic, and send a command back to your smart bulb. This introduces latency and creates a single point of failure: if your internet connection drops, your home becomes "dumb."
Local hubs, such as Home Assistant (running on a Green or Intel NUC), Hubitat Elevation, or SmartThings Stations utilizing Edge Drivers, process logic directly on your local network. According to the Connectivity Standards Alliance (CSA), the push toward local control protocols like Matter and Thread is specifically designed to reduce latency and improve privacy by keeping execution local to the home network.
Hub Execution Latency and Reliability Comparison
As visualized above, local Zigbee or Thread networks offer near-instantaneous execution (under 50ms) and near-perfect reliability, completely independent of your WAN connection. For presence-based lighting, where a delay of even 800ms feels sluggish and unnatural when walking into a dark room, local processing via Zigbee or Thread is highly recommended.
Designing the Automation Logic: Triggers, Conditions, and Actions
A well-configured workflow relies on a strict hierarchy of Triggers, Conditions, and Actions. Let us break down a complex, multi-zone living room lighting workflow that adapts to both presence and natural light levels.
Scenario 1: The Adaptive Living Room Workflow
In this scenario, we are using an mmWave sensor mapped to two zones: "Sofa Zone" and "Reading Nook." We want the lights to turn on only when someone is present, but the brightness and color temperature should adapt based on the time of day and the ambient lux levels in the room.
- Trigger: Sofa Zone presence changes from 'Clear' to 'Occupied'.
- Condition 1: Ambient Lux is below 150 (ensures lights do not turn on during bright sunny days).
- Condition 2: Time is between Sunset and 11:30 PM.
- Action: Turn on Sofa Lamps to 80% brightness, Color Temperature 2700K (Warm White).
- Exit Trigger: Sofa Zone presence changes to 'Clear'.
- Exit Condition: Wait for 5 minutes (Hysteresis buffer to prevent false dropouts).
- Exit Action: Turn off Sofa Lamps.
The inclusion of the 5-minute wait condition on the exit trigger is a critical concept known as hysteresis. mmWave sensors can occasionally experience micro-dropouts due to environmental interference. By requiring the zone to be continuously clear for 5 minutes before executing the 'off' action, you eliminate the frustration of lights flickering off while you are watching a movie.
Scenario 2: Zone-Based Climate Control
Presence workflows are not limited to lighting; they are equally transformative for HVAC systems. The U.S. Department of Energy notes that smart thermostats and automated climate control can save homeowners 10% to 15% annually on heating and cooling costs by eliminating wasted energy in unoccupied spaces.
Instead of relying on a single thermostat in the hallway, you can use presence sensors to create micro-climates. If your home utilizes smart vents or a multi-zone mini-split system, you can configure a workflow where the HVAC system prioritizes the specific room that is currently occupied. For example, if the Home Office mmWave sensor detects presence between 9:00 AM and 5:00 PM, the workflow commands the smart thermostat to adjust the whole-home target temperature to match the Home Office's localized temperature sensor, ensuring the occupant's comfort while allowing the rest of the house to drift into an eco-mode setback.
Advanced Configuration: Sensor Fusion and Fallbacks
Relying on a single sensor for critical workflows is a recipe for frustration. Advanced installers utilize "sensor fusion," combining data from multiple inputs to create a highly accurate virtual presence state. In Home Assistant, this is often achieved using a Bayesian sensor or a custom template sensor.
For instance, you can combine an mmWave sensor, a PIR sensor, and the state of a smart plug connected to the television. If the mmWave sensor drops out, but the PIR detected motion recently, and the TV smart plug is drawing over 50 watts of power, the logic engine concludes with high probability that the room is still occupied. This redundancy ensures that your automation workflows remain robust even if individual hardware components experience temporary glitches or interference.
Troubleshooting Common Workflow Bottlenecks
Even with premium hardware and local processing, DIY installers frequently encounter issues when deploying presence workflows. Here is how to troubleshoot the most common bottlenecks:
1. Phantom Triggers and Interference
mmWave sensors are incredibly sensitive and can be triggered by environmental factors. Ceiling fans, HVAC vents, and even large pets can cause phantom presence triggers. Furthermore, because many mmWave sensors and Zigbee networks operate in or near the 2.4GHz spectrum, a congested Wi-Fi router can cause signal noise. Solution: Most modern mmWave sensors (like the Aqara FP2) allow you to adjust the sensitivity levels and map "interference zones" via their companion apps. Draw exclusion zones over ceiling fans and AC vents. Additionally, ensure your Zigbee network is operating on Channel 15, 20, or 25 to avoid overlapping with Wi-Fi channels 1, 6, and 11.
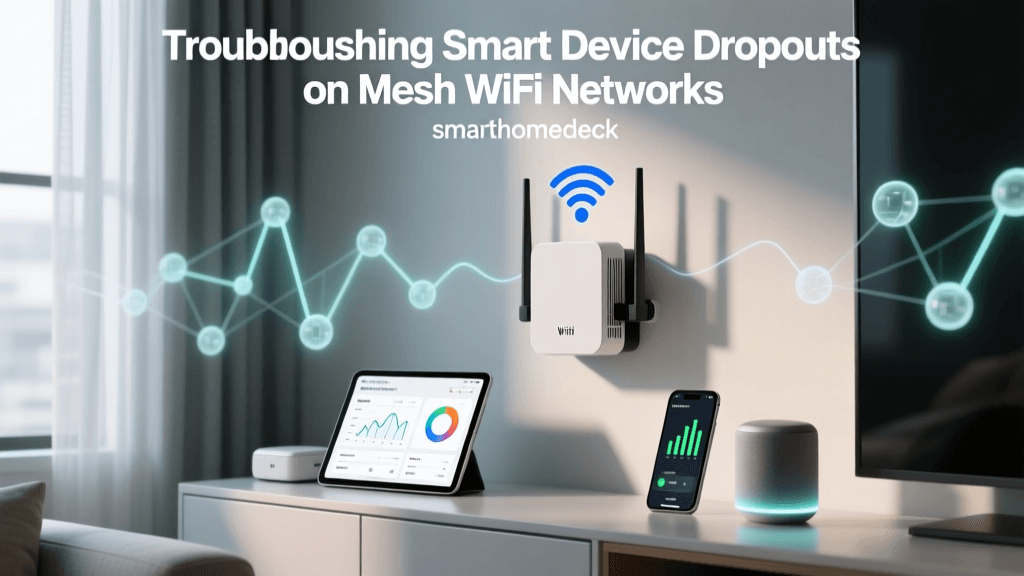
2. The "Ghost in the Machine" (Mesh Network Dropouts)
If your presence sensor frequently shows as "Unavailable" in your hub, the issue is likely your mesh network topology, not the sensor itself. Zigbee and Thread networks require a strong mesh of mains-powered router devices to relay signals back to the hub. Solution: Do not place battery-operated sensors at the edge of your network. Ensure you have smart plugs or hardwired smart switches acting as mesh repeaters between the hub and the sensor. A general rule of thumb is to have one mains-powered router device for every 4 to 5 battery-operated end devices.
3. Automation Flapping
Flapping occurs when a sensor rapidly toggles between 'Occupied' and 'Clear', causing your lights to strobe or your HVAC system to short-cycle. Solution: Implement a "for" condition in your trigger logic. In YAML-based systems like Home Assistant, configure the trigger to only fire if the state is 'Clear' for a duration of 3 minutes. This simple temporal filter smooths out sensor noise and protects your smart home hardware from premature wear.
Final Thoughts on Workflow Optimization
Configuring presence-based automation workflows is an iterative process. The philosophy of perfect home automation, as championed by the Home Assistant community, dictates that the system should be proactive, not reactive. By investing in mmWave technology, prioritizing local hub execution, and implementing intelligent hysteresis in your logic, you can eliminate the need for manual overrides.
Start with a single room—such as the living room or home office—and perfect your sensor placement, zone mapping, and logic conditions. Once you have established a reliable baseline, you can scale the workflow across your entire home, room by room. The result is a living space that truly understands your habits, conserves energy intelligently, and provides a seamless, magical experience for you and your guests.