The Shift from Fragmented Apps to Unified Controllers
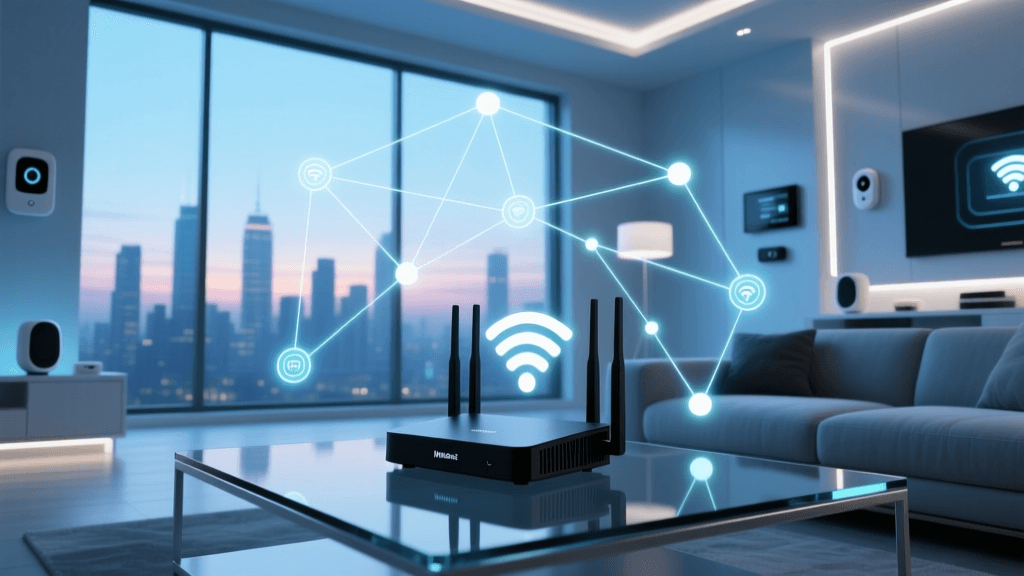
The modern smart home is a marvel of automation, but it often comes with a hidden tax: app fatigue. The average smart home enthusiast manages anywhere from 15 to 50+ connected devices. When these devices span multiple brands—Philips Hue for lighting, Ecobee for climate, Ring for security, and Sonos for audio—you are forced to juggle a fragmented ecosystem of disparate mobile applications. This fragmentation not only ruins the user experience but introduces severe latency and reliability issues, as every command must bounce through a manufacturer's cloud server before reaching your device.
The solution is migrating to a unified smart home controller and configuring a centralized mobile dashboard. By utilizing local hubs like Home Assistant, Hubitat Elevation, or Samsung SmartThings, you consolidate control into a single interface. According to the Connectivity Standards Alliance (CSA), the push toward unified standards like Matter is fundamentally driven by the need to break down these walled gardens, allowing diverse devices to communicate seamlessly on a local network. However, the hardware is only half the battle; proper app configuration, network preparation, and dashboard design are what truly transform a house into a smart home.
Choosing Your Primary Controller Ecosystem
Before configuring your mobile app, you must select the hub that will serve as the brain of your operation. The three dominant players in the advanced DIY space are Home Assistant, Hubitat, and SmartThings. Each offers a distinct approach to local processing, protocol support, and mobile app complexity.
| Controller Hub | Avg. Cost | Local Processing | Protocol Support | App Learning Curve |
|---|---|---|---|---|
| Home Assistant Green | $99 - $130 | 100% Local | Zigbee, Thread, Matter (via dongles/SkyConnect) | Steep (Highly Customizable) |
| Hubitat Elevation C-8 | $159 | 100% Local | Zigbee, Z-Wave, Matter (beta) | Moderate (Rule Machine is complex) |
| Samsung SmartThings Station | $80 - $130 | Hybrid (Cloud-dependent for some features) | Zigbee, Thread, Matter, Wi-Fi | Low (Consumer-friendly GUI) |
For users prioritizing absolute privacy and local speed, Home Assistant and Hubitat are the gold standards. The Z-Wave Alliance frequently highlights the importance of local mesh networks in maintaining reliability when internet connections fail. A local controller ensures that your physical wall switches and motion sensors continue to trigger automations even if your ISP goes down.
Network Infrastructure Prerequisites for Controller Apps
A unified controller app is only as reliable as the network it communicates over. Before opening your mobile app to pair devices, you must optimize your local network infrastructure.
1. IoT VLANs and mDNS Discovery
Security best practices dictate that IoT devices should reside on a separate Virtual Local Area Network (VLAN) from your primary computers and smartphones. However, local controller apps rely heavily on multicast DNS (mDNS) to discover hubs and cast devices. If your hub is on the IoT VLAN and your phone is on the main VLAN, the app will fail to discover the hub automatically. You must configure your router (using pfSense, UniFi, or OPNsense) to allow mDNS reflector services or specific IGMP snooping rules to bridge discovery packets between VLANs without compromising security.
2. 2.4GHz vs. 5GHz Band Steering
Most smart home peripherals (sensors, smart plugs, basic bulbs) operate exclusively on the 2.4GHz Wi-Fi band or use Zigbee/Z-Wave radios. If your router utilizes aggressive band steering (forcing devices to 5GHz), your hub's onboarding process will fail. Create a dedicated 2.4GHz-only SSID specifically for IoT onboarding, and ensure your mobile device is connected to this same SSID during the initial controller app pairing phase.
3. Static IP Assignment
Your controller hub must have a reserved static IP address in your DHCP settings. If the hub's IP changes after a router reboot, your mobile app's WebSocket connection will drop, and local automations may fail to report their status back to your dashboard.
Deep Dive: Home Assistant Companion App Configuration
Home Assistant is the undisputed king of local smart home control, but its power comes with a complex setup process. The official Home Assistant Mobile App integration is the bridge between your server and your smartphone.
Step 1: Local vs. Remote Access
When you first open the Companion App on your local Wi-Fi, it will discover your instance via mDNS. However, accessing your dashboard from a cellular network requires remote access. While port forwarding is an option, it is highly discouraged due to severe security risks. Instead, subscribe to Nabu Casa (the official cloud relay service) or configure a Cloudflare Tunnel. Nabu Casa is recommended as it natively integrates with the Companion App, enabling push notifications and secure WebSockets without exposing your home network to the open internet.
Step 2: Android Battery Optimization
If you are using Android, the operating system's aggressive battery management will kill the Home Assistant background service, destroying your presence detection and notification delivery. You must navigate to your phone's Settings > Apps > Home Assistant > Battery, and set it to 'Unrestricted'. Furthermore, disable any 'Adaptive Battery' features that target the app.
Step 3: Dashboard Views for Mobile
Do not use your desktop dashboard on your mobile app. The Companion App supports specific view types optimized for touch. In your Home Assistant YAML configuration, create a dedicated mobile view:
views:
  - title: Mobile
    path: mobile
    type: masonry
    visible:
      - user: [Your_Mobile_User_ID]
    cards:
      - type: custom:mushroom-chips-card
        chips:
          - type: weather
          - type: entity
            entity: sensor.front_door
Using custom frontend repositories like Mushroom or Minimalist UI drastically improves the touch targets and load times on the mobile Companion App.
Deep Dive: Hubitat Elevation Dashboard Configuration
Hubitat takes a different approach. It is designed to be a local powerhouse with a slightly more rigid, but highly stable, mobile dashboard. The Hubitat app does not use YAML; instead, it relies on a web-based dashboard builder that is mirrored to the mobile app.
Creating the Mobile Dashboard Layout
In the Hubitat web interface, navigate to Apps > Hubitat Dashboard > Create New Dashboard. Name it 'Mobile View'. When adding tiles, prioritize 'Attribute' tiles over 'Template' tiles for faster rendering on the mobile app. Group your most critical devices (front door lock, garage door, alarm status) at the very top.
Custom CSS and Tile Attributes
Hubitat allows advanced users to inject custom CSS into the dashboard. This is vital for the mobile app, as default tiles can be too small for quick tapping. You can use CSS to increase the padding of touch targets and change tile colors based on state (e.g., making a lock tile bright red when unlocked).
.tile-attribute-lock {
    background-color: #ff4444 !important;
    border-radius: 15px;
    padding: 20px;
}
Multi-User Configuration and Family Dashboards
A smart home is rarely used by just one person. Configuring your controller app for multi-user households requires careful permission management and personalized dashboards.
User Profiles and Permission Levels
In Home Assistant, you can create distinct user accounts for family members. You can assign 'Local Access Only' to guests or children, preventing them from modifying core automations or viewing security camera feeds. The Companion App allows each user to log in with their own credentials, automatically loading their personalized dashboard view based on their User ID.
Presence Detection and Geofencing
Controller apps excel at presence detection. By enabling location tracking in the Companion App, the hub knows who is home. This allows for complex, user-specific automations. For example, if the 'Home' automation triggers the living room lights to turn on at sunset, it should only do so if at least one user's app reports them as 'Home'. Furthermore, you can configure iOS Focus Modes to interact directly with the controller. When a user puts their phone in 'Sleep' mode, the app can trigger a 'Goodnight' scene on the hub, locking doors and arming the perimeter, unique to that specific user's routine.
Notification Routing and Alert Logic
Push notifications are a core feature of any controller app, but poorly configured alerts lead to notification blindness. You must segment your alerts into critical and informational tiers.
- Critical Alerts (Bypass Do Not Disturb): Smoke detectors, water leak sensors, and forced entry alarms. In the Home Assistant Companion App, configure these using the 'critical' notification channel on iOS or high-priority channels on Android to ensure they break through silent modes.
- Informational Alerts: Laundry finished, garage door left open for 10 minutes, daily climate summaries. Route these to a dedicated 'Smart Home' notification channel on your phone, which can be silenced during work hours or sleep.
- User-Specific Routing: Use conditional logic in your hub's automation engine. If the garage door opens while the primary homeowner's app shows them as 'Away', send a high-priority push notification. If they are 'Home', suppress the alert.
Troubleshooting Common Controller App Sync Issues
Even the most meticulously configured setups will occasionally face synchronization issues between the local hub and the mobile app. Here is how to troubleshoot the most common problems.
WebSocket Disconnects and Stale States
If your app shows a light as 'On' when it is actually 'Off', the WebSocket connection between your phone and the hub has likely dropped. This is common when switching from Wi-Fi to cellular data. Ensure your controller's remote access URL (via Nabu Casa or DDNS) is correctly configured to handle seamless handoffs. In Home Assistant, checking the 'Connection' status in the Companion App's developer tools will reveal if the WebSocket is actively polling or relying on cached states.
Token Expiration and Authentication Loops
OAuth tokens used by mobile apps to communicate with local hubs have expiration dates. If you are stuck in a login loop, clear the app's local cache. For Home Assistant, navigate to your user profile in the web UI, go to 'Security', and revoke all stale mobile app refresh tokens. Then, log out and log back in on the mobile device to generate a fresh cryptographic handshake.
Local Network Firewall Blocking
If your app works perfectly on cellular data but fails when connected to your home Wi-Fi, your router's firewall or AP isolation settings are to blame. Ensure that 'Client Isolation' or 'AP Isolation' is disabled on your IoT and primary Wi-Fi networks. This feature prevents devices on the same Wi-Fi network from talking to each other, which severs the local connection between your smartphone and the controller hub, forcing the app to route commands through the cloud (or failing entirely if no cloud relay exists).
Conclusion
Transitioning from a fragmented mess of manufacturer apps to a unified smart home controller is the defining step between a novice tinkerer and a true smart home architect. By carefully selecting a local hub, optimizing your network infrastructure for mDNS and IoT VLANs, and meticulously configuring the Home Assistant or Hubitat mobile dashboards, you achieve a level of speed, privacy, and reliability that cloud apps simply cannot match. Take the time to design mobile-specific views, segment your push notifications, and secure your remote access tunnels. The result is a seamless, invisible automation ecosystem that responds instantly to your touch, whether you are standing in your living room or halfway across the world.