How to Create the Perfect Smart Home Setup Image & Floor Plan Diagram
Before you buy a single smart switch or mount a security camera, the most critical step in building a connected home is creating a comprehensive smart home setup image. A visual floor plan and network topology diagram act as the master blueprint for your entire ecosystem. Without a proper setup image, you risk creating Wi-Fi dead zones, overlapping sensor ranges, and a cluttered dashboard interface that frustrates your family members.
Whether you are retrofitting an existing house or planning the low-voltage wiring for a new build, mapping out your device placement, mesh network topology, and dashboard UI will save you countless hours of troubleshooting. In this guide, we will walk you through the exact process of designing a professional-grade smart home setup image.
Project Overview
- Difficulty Level: Beginner to Intermediate
- Estimated Time: 2 to 4 hours (depending on home size)
- Primary Goal: Create a visual map for device placement, network topology, and dashboard UI design.
Tools & Products Needed
To create an accurate and highly functional smart home setup image, you will need a mix of physical measuring tools and digital software. Here is what we recommend gathering before you begin:
- Measuring Tape & Graph Paper: For initial physical room measurements and quick sketches.
- Floor Plan Software: Applications like SketchUp, Floorplanner, or Lucidchart to digitize your setup image.
- Network Scanner App: Tools like Fing or Ubiquiti WiFiman to map existing IP addresses and signal strengths.
- Stud Finder & Voltage Tester: To mark structural obstacles and existing electrical wiring on your diagram.
- Label Maker: For physically tagging cables and matching them to your setup documentation.
- Tablet or Smartphone: To test dashboard UI layouts and camera field-of-view (FOV) angles in real-time.
Step 1: Draft Your Physical Floor Plan & Device Placement
The foundation of any great smart home setup image is an accurate physical floor plan. This is not just about drawing walls; it is about understanding the physical environment and how it interacts with wireless signals and physical hardware.
Map the Architectural Elements
Start by drawing the exterior and interior walls. Pay special attention to the materials used. Drywall and wood studs allow Wi-Fi, Zigbee, and Z-Wave signals to pass through relatively easily. However, brick, concrete, and metal studs act as massive signal blockers. Mark these heavy materials on your setup image with a distinct color or pattern so you know where to place wireless repeaters or hardwired access points.
Mark Electrical & Low-Voltage Points
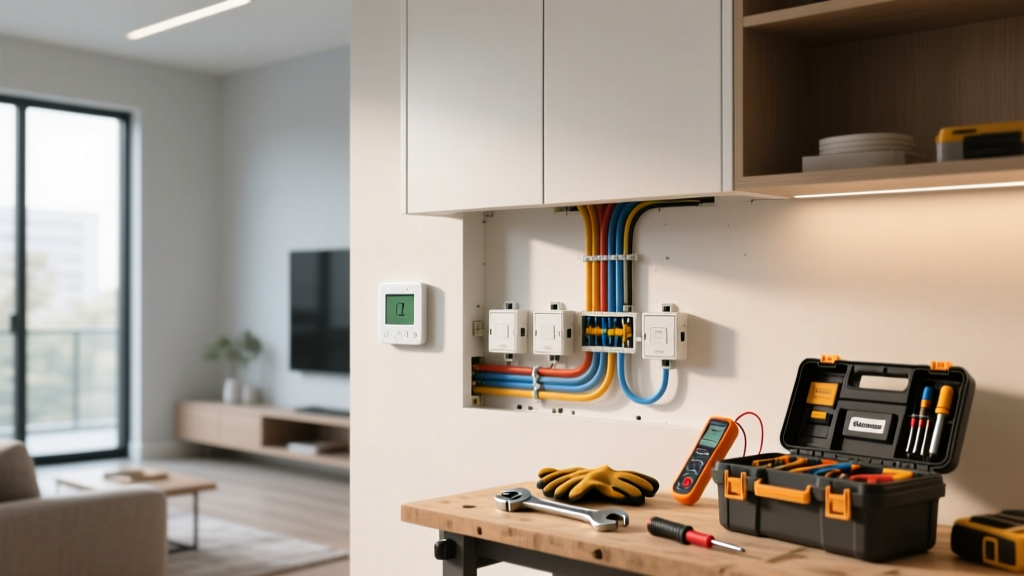
Walk through your home and mark every existing electrical outlet, light switch, and junction box on your diagram. If you are planning to install smart switches, you must verify the presence of a neutral wire in each gang box. Note the location of your main breaker panel and existing coaxial or Ethernet drops. This will help you determine the best central location for your primary smart home hub and network rack.
Plan Sensor & Camera Angles
When plotting motion sensors and smart cameras, draw a "cone of vision" on your setup image. PIR (Passive Infrared) motion sensors should never be pointed directly at heat sources like radiators, fireplaces, or windows with direct sunlight, as this will cause false triggers. For cameras, mark the desired mounting height and draw the field of view to ensure you are capturing entryways without invading your neighbors' privacy.
Step 2: Map Your Network Topology & Hub Placement
A smart home is only as reliable as the network that supports it. Your setup image must include a detailed network topology diagram that separates your high-bandwidth devices from your low-power mesh devices.
Design the Wi-Fi Mesh Layer
High-bandwidth devices like smart TVs, security cameras, and voice assistants require a robust Wi-Fi network. On your setup image, plot the location of your primary router and your mesh Wi-Fi nodes. Aim for a triangular or diamond placement pattern to ensure overlapping coverage. If you are running Power over Ethernet (PoE) to ceiling-mounted access points, draw the Ethernet cable runs from your central switch to each AP location on the diagram.
Plot the Zigbee, Z-Wave, & Thread Mesh
Unlike Wi-Fi, protocols like Zigbee, Z-Wave, and Thread rely on a low-power mesh network where every mains-powered device acts as a repeater. On your setup image, highlight all the devices that will be hardwired to mains power (smart plugs, smart switches, smart bulbs). Draw connecting lines between these devices to visualize the mesh routing paths. Ensure there are no "gaps" in the mesh between your central hub and battery-powered devices like door/window sensors located at the far edges of your property.
Centralize the Hub & Border Routers
The physical location of your smart home hub or Matter/Thread border router is critical. Place it in the geometric center of your home on your setup image. Avoid placing the hub inside a metal media cabinet or directly behind a large television, as this will severely degrade the antenna performance. If your hub must live in a media console, plan to use an external USB extension cable to position the Zigbee/Z-Wave dongle above the cabinet.
Step 3: Design Your Smart Home Dashboard Layout
When people search for a "smart home setup image," they are often looking for inspiration on how to design their dashboard user interface (UI). The dashboard is the visual control panel you and your family will interact with daily, whether on a smartphone or a wall-mounted tablet.
Establish a Visual Hierarchy
Your dashboard image should prioritize the most frequently used controls. The top section of your UI should feature global actions: a "Goodnight" scene that locks doors and turns off lights, a "Movie Mode" scene, and an "Away" security arm button. Below the global actions, organize the interface by room or zone. Use high-contrast icons and clear typography so the interface is readable from a distance or in low-light conditions.
Plan Wall-Mounted Tablet Locations
If you plan to install a permanent control panel, mark the location on your physical floor plan. The ideal height for a wall-mounted smart home dashboard is between 48 and 54 inches from the floor to the center of the screen. Ensure you plan for a recessed power outlet or a PoE injector behind the wall so that no ugly cables are visible in your final setup. Your setup image should include the exact dimensions of the tablet and the mounting bracket to ensure it fits between wall studs.
Integrate Camera Feeds & Climate Data
A great dashboard setup image incorporates live data. Dedicate a specific quadrant of your UI design for live camera thumbnails, current indoor/outdoor temperatures, and energy monitoring stats. Ensure that the video feeds are set to load only when tapped or when motion is detected to prevent the dashboard from lagging or consuming excessive network bandwidth.
Step 4: Document Wiring, IP Addresses & Automations
The final layer of your smart home setup image is the technical documentation. This "cheat sheet" is invaluable when you need to troubleshoot a device months or years after the initial installation.
Create an IP & MAC Address Spreadsheet
Every smart device needs an IP address. To prevent conflicts, configure your router to assign static IP addresses or DHCP reservations based on the device's MAC address. Create a visual spreadsheet or table that maps the device name, its physical location, its MAC address, and its reserved IP. Color-code the list by protocol (e.g., blue for Wi-Fi, green for Zigbee, orange for Thread) to make it easy to read at a glance.
Map the Automation Logic
Visualizing your automation routines as a flowchart is a fantastic way to spot logical errors. Use your diagramming software to draw "If/Then" logic trees. For example: If the front door opens (Trigger) And the sun has set (Condition), Then turn on the foyer lights to 80% brightness (Action). Mapping these out visually prevents conflicting automations, such as a motion sensor turning off a light while a movie-watching routine is actively running.
Label the Physical Hardware
Take your setup image and use it to guide your physical labeling. Use a label maker to tag every Ethernet cable, every low-voltage wire, and every smart plug. If your setup image dictates that the "Living Room Lamp" is plugged into a specific smart plug, label the plug accordingly. This bridges the gap between your digital diagram and your physical reality.
Troubleshooting Common Planning & Mapping Issues
Even with a meticulous smart home setup image, you may encounter real-world variables that require adjustments. Here is how to troubleshoot common mapping and planning issues.
Issue: Unexpected Signal Dead Zones
Solution: If your physical setup image didn't account for hidden obstacles like HVAC ductwork or foil-backed insulation, your wireless signals will suffer. Use a Wi-Fi analyzer app on your phone to walk the perimeter of the dead zone. Update your setup image to reflect the new obstacle and add a hardwired access point or a dedicated mesh repeater to bridge the gap.
Issue: Dashboard UI Clutter & Lag
Solution: If your wall-mounted tablet is lagging, your dashboard setup image is likely too complex. High-resolution camera feeds and constant polling of energy monitors will drain tablet resources. Simplify the UI by using static icons instead of live video feeds, and set the polling interval for temperature sensors to 5 minutes instead of 5 seconds.
Issue: Zigbee/Z-Wave Mesh Instability
Solution: Battery-powered devices cannot route signals; only mains-powered devices can. If your mesh network is dropping offline, review your network topology image. Ensure you have enough smart plugs or hardwired switches acting as repeaters between your central hub and your remote battery sensors. Adding a few inexpensive smart plugs in strategic hallways can instantly stabilize the mesh.
Frequently Asked Questions (FAQ)
What is the best software for drawing a smart home setup image?
For physical floor plans, tools like Floorplanner, SketchUp, or even Microsoft Visio are excellent choices. For network topology and automation logic flowcharts, Lucidchart and draw.io offer specialized networking icons and easy drag-and-drop functionality. If you prefer a tactile approach, large-format architectural graph paper and a good set of drafting pens work perfectly for initial brainstorming.
How do I map Zigbee and Z-Wave mesh networks visually?
Start by placing your central hub or coordinator in the center of your diagram. Next, plot all mains-powered devices (smart switches, plugs, and bulbs) and draw lines connecting them to the hub and to each other, representing the mesh routing paths. Finally, place your battery-powered sensors at the edges of the mesh, ensuring they are within one "hop" of a mains-powered repeater. Many modern hubs also offer a built-in "Zigbee Map" feature in their software interface, which you can screenshot and overlay onto your floor plan for real-world accuracy.
Should I include wired Ethernet drops in my setup diagram?
Absolutely. Even in a wireless-first smart home, hardwired Ethernet is the gold standard for reliability. Your setup image should clearly mark the location of your network switch, the path of the Cat6 or Cat6a cable runs through the walls, and the termination points for Wi-Fi access points, smart TVs, and PoE security cameras. Documenting these drops ensures you never accidentally drill into a live data cable when mounting hardware later on.
How often should I update my smart home floor plan image?
You should update your setup image every time you add, remove, or relocate a major device. Treat your smart home diagram like a living document. If you change your Wi-Fi mesh layout, add a new Thread border router, or redesign your dashboard UI, take ten minutes to update your master file. Keeping an accurate, up-to-date setup image is the single best way to ensure long-term reliability and make future expansions seamless.
Can a smart home setup image help with Matter compatibility?
Yes. The Matter protocol relies heavily on Thread border routers and Wi-Fi access points. By mapping out your network topology visually, you can ensure you have adequate Thread border router coverage (often built into modern smart speakers and hubs) distributed evenly throughout the home. A visual setup image prevents you from clustering all your Matter-compatible border routers in one room while leaving the rest of the house without a Thread mesh.
Final Thoughts on Visual Smart Home Planning
Creating a detailed smart home setup image is the hallmark of a professional installer and an enthusiast who values reliability over impulse buying. By taking the time to map your physical environment, design your network topology, and plan your dashboard UI, you eliminate the guesswork from smart home automation. Your setup image will serve as the ultimate reference guide, ensuring that every sensor, switch, and camera works in perfect harmony for years to come. Grab your measuring tape, fire up your diagramming software, and start building the connected home of your dreams today.