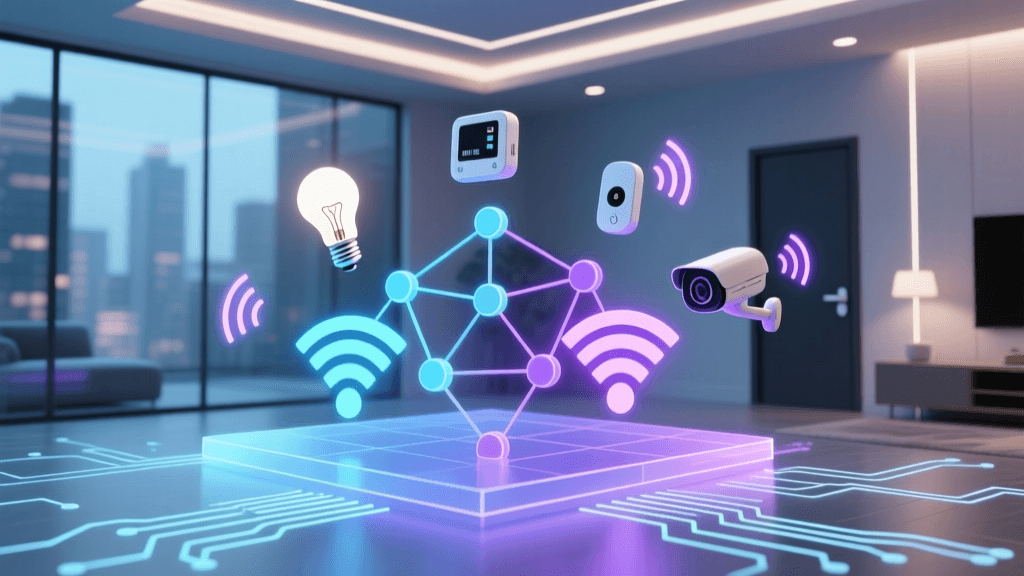
The Hidden Reality of Mesh WiFi in Smart Homes
Upgrading to a mesh WiFi system is often marketed as the ultimate cure-all for home connectivity issues. For standard consumers streaming Netflix or browsing social media, a mesh network provides a seamless, high-bandwidth experience. However, for DIY smart home installers and automation enthusiasts, mesh networks often introduce a unique set of frustrating challenges. Smart home devices—ranging from WiFi-enabled smart plugs and security cameras to central hubs running Zigbee or Thread—have vastly different network requirements compared to smartphones and laptops.
When your smart lights fail to respond to voice commands, or your security cameras randomly drop offline, the culprit is rarely the device itself. More often than not, the issue lies in how the mesh network manages low-bandwidth IoT (Internet of Things) traffic, band steering, and roaming protocols. According to NIST IoT guidelines, the sheer density of connected devices in modern homes requires robust network segmentation and reliable baseline connectivity to prevent localized network exhaustion. In this comprehensive guide, we will dive deep into troubleshooting mesh WiFi dead zones, dropouts, and IoT incompatibilities to ensure your whole-home automation runs flawlessly.
Understanding Mesh Architecture vs. IoT Requirements
Traditional routers broadcast a strong signal from a single point, leading to inevitable dead zones in far-flung rooms. Mesh systems solve this by deploying multiple nodes that communicate with one another to blanket the home in a single, unified SSID (network name). While this works beautifully for mobile devices that support modern roaming standards, IoT devices are notoriously "dumb" when it comes to network handoffs.
The Band Steering Dilemma
Most modern mesh systems utilize band steering to automatically push capable devices onto the faster, less congested 5GHz or 6GHz bands, leaving the 2.4GHz band open for legacy devices. The problem? Almost all smart home devices (smart bulbs, plugs, robot vacuums, and budget security cameras) strictly require a 2.4GHz connection. Aggressive band steering algorithms can sometimes trap these IoT devices in a loop, attempting to force them onto a 5GHz signal they cannot parse, resulting in setup failures or intermittent dropouts.
The Sticky Client Problem
Unlike a smartphone that actively scans for the strongest access point and seamlessly roams to the nearest mesh node, many smart home devices suffer from "sticky client" syndrome. A WiFi camera installed in the garage might connect to the main router during initial setup because the installer was standing near the router. Later, when the camera is mounted in the garage, it stubbornly holds onto that distant, weak router signal instead of roaming to the mesh satellite node located just ten feet away. This results in severe packet loss, high latency, and eventual disconnection.
Step-by-Step Troubleshooting Guide for Mesh Dropouts
If your smart home devices are consistently dropping offline, follow this systematic troubleshooting workflow to identify and resolve the bottleneck.
Step 1: Audit Node Placement and Backhaul Topology
The physical placement of your mesh nodes dictates the health of your entire network. Many users place satellite nodes in the exact room where they need coverage, which is a critical mistake. If the node is in a dead zone, it is receiving a poor signal from the main router and will simply broadcast a strong, but entirely useless, internet connection to your devices.
- The Halfway Rule: Always place satellite nodes halfway between the main router and the dead zone. The node must have a strong upstream connection to provide a strong downstream signal.
- Avoid Daisy-Chaining: Whenever possible, use a Star Topology (every satellite connects directly to the main router) rather than a Daisy Chain (satellite connects to another satellite). Daisy-chaining doubles the latency and halves the bandwidth at each hop, which can cause smart home hubs to time out.
- Utilize Wired Backhaul: If your home has Ethernet wiring, hardwire your mesh nodes. A wired backhaul frees up the wireless spectrum entirely for your devices and eliminates inter-node interference.
Step 2: Analyze Signal Attenuation and Physical Obstructions
Not all walls are created equal. A mesh node placed just two rooms away might seem like a good idea, but if the signal must pass through high-density materials, the 2.4GHz and 5GHz signals will degrade rapidly. Understanding material attenuation is crucial for smart home planning.
Average 5GHz WiFi Signal Loss by Material
As visualized in the chart above, materials like brick, concrete, and metal act as severe RF shields. If you are trying to push a mesh signal through a masonry fireplace or a concrete foundation wall to reach a smart thermostat or outdoor camera, no amount of software tweaking will save you. You must reposition the node to maintain a clear line of sight or utilize a wired access point.
Step 3: Create a Dedicated 2.4GHz IoT SSID
To eliminate band steering confusion and the sticky client problem, the most effective solution for advanced DIY installers is to segment the network. Most premium mesh systems (like Asus ZenWiFi or TP-Link Deco) allow you to create an additional SSID or an IoT Network specifically locked to the 2.4GHz band.
- Access your mesh router's admin app or web interface.
- Create a new Guest Network or IoT VLAN.
- Disable the 5GHz and 6GHz bands for this specific SSID.
- Connect all your smart plugs, switches, and cameras exclusively to this 2.4GHz network.
This guarantees that your IoT devices will never be mistakenly pushed to a 5GHz band, and it reduces the "noise" they generate on the primary network used by your phones and laptops.
Step 4: Verify Roaming Protocols (802.11k/v/r)
For devices that move around the house, such as robot vacuums or WiFi-enabled pet feeders, seamless roaming is essential. The Wi-Fi Alliance EasyMesh standards and the 802.11k/v/r protocol suite allow routers to actively assist devices in finding the best node. If your mesh system has an "Assisted Roaming" or "Fast Roaming" toggle in the settings, enable it. However, be warned: some older, budget smart plugs do not understand 802.11v disassociation frames and will crash if the router forces them to roam. If you experience sudden crashes after enabling fast roaming, disable it immediately.
Product-Specific Troubleshooting: Eero, Orbi, and Deco
Different mesh manufacturers handle IoT traffic and network management in vastly different ways. Below is a comparison of how the top three consumer mesh systems handle smart home troubleshooting.
| Brand / Model | Backhaul Type | IoT 2.4GHz Handling | Price Range | Common Troubleshooting Quirk |
|---|---|---|---|---|
| Amazon Eero Pro 6E | Dynamic Tri-Band | Excellent (Thread Border Router built-in) | $400 - $600 | Lacks native 2.4GHz SSID splitting; relies on cloud-based band steering. |
| Netgear Orbi RBKE963 | Dedicated 5GHz Backhaul | Good (Allows IoT SSID creation) | $800 - $1,200 | Satellite sync failures if placed too far; requires strict halfway placement. |
| TP-Link Deco XE75 | Dynamic Tri-Band (6GHz) | Very Good (Dedicated IoT Network feature) | $350 - $500 | Aggressive default roaming settings can cause older smart plugs to drop. |
Amazon Eero: The Thread Advantage and Cloud Reliance
Amazon Eero systems are incredibly user-friendly and feature built-in Thread Border Routers, making them ideal for Matter-compatible smart homes. By offloading devices to the Thread network, you free up massive amounts of WiFi bandwidth. However, Eero's lack of granular local controls can be a headache. You cannot easily split the 2.4GHz and 5GHz bands into separate SSIDs. If a smart plug refuses to connect during setup, the best workaround is to temporarily move the plug and your smartphone right next to the main Eero router, complete the setup, and then relocate the plug.
Netgear Orbi: The Dedicated Backhaul Beast
Orbi systems are famous for their dedicated wireless backhaul, meaning the nodes use a private radio band just to talk to each other, leaving the standard bands entirely for your devices. This is phenomenal for security cameras streaming 2K/4K video. The primary troubleshooting issue with Orbi is satellite placement. Because the dedicated backhaul beam is highly directional and sensitive to distance, placing an Orbi satellite behind a TV or inside a media cabinet will result in constant "Magenta Ring" sync errors. Always place Orbi satellites out in the open, elevated at least three feet off the ground.
TP-Link Deco: Aggressive Optimization
TP-Link Deco units offer incredible value and feature a specific "IoT Network" setting in the app that perfectly isolates 2.4GHz devices. The main issue DIYers face with Deco is its aggressive AI-driven roaming algorithms. If your smart home hub (like a Wink or older SmartThings hub) keeps dropping offline, log into the Deco app, navigate to the specific device's profile, and disable "Fast Roaming" or "Beamforming" for that specific MAC address.
Advanced Network Configuration: mDNS and Multicast
One of the most perplexing issues in smart home setups involves devices that are technically connected to the WiFi, but cannot be controlled via the mobile app or voice assistants. You open your Google Home or Apple Home app, and the devices show as "Offline" or "Not Responding," even though the router shows they have an active IP address.
This is almost always a Multicast DNS (mDNS) issue. Protocols like Google Cast, Apple AirPlay, and local HomeKit control rely on mDNS to broadcast their presence across the local network. In a mesh environment, or when utilizing VLANs to separate IoT devices from personal devices, mDNS packets are often dropped by the router's firewall to prevent broadcast storms.
The Fix: If your mesh router supports it, enable the "mDNS Repeater" or "Multicast Forwarding" feature. This allows the router to catch the discovery broadcasts from your IoT VLAN and repeat them to your smartphone's VLAN. If your mesh system does not support this natively, you may need to introduce a dedicated hub (like a HomePod or Google Nest Hub) on the same VLAN as the IoT devices to act as a local bridge to the cloud.
DHCP Lease Times and NAT Table Exhaustion
A typical smart home can easily exceed 50 to 100 connected devices. Every time a device connects, the router assigns it an IP address via DHCP and opens a port in the NAT (Network Address Translation) table. Consumer mesh routers are often optimized for 20-30 high-bandwidth devices, not 100 low-bandwidth sensors.
If your smart home experiences cascading dropouts—where all devices go offline simultaneously and then slowly reconnect over 10 minutes—your router's NAT table may be overflowing, or DHCP lease times may be causing conflicts.
- Extend DHCP Lease Time: Change your router's DHCP lease time from the default 24 hours to 7 days or 14 days. Smart plugs and bulbs rarely move or change networks; forcing them to renegotiate their IP address daily creates unnecessary network chatter and momentary dropouts.
- Assign Static IPs to Hubs: Your core smart home hubs (Philips Hue Bridge, SmartThings Station, Home Assistant server) should always be assigned a Static IP address (or a DHCP Reservation) outside the standard dynamic pool. This ensures your automation routines never fail due to an IP address change.
When to Abandon WiFi: The Shift to Matter and Thread
As the smart home industry evolves, the ultimate troubleshooting step for WiFi congestion is to stop using WiFi altogether. The new Matter standard, operating over Thread, utilizes a low-power, mesh-networking protocol that runs entirely independently of your home's WiFi bandwidth. Thread devices talk to each other, creating a self-healing mesh of smart sensors that only require a single Thread Border Router (found in newer Apple TVs, Nest Hubs, and Eero routers) to bridge to your network.
By migrating your smart switches, sensors, and plugs to Thread or Zigbee, you drastically reduce the client count on your WiFi mesh network, leaving the 2.4GHz and 5GHz bands entirely free for high-bandwidth tasks like security cameras and video doorbells. If you are continually fighting WiFi dropouts, the most permanent fix is to transition your ecosystem toward local, low-power mesh protocols.
Conclusion
Troubleshooting a mesh WiFi network for a smart home requires a shift in mindset. You are no longer optimizing purely for speed; you are optimizing for density, stability, and seamless handoffs. By understanding the limitations of band steering, properly positioning your nodes to account for material attenuation, segmenting your 2.4GHz IoT traffic, and managing multicast protocols, you can transform a frustrating, unreliable smart home into a rock-solid automation powerhouse. Remember that the best network is one you never have to think about—and with these targeted adjustments, your mesh system will finally deliver on its promise of whole-home intelligence.