The Hidden Culprit Behind Smart Home Failures
When a smart lock fails to engage, a security camera drops offline, or voice commands to your smart bulbs time out, the immediate instinct is to blame the device itself. However, industry data consistently shows that over 70% of smart home malfunctions are not hardware failures, but rather network infrastructure bottlenecks. Standard ISP-provided routers are typically engineered to support 15 to 30 simultaneous connections—mostly high-bandwidth devices like laptops and smartphones. A modern smart home, however, can easily feature 50 to 150 low-bandwidth IoT (Internet of Things) endpoints.
Troubleshooting a smart home network requires a shift in perspective: you are no longer managing a network for high-throughput streaming; you are managing a high-density, low-latency environment where packet loss results in physical security and automation failures. This comprehensive guide will walk DIY installers and homeowners through advanced troubleshooting methodologies for Wi-Fi and mesh network configurations, ensuring your whole-home automation remains resilient and responsive.
Step 1: Diagnosing Network Congestion and Device Limits
The most common cause of intermittent smart home drops is DHCP pool exhaustion or client limit caps on consumer-grade routers. When a router's NAT (Network Address Translation) table fills up, it begins dropping connections from lower-priority devices, which usually includes IoT hardware.
Identifying the Bottleneck
- ISP Gateway Limits: Standard combo modem/routers from providers like Xfinity or AT&T often cap out at 32 to 45 concurrent Wi-Fi clients. If you have 40 smart bulbs, 5 smart plugs, and a few phones, the network will silently drop the bulbs.
- DHCP Lease Times: If your router's DHCP lease time is set to 14 days, IP addresses remain reserved even when devices are offline, artificially inflating the client count. Reduce your DHCP lease time to 24 hours to free up IP space for transient IoT devices.
- The 2.4GHz Bottleneck:Almost all smart home devices (with the exception of high-res security cameras and newer Matter-over-Thread devices) operate exclusively on the 2.4GHz band. This band only has three non-overlapping channels (1, 6, and 11). If your router is set to 'Auto' channel selection, it may bounce between congested channels, causing momentary drops that trigger offline alerts in your SmartThings or Home Assistant dashboard.
Step 2: Optimizing Mesh Network Node Placement
Upgrading to a mesh system like the Amazon Eero Pro 6E, TP-Link Deco XE75, or Netgear Orbi is the standard solution for high device counts. However, improper node placement creates 'hidden node' problems and excessive latency.
The Wireless Backhaul Trap
Mesh nodes communicate with each other via a 'backhaul.' If you place a node too far from the primary router, the backhaul signal degrades. When a smart plug connects to that distant node, the command must travel from the router, to the node, to the plug, and back. If the backhaul is weak, latency spikes, and the automation times out.
- Rule of Thumb: Place mesh nodes no more than 30 to 40 feet apart indoors, separated by no more than one standard drywall wall.
- Wired Backhaul: For multi-story homes, utilize MoCA (Multimedia over Coax Alliance) adapters or Ethernet backhaul. Connecting your TP-Link Deco nodes via MoCA 2.5 guarantees a 2.5 Gbps backhaul, completely eliminating wireless interference between nodes.
- Avoid the Floor: Placing a mesh node on the floor or behind a TV console severely limits its spatial multiplexing capabilities. Elevate nodes to at least 4 feet off the ground for optimal omnidirectional signal dispersion.
Step 3: Eliminating Wireless Interference and Protocol Overlap
Wireless interference in a smart home isn't just about microwaves and baby monitors; it is about protocol overlap. Zigbee, Z-Wave, Bluetooth, and Wi-Fi all compete for space in the 2.4GHz spectrum.
Zigbee operates on channels 11 through 26. If your Wi-Fi router is broadcasting on Channel 11, and your Philips Hue Bridge is also set to Zigbee Channel 11, the protocols will actively interfere with one another. The Wi-Fi Alliance recommends specific channel planning for high-density environments. To resolve this:
- Log into your Wi-Fi router and manually set the 2.4GHz band to Channel 1, 6, or 11 (based on local congestion, which you can scan using a free tool like WiFiman).
- Access your Zigbee hub (e.g., SmartThings, Hue, or Home Assistant's ZHA) and change the Zigbee channel to 15, 20, or 25. These Zigbee channels fall perfectly between the standard Wi-Fi channels, creating a harmonious spectrum environment.
Step 4: Visualizing Signal Attenuation Across Building Materials
Understanding why a smart thermostat in the basement won't connect requires understanding signal attenuation. Different building materials absorb 2.4GHz RF (Radio Frequency) energy at vastly different rates. Below is a visualization of typical decibel (dB) loss per material barrier.
Signal attenuation (dB loss) of 2.4GHz Wi-Fi signals across common residential building materials
As the chart illustrates, a single brick wall or concrete foundation can halve your signal strength (a 3dB loss equals a 50% reduction in power). If your smart irrigation controller is mounted on an exterior brick wall, a standard indoor mesh node will not penetrate it. You must install an outdoor-rated access point (like the Ubiquiti UniFi AC Mesh) or use a Powerline adapter to bridge the connection indoors.
Step 5: IP Address Conflicts and DHCP Reservations
Smart home hubs—such as the Samsung SmartThings Station, Philips Hue Bridge, and Home Assistant Green—act as local servers. If your router's DHCP server assigns a new IP address to your Hue Bridge after a power outage, your local automations and voice assistant integrations will break until you manually update the IP in your router's port forwarding rules or discovery settings.
Implementing DHCP Reservations
To prevent this, always assign Static IP addresses or DHCP Reservations to your core infrastructure devices.
- Smart Hubs: Reserve IPs ending in .10 to .20 (e.g., 192.168.1.10 for SmartThings, .11 for Hue).
- Mesh Nodes: Reserve IPs ending in .21 to .30.
- Printers and NAS: Reserve IPs ending in .31 to .40.
This structured IP schema ensures that even if the router reboots, the foundational pillars of your smart home remain at predictable, static addresses.
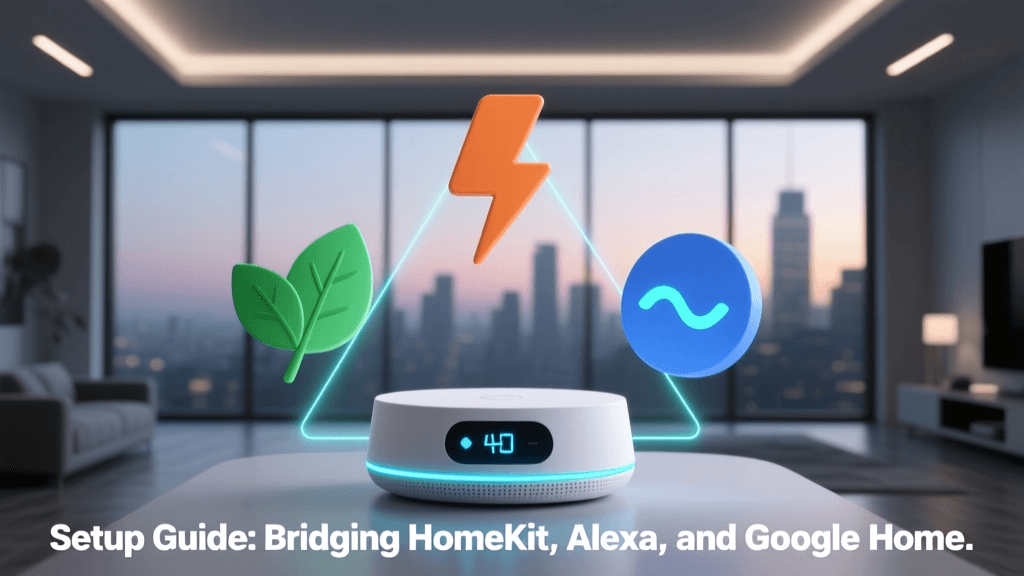
Step 6: Navigating WPA2, WPA3, and IoT Compatibility
Security is paramount, but bleeding-edge security protocols can brick a smart home setup. The transition from WPA2 to WPA3 security protocols has caused massive headaches for DIY installers. Many budget IoT devices (like older TP-Link Kasa plugs or Wyze cameras) lack the processing power or firmware support to authenticate via WPA3's SAE (Simultaneous Authentication of Equals) protocol.
If you enable 'WPA3-Only' mode on your ASUS or Netgear router, these devices will fail to connect. The solution is to enable 'WPA2/WPA3 Transitional Mode.' However, some older smart home chips interpret transitional mode as an error and still refuse to connect.
Furthermore, if you are heavily invested in the Apple ecosystem, you must adhere to strict network security configurations. According to Apple's official HomeKit router requirements, routers must support WPA2 or WPA3 and have multicast enabled to allow HomeKit accessories to communicate locally. Disabling multicast (often done by users trying to reduce network chatter) will immediately break Apple HomeKit automations and Siri voice commands.
Smart Home Mesh Router Comparison Table
Choosing the right hardware is the first step in preventing troubleshooting sessions altogether. Below is a comparison of top-tier mesh systems favored by smart home professionals.
| Model | Max Device Capacity | Backhaul Type | IoT VLAN Support | Estimated Cost (3-Pack) |
|---|---|---|---|---|
| Amazon Eero Pro 6E | 100+ | Tri-Band Wireless | No (Guest Network Only) | $599 |
| TP-Link Deco XE75 | 200+ | Tri-Band (6GHz Wireless) | Yes (IoT Network Profile) | $499 |
| Netgear Orbi RBKE963 | 200+ | Quad-Band Wireless | Yes (Dedicated IoT SSID) | $1,499 |
| Ubiquiti UniFi Dream Machine SE | Unlimited (Enterprise) | Wired Ethernet | Yes (Full VLAN Isolation) | $499 (Requires APs) |
Advanced Troubleshooting: VLANs and IoT Isolation
For advanced DIY installers using prosumer gear like TP-Link Omada or Ubiquiti UniFi, the ultimate troubleshooting step for network instability is IoT Isolation via VLANs (Virtual Local Area Networks). IoT devices are notoriously insecure and chatty. A cheap smart plug might broadcast hundreds of multicast packets per minute, overwhelming the router's CPU and causing latency for your Zoom calls or security cameras.
By creating a dedicated 'IoT VLAN', you achieve two things:
- Security: You firewall the IoT network from your main network, preventing a compromised smart bulb from accessing your home office PC.
- Multicast Suppression: You can enable IGMP Snooping on the IoT VLAN, which forces the network switch to intelligently route multicast traffic only to devices that request it (like a Chromecast or Apple TV), rather than flooding the entire house with data.
Note: If you use VLANs, you must ensure your primary smartphone and voice assistants (like Amazon Echo or Google Nest) are granted specific firewall rules to cross the VLAN boundary, otherwise, local discovery protocols like mDNS will fail, and you won't be able to cast music or control devices.
Summary Checklist for DIY Installers
Before replacing a 'faulty' smart device, run through this diagnostic checklist:
- [ ] Check Client Limits: Verify the router isn't capping out on DHCP leases.
- [ ] Verify Channel Overlap: Ensure Wi-Fi (1, 6, 11) and Zigbee (15, 20, 25) are not colliding.
- [ ] Inspect Backhaul Signal: Check the mesh node's signal strength to the main router (aim for better than -65 dBm).
- [ ] Confirm DHCP Reservations: Ensure all hubs and bridges have static IPs.
- [ ] Review Security Protocols: Ensure WPA2/WPA3 transitional modes aren't blocking legacy IoT chips.
- [ ] Check Multicast Settings: Verify multicast is enabled for HomeKit and Chromecast functionality.
Conclusion
Troubleshooting a smart home is less about fixing individual gadgets and more about orchestrating a complex, invisible highway of radio frequencies and data packets. By understanding the physical limitations of RF signals, the protocol overlaps between Zigbee and Wi-Fi, and the software limits of consumer routers, you can transform an unreliable, frustrating smart home into a robust, automated environment that works seamlessly behind the scenes.