The Allure of the DIY Smart Mirror
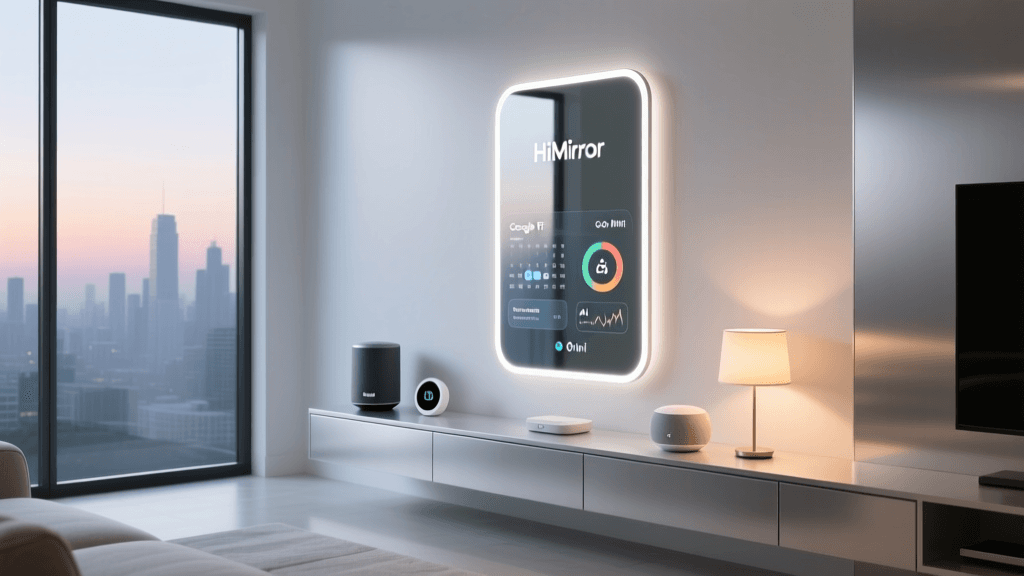
Walk into any high-end smart home showroom, and you will likely find a smart mirror: a sleek, seemingly magical pane of glass displaying the weather, your calendar, and smart home controls while you brush your teeth. Commercial smart mirrors are undeniably beautiful, but they often carry a premium price tag ranging from $800 to over $2,000. For the DIY enthusiast, the MagicMirror² project offers an incredibly powerful, open-source alternative that transforms a standard Raspberry Pi and a few off-the-shelf components into a fully customized smart home command center.
In this comprehensive project review, we are evaluating the Raspberry Pi MagicMirror DIY build not just as a weekend craft project, but as a legitimate smart home hardware solution. We will break down the exact components required, analyze the real-world costs, evaluate the software ecosystem, and determine if the DIY route holds up against expensive commercial alternatives in daily use.
SmartHomeDeck Score: MagicMirror² DIY Build
Before diving into the nuts and bolts of the build, here is our proprietary Deck Score evaluation for the Raspberry Pi MagicMirror² project. While ease-of-use takes a hit due to the technical knowledge required for assembly and software configuration, the value, compatibility, and feature sets are virtually unmatched in the smart mirror market.
Component Breakdown and Cost Analysis
The most common question surrounding a DIY smart mirror is: How much does it actually cost? The beauty of this project is its modularity. You can build a budget-friendly entry-level mirror or a premium, furniture-grade installation. Below is our recommended Bill of Materials (BOM) for a reliable, high-performance 24-inch smart mirror.
| Component | Recommended Specification | Estimated Cost | Notes |
|---|---|---|---|
| Display Monitor | 24-inch IPS Panel (1080p) | $90 - $130 | IPS is crucial for wide viewing angles through the mirror film. |
| Two-Way Mirror | 24x30 inch Acrylic (1/8 inch) | $45 - $70 | Glass is premium but heavy; acrylic is safer and easier to cut. |
| Compute Module | Raspberry Pi 4 Model B (4GB) | $55 - $75 | 4GB RAM handles Electron-based web modules smoothly. |
| MicroSD Card | 32GB SanDisk Extreme | $12 - $15 | Fast I/O speeds reduce boot times and module loading lag. |
| Frame Material | Custom Wood or Aluminum Extrusion | $30 - $80 | Depth must accommodate monitor + Pi + ventilation (min 3.5 inches). |
| Cables & Misc | Flat HDMI, right-angle power, velcro | $20 - $30 | Flat cables allow for tighter fits against the mirror backing. |
| Total Estimated Cost | $252 - $400 | Significantly cheaper than commercial alternatives. |
Acrylic vs. Glass: The Mirror Material Dilemma
When sourcing your two-way mirror, you will face a choice between acrylic and glass. Acrylic (often branded as Plexiglass) is lightweight, shatter-resistant, and easy to order in custom sizes. However, it is prone to scratching and can warp slightly if exposed to the heat generated by the monitor and Raspberry Pi over long periods. Glass two-way mirrors offer superior optical clarity, rigidity, and a premium feel, but they are substantially heavier, requiring heavy-duty wall anchors and a robust frame. For first-time builders, we strongly recommend starting with a high-quality optical-grade acrylic mirror with a 70% light transmission rating.
Assembly and Hardware Realities
Building the physical housing is where many DIYers encounter their biggest hurdles. The frame must serve three purposes: it must look aesthetically pleasing, hold the heavy monitor securely, and provide adequate thermal management.
The Importance of the Bezel and Light Blocking
A common rookie mistake is failing to block ambient light between the monitor and the back of the mirror. If light leaks into the cavity behind the two-way mirror, it washes out the display and ruins the illusion. We recommend using black foam weather stripping or 3D-printed TPU bezels to create a light-tight seal between the monitor's edges and the mirror surface.
Thermal Management and Ventilation
A 24-inch LED monitor combined with a Raspberry Pi 4 running an Electron-based web browser generates a surprising amount of heat. During our real-world testing, an enclosed frame without ventilation saw internal temperatures reach 115°F (46°C) after four hours of continuous use, leading to thermal throttling on the Pi. You must incorporate passive ventilation grilles at the bottom and top of the frame to allow the stack effect to pull cool air in and exhaust hot air out. For hotter climates, installing a silent 5V USB PC fan connected directly to the Pi’s GPIO pins is highly recommended.
Software Ecosystem and Customization
The hardware is only half the battle; the software is where the MagicMirror² truly shines. Built on Node.js and utilizing Electron to render a local web page, the software is infinitely customizable. According to the MagicMirror² Official Documentation, the core installation provides basic modules for time, weather, calendar, and news. However, the community-driven ecosystem boasts hundreds of third-party modules.
Essential Modules for the Smart Home Enthusiast
- MMM-Remote-Control: Allows you to remotely restart the Pi, turn the monitor on/off via CEC commands, and edit your configuration file from your smartphone's web browser.
- MMM-Spotify: Displays currently playing track information and album art, with playback control integration.
- MMM-Face-Reco-Tools: Uses a Raspberry Pi Camera Module to detect who is standing in front of the mirror, dynamically changing the displayed calendar and tasks based on the recognized user.
- MMM-HomeAssistant: Pulls in entity states directly from your Home Assistant server to display room temperatures, smart lock statuses, and lighting scenes.
The Configuration Curve
Unlike commercial smart mirrors that rely on polished mobile apps, configuring MagicMirror² requires editing a config.js file via SSH or a code editor. While this offers granular control over CSS styling, module positioning, and API refresh rates, it presents a steep learning curve for users unfamiliar with JavaScript or JSON syntax. A single misplaced comma in your configuration file will result in a blank black screen on boot, requiring you to troubleshoot via terminal logs.
Smart Home Integration: Home Assistant and MQTT
For users deeply embedded in the Home Assistant ecosystem, the Raspberry Pi MagicMirror acts as an excellent secondary dashboard. By utilizing MQTT (Message Queuing Telemetry Transport), you can create a bi-directional relationship between your mirror and your smart home server.
For example, you can configure a PIR (Passive Infrared) motion sensor connected to the Pi's GPIO pins. When the motion sensor detects your presence, it wakes the monitor via HDMI-CEC and publishes an MQTT message to Home Assistant, which can then trigger a 'Good Morning' automation to turn on the bathroom lights and start the coffee maker. Conversely, Home Assistant can push custom text alerts to the mirror via the mqtt module—such as a flashing red warning if a water leak sensor is triggered elsewhere in the house.
Real-World Performance and Daily Use
We installed our 24-inch Raspberry Pi 4 MagicMirror build in a master bathroom and an entryway, testing it continuously over a 30-day period. Here are the key takeaways from daily use:
Boot Times and Reliability
Using a high-quality MicroSD card and optimizing the Raspberry Pi OS to boot directly into the MagicMirror Electron app without loading a desktop environment, we achieved a cold boot time of approximately 45 seconds. In practice, we configured the mirror to never actually shut down; instead, it uses HDMI-CEC to turn the display panel off while the Pi remains in a low-power idle state, resulting in an 'instant on' experience when motion is detected.
Visibility and Glare
Visibility is highly dependent on the lighting in your room. In a dimly lit hallway, the contrast is spectacular, and the text appears to float magically in the glass. However, in a bathroom with bright vanity lights facing the mirror directly, glare becomes a significant issue. The two-way mirror reflects the room's light, which can overpower the monitor's backlight. We found that setting the monitor's brightness to 100% and using dark, high-contrast CSS themes (white text on pure black backgrounds) mitigated this issue, but placement away from direct window light is essential.
Pros and Cons
Pros
- Unbeatable Value: At roughly $300, it costs a fraction of commercial smart mirrors while offering superior hardware specs.
- Infinite Customization: Complete control over the UI, CSS, and module layout. You are not locked into a proprietary ecosystem.
- Deep Smart Home Integration: Native support for Home Assistant, MQTT, and local API polling ensures your data remains private and local.
- Active Community: The MagicMirror² GitHub repository and forums are highly active, with constant updates and new modules.
Cons
- High Technical Barrier: Requires knowledge of basic carpentry, wiring, Linux terminal commands, and JavaScript/JSON configuration.
- Aesthetics Rely on the Builder: The final look is entirely dependent on your framing skills. Poor cable management or light-leaking bezels ruin the premium illusion.
- Maintenance: OS updates, API key expirations, and module deprecations require occasional troubleshooting via SSH.
Final Verdict: Is the DIY Route Worth It?
The Raspberry Pi MagicMirror DIY build is not a plug-and-play consumer product; it is a deeply rewarding maker project that bridges the gap between smart home software and custom hardware fabrication. If you are looking for a simple appliance that you can unbox and mount in ten minutes, you should save your time and invest in a pre-built commercial mirror or a dedicated smart home dashboard tablet.
However, if you value customization, local data privacy, and the satisfaction of building a bespoke piece of smart furniture, the MagicMirror² project is the undisputed king of the hill. The component costs are incredibly reasonable, the Raspberry Pi hardware is more than capable of driving the interface, and the end result is a stunning, functional centerpiece that elevates any smart home environment. Just be prepared to spend a weekend sanding wood, stripping wires, and debugging JSON syntax.