The Reality of Smart Lock Installation
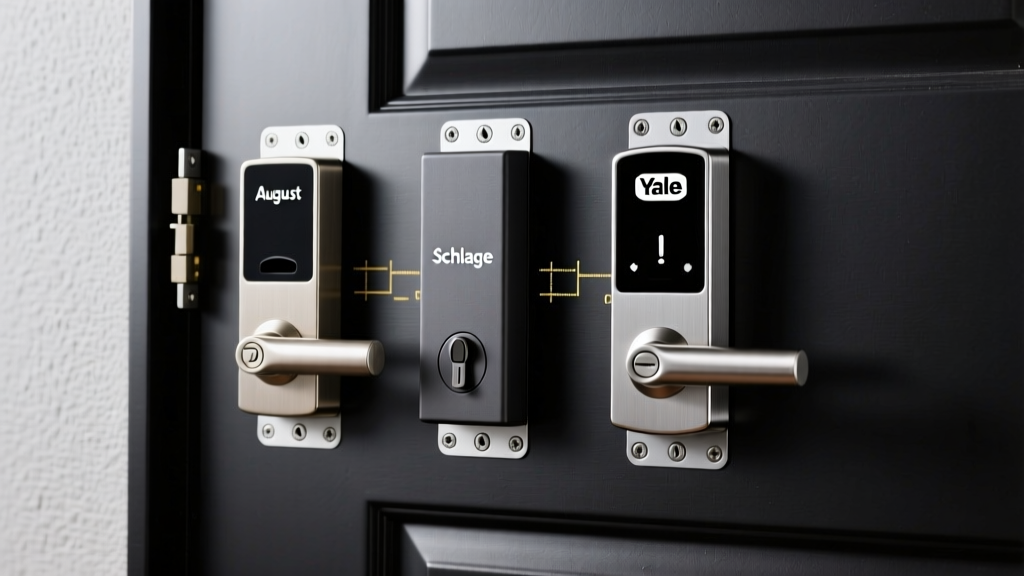
The promise of a smart lock is seamless, keyless entry and remote access. The reality, however, often involves sweating over a misaligned deadbolt, wrestling with 2.4GHz Wi-Fi networks, and waiting through endless firmware updates. As part of our comprehensive Product Reviews series, the SmartHomeDeck team decided to look past the marketing gloss and focus entirely on the Installation Difficulty and First-Setup Report. We took three of the most popular smart locks on the market—the August Wi-Fi Smart Lock, the Schlage Encode Plus, and the Yale Assure Lock 2—and timed every single step from unboxing to final app calibration.
Whether you are a seasoned DIYer or a renter looking for a non-destructive upgrade, this report will tell you exactly what to expect when you take a screwdriver to your front door. For broader context on market leaders, we referenced industry benchmarks from CNET's Smart Lock Guide and practical door prep advice from Family Handyman.
Methodology: How We Tested Installation
To ensure a fair comparison, we installed each lock on a standard interior test door with a 1-3/4 inch thickness and a standard 2-1/8 inch cross-bore hole. We timed three distinct phases:
- Physical Installation: From opening the box to tightening the final screw.
- App Onboarding & Firmware: Account creation, Bluetooth pairing, Wi-Fi provisioning, and mandatory firmware updates.
- Calibration & Ecosystem Pairing: Setting up auto-lock, door sensors, and linking to Apple HomeKit, Amazon Alexa, and Google Home.
We also graded each lock on our proprietary Deck Score dimensions: Performance, Value, Compatibility, Ease-of-Use, and Features.
August Wi-Fi Smart Lock: The Retrofit King
Physical Installation (Time: 12 Minutes)
The August Wi-Fi Smart Lock remains the undisputed champion of physical installation ease. Because it is a retrofit lock, you only replace the interior thumb-turn assembly. Your exterior deadbolt and original keys remain completely untouched. This is a massive advantage for renters or those with custom, high-security exterior cylinders. Using only a Phillips-head screwdriver, we removed the existing thumb-turn, attached the August mounting plate using the existing deadbolt screws, and snapped the August unit onto the plate. The physical install took just 12 minutes.
First-Setup & Calibration (Time: 18 Minutes)
While the hardware is a breeze, the software setup introduces friction. The August app requires a lengthy account creation process and email verification. The primary bottleneck during our test was the DoorSense calibration. DoorSense is a small magnetic sensor that tells the app whether the door is physically open or closed, not just whether the deadbolt is thrown. Aligning the magnet perfectly with the sensor on the lock body requires trial and error. If the gap is too wide, the app will fail to register the door state. Furthermore, the initial Wi-Fi handshake dropped twice during our test before successfully connecting to our 2.4GHz network.
Schlage Encode Plus: The Heavy-Duty Replacement
Physical Installation (Time: 35 Minutes)
The Schlage Encode Plus is a full lockset replacement. You are removing the entire existing deadbolt and installing the Schlage hardware from scratch. The unit is heavy, built with solid metal, and requires careful handling. The most time-consuming aspect of this install is routing the data cable through the door's cross-bore hole without pinching it. According to The Verge's smart lock reviews, cable pinching is the number one cause of early motor failure in full-replacement smart locks. We had to loosen the exterior keypad and reseat the cable twice before the interior assembly powered on correctly. Aligning the latch bolt with the strike plate also required a file to widen the door frame hole slightly, adding 10 minutes to our physical timer.
First-Setup & Calibration (Time: 8 Minutes)
Where Schlage struggles in physical installation, it makes up for in software brilliance. The Schlage Home app is incredibly streamlined. Because the Encode Plus has built-in Wi-Fi, there is no external hub to pair. More importantly, the Apple HomeKey setup was practically magical. By simply tapping our iPhone against the lock's keypad during the HomeKit pairing process, the lock automatically provisioned its Wi-Fi credentials and added itself to our Apple Wallet. Total app and ecosystem setup took a mere 8 minutes.
Yale Assure Lock 2: The Sleek but Complex Option
Physical Installation (Time: 28 Minutes)
The Yale Assure Lock 2 offers a beautiful, minimalist glass keypad, but its modular nature adds steps to the physical installation. Like the Schlage, it requires a full deadbolt replacement. However, Yale uses a modular approach for its connectivity. You must physically slide a Wi-Fi or Z-Wave smart module into a slot on the interior assembly before mounting it to the door. While this is great for future-proofing, it adds a step that many first-time installers miss, leading to confusion when the app cannot find the lock on the network. The physical mounting was straightforward, though the interior cover uses a magnetic latch that felt slightly less secure than the August or Schlage counterparts.
First-Setup & Calibration (Time: 15 Minutes)
The Yale Access app (which shares the same backend as August) is robust but requires a mandatory firmware update immediately upon pairing. In our test, this firmware update stalled at 85% for four minutes before completing. Once updated, the auto-lock calibration was highly accurate, utilizing a built-in gyroscope to detect door position without the need for an external magnet like the August DoorSense. Pairing with Google Home was seamless, but Matter integration required a secondary QR code scan that was printed on a tiny, hard-to-read sticker inside the battery compartment.
Installation Difficulty & Setup Time Comparison
The chart below visualizes the time investment required for each lock, broken down by physical labor and software configuration.
Smart Lock Installation and Setup Time Comparison
Deck Score Comparison Table
| Dimension | August Wi-Fi Smart Lock | Schlage Encode Plus | Yale Assure Lock 2 |
|---|---|---|---|
| Performance (Motor Speed) | 7.5 / 10 | 9.0 / 10 | 8.5 / 10 |
| Value (Cost vs Features) | 8.5 / 10 | 7.0 / 10 | 8.0 / 10 |
| Compatibility (Ecosystems) | 9.0 / 10 | 9.5 / 10 | 9.5 / 10 |
| Ease-of-Use (Install & App) | 8.0 / 10 | 7.5 / 10 | 7.0 / 10 |
| Features (Sensors & Keys) | 8.5 / 10 | 9.5 / 10 | 8.5 / 10 |
| Overall Deck Score | 8.3 / 10 | 8.5 / 10 | 8.3 / 10 |
Common First-Setup Pitfalls and How to Avoid Them
Through our testing, we identified three major pitfalls that cause first-time smart lock installations to fail or result in poor battery life.
1. The Latch Bind Issue
Smart lock motors are surprisingly weak compared to human arms. If your deadbolt latch rubs against the strike plate when extending (known as latch bind), the motor will strain, drain your batteries in weeks, and eventually burn out. Actionable Advice: Before installing any smart lock, manually throw your existing deadbolt. If you have to push, pull, or lift the door to get it to lock smoothly, you must adjust your door hinges or file down the strike plate hole before installing the smart hardware.
2. The 2.4GHz Wi-Fi Trap
Almost all smart locks rely on 2.4GHz Wi-Fi networks due to its superior range and wall penetration. However, modern mesh routers often combine 2.4GHz and 5GHz bands under a single network name (SSID). This causes the lock's setup process to fail when the phone tries to hand the lock over to a 5GHz frequency. Actionable Advice: Temporarily disable your 5GHz band in your router settings during the 5-minute setup window, or use a secondary device connected to a dedicated 2.4GHz guest network to provision the lock.
3. Battery Orientation and Contact
Both the Yale and Schlage locks use standard AA batteries, but the interior compartments are tight. It is incredibly easy to misalign a single battery's polarity, leading to a dead lock on first boot. Actionable Advice: Use a smartphone flashlight to inspect the battery contacts before sliding the interior cover on. Furthermore, avoid using rechargeable NiMH batteries unless explicitly supported by the manufacturer, as their lower nominal voltage (1.2V vs 1.5V) will cause the lock's low-battery warnings to trigger prematurely.
"The hardware is only half the battle. A smart lock that takes 45 minutes to calibrate and constantly drops off the network during firmware updates will quickly turn a luxury upgrade into a daily frustration." — SmartHomeDeck Lead Tester
Final Verdict: Which is Best for DIYers?
If your primary concern is minimizing physical installation difficulty and preserving your existing exterior keys, the August Wi-Fi Smart Lock is the undisputed winner. The retrofit design eliminates the anxiety of door prep, making it the best choice for renters and DIY novices, provided you have the patience for the DoorSense magnet calibration.
If you are willing to tackle a full hardware replacement and want the absolute best software and ecosystem integration, the Schlage Encode Plus takes the crown. The physical install is heavy and requires careful cable management, but the Apple HomeKey setup and rock-solid Wi-Fi connectivity make the first-setup report a joy.
The Yale Assure Lock 2 sits in the middle. It is a beautiful, modular lock that appeals to those who want a sleek keypad and Matter compatibility, but the mandatory firmware updates and modular chip insertion add a layer of complexity that keeps it from taking the top spot for pure ease-of-use.
Ultimately, the best smart lock for your home depends on your door's existing health and your comfort level with both a screwdriver and a smartphone app. Ensure your door is properly aligned before you buy, and your smart home upgrade will be a seamless success.