The Gateway to Smart Home Automation: Thermostat Upgrades
Upgrading to a smart thermostat is widely considered the gateway drug of smart home automation. It offers immediate, tangible benefits: remote climate control, automated scheduling, and significant reductions in monthly utility bills. According to the U.S. Department of Energy, properly managing your thermostat settings can save you up to 10 percent a year on heating and cooling costs. Furthermore, models that carry the ENERGY STAR certification are independently verified to deliver these energy savings without sacrificing comfort.
However, the promise of a smarter home often collides with the reality of DIY electrical work. Unlike swapping out a smart bulb or plugging in a smart speaker, installing a smart thermostat requires interacting with your home's low-voltage HVAC wiring. For many homeowners, the anxiety surrounding C-wire requirements, Wi-Fi pairing protocols, and system calibration turns a weekend project into a daunting chore.
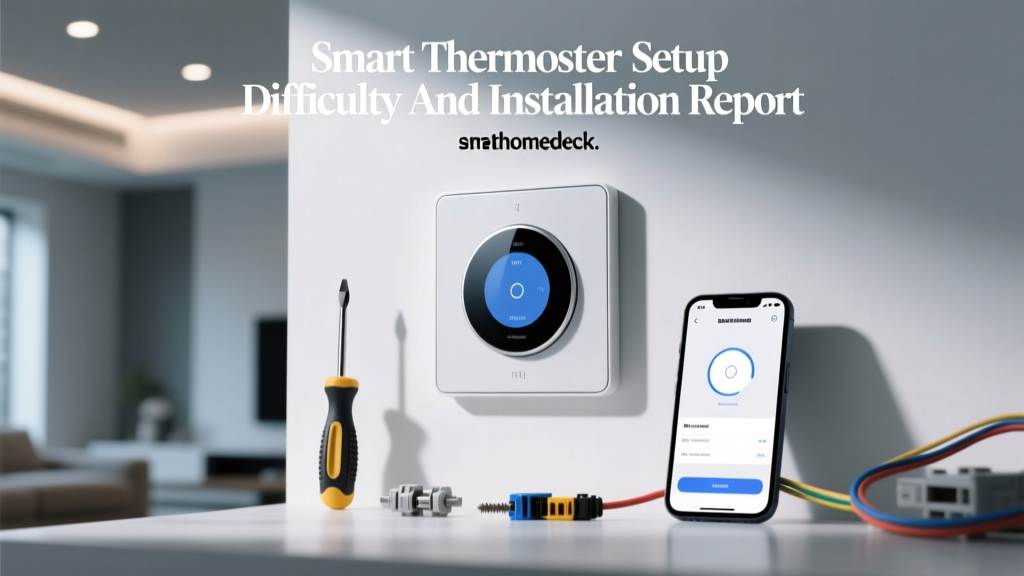
In this comprehensive Installation Difficulty and First-Setup Report, the SmartHomeDeck testing team evaluates three of the most popular smart thermostats on the market: the Google Nest Learning Thermostat (Gen 3), the Ecobee SmartThermostat Premium, and the Honeywell Home T9. We are looking past the glossy marketing and focusing strictly on what it takes to get these devices out of the box, onto your wall, connected to your network, and fully calibrated.
The C-Wire Conundrum: Understanding HVAC Power
Before unboxing any smart thermostat, you must understand the C-wire (Common wire). Traditional thermostats operate on a simple circuit, drawing micro-amps of power from the heating and cooling wires (R, W, Y, G) to power a basic LCD screen and relay switches. Smart thermostats, however, are essentially wall-mounted computers. They house Wi-Fi radios, vibrant touchscreens, and motion sensors that require a continuous 24-volt AC power supply.
The C-wire provides this continuous return path for power. If your home was built before the mid-2000s, there is a high probability that your thermostat wall plate does not have a connected C-wire. This is the single biggest hurdle in smart thermostat installation. If you lack a C-wire, you have three options:
- Run a new wire: Hire an HVAC technician to pull a new 18/5 thermostat cable from your air handler to the wall plate (Cost: $150 to $300+).
- Use a Power Extender Kit (PEK):strong> Install an adapter at your HVAC control board to multiplex the existing wires (Cost: Usually included or $30).
- Use a Plug-in Adapter: Bypass the HVAC system entirely and plug a 24V AC adapter into a nearby wall outlet (Cost: $20 to $30).
SmartHomeDeck Safety Warning: Always turn off the breaker to your HVAC system at the main electrical panel before removing your old thermostat or opening your air handler control board. The Consumer Product Safety Commission strongly advises verifying that power is completely off using a non-contact voltage tester before touching any exposed wiring.
Product Breakdown: Installation and First-Setup
Google Nest Learning Thermostat (Gen 3)
Retail Price Range: $229 - $249
Physical Install Time: 30 - 45 minutes
App Setup Time: 15 - 20 minutes
The Nest Learning Thermostat remains the design benchmark for the category. The unboxing experience is premium, and the included hardware (screws, drywall anchors, and a decorative trim plate) is high quality. The physical installation is straightforward if you already have a C-wire. The Nest baseplate features a built-in bubble level, which is a fantastic touch that saves you from digging through your toolbox.
However, the Nest Gen 3 is notoriously picky about C-wires. While Google claims it can 'pulse' the heating system to steal power in a pinch, this often results in short-cycling your furnace or a dead battery in the middle of winter. If you lack a C-wire, you will need to purchase the separate Nest Power Connector. Installing the Power Connector requires opening your HVAC control board and wiring it in parallel, which adds about 20 minutes to the physical installation and increases the technical difficulty significantly.
App onboarding via the Google Home app is generally smooth but heavily tied to the Google ecosystem. The app forces you to create a 'Home' profile, assign rooms, and input metadata about your home's insulation and window count. Wi-Fi pairing is handled via Bluetooth handoff from your smartphone, which works flawlessly on 2.4GHz networks but can occasionally timeout on complex mesh networks that combine 2.4GHz and 5GHz bands under a single SSID.
Ecobee SmartThermostat Premium
Retail Price Range: $249 - $279
Physical Install Time: 45 - 60 minutes
App Setup Time: 20 - 25 minutes
The Ecobee SmartThermostat Premium is a powerhouse that includes a built-in Alexa speaker and a remote room sensor. Because it includes the Power Extender Kit (PEK) in the box, it is the most forgiving option for older homes lacking a C-wire. The PEK wires into your furnace control board, utilizing the unused G (fan) wire to transmit power and data to the thermostat. While this solves the C-wire problem, it means you must open your furnace, locate the control board, and follow a slightly complex wiring diagram. For a novice, this pushes the physical installation time closer to an hour.
The Ecobee app onboarding is the most comprehensive of the three. It doesn't just ask for your Wi-Fi password; it asks for your utility provider to automatically apply for local energy rebates. It also walks you through the physical placement of the remote room sensor, ensuring it isn't placed in direct sunlight or near a drafty window. The initial calibration phase, where the Ecobee learns your home's thermal envelope, is clearly explained in the app, setting realistic expectations that the system will take 48 to 72 hours to optimize its algorithms.
Honeywell Home T9
Retail Price Range: $179 - $199
Physical Install Time: 20 - 30 minutes
App Setup Time: 10 - 15 minutes
The Honeywell Home T9 (now often branded under Resideo) is the utilitarian choice. It lacks the glass-and-metal premium feel of the Nest or the built-in voice assistant of the Ecobee, but it excels in sheer ease of installation. Honeywell includes a C-wire adapter in the box that is noticeably easier to wire at the HVAC board than the Ecobee PEK, utilizing simple push-in terminals rather than screw terminals in many modern air handlers.
The physical baseplate is large, easily covering the 'ghost' marks left by older, rectangular thermostats. The Resideo app is highly linear. It doesn't bombard you with ecosystem integrations or home-metadata surveys right out of the gate. You scan a QR code on the back of the thermostat, connect to your Wi-Fi, and you are done. The trade-off is that the smart features feel slightly less 'intelligent' out of the box, relying more on manual geofencing and basic scheduling rather than predictive machine learning.
First-Setup Time & App Onboarding Comparison
To provide a clear snapshot of the commitment required for each device, we tracked the average times from our testing team. Note that 'Physical Install' assumes the user has basic tools and a pre-existing C-wire or is using the included adapter. 'App Setup' includes account creation, Wi-Fi pairing, and initial firmware updates.
| Metric | Nest Gen 3 | Ecobee Premium | Honeywell T9 |
|---|---|---|---|
| Retail Price Range | $229 - $249 | $249 - $279 | $179 - $199 |
| C-Wire Adapter Included? | No (Sold Separately) | Yes (PEK) | Yes (Adapter) |
| Physical Install Time | 35 Minutes | 50 Minutes | 25 Minutes |
| App Setup & Firmware | 18 Minutes | 22 Minutes | 12 Minutes |
| Deck Ease-of-Use Score | 7.5 / 10 | 8.0 / 10 | 9.0 / 10 |
Visualizing Installation Difficulty & Setup Scores
The following chart illustrates the time investment required for both the physical hardware installation and the digital software onboarding for each of the tested thermostats.
Network Requirements: The 2.4GHz Bottleneck
A frequent point of failure during the first-setup phase is Wi-Fi pairing. Smart thermostats are low-bandwidth IoT devices, and manufacturers almost universally equip them with 2.4GHz Wi-Fi radios to ensure better wall penetration and range. However, modern homes often use mesh Wi-Fi systems (like Eero, Orbi, or Google Nest Wifi) that combine 2.4GHz and 5GHz bands into a single network name (SSID).
During our testing, the Honeywell T9 handled mixed-band networks the best, connecting on the first attempt. The Nest Gen 3 occasionally struggled, requiring us to temporarily pause the 5GHz band in our router settings to force the Bluetooth handoff to push the thermostat onto the 2.4GHz spectrum. The Ecobee Premium supports both 2.4GHz and 5GHz, making it the most network-compatible option, though we still recommend keeping IoT devices on a dedicated 2.4GHz guest network for optimal security and performance.
Smart Home Ecosystem Compatibility Setup
Installation doesn't end when the thermostat turns on; it ends when it integrates into your broader smart home. The first-setup experience varies wildly depending on your preferred voice assistant or automation hub.
- Google Home / Nest: The Nest Gen 3 is natively integrated. It appears in the Google Home app the second it connects to Wi-Fi. However, linking it to Amazon Alexa or Apple HomeKit (via Matter) requires navigating through third-party app linking menus, which adds 5 to 10 minutes to the setup.
- Apple HomeKit / Alexa: The Ecobee Premium is the undisputed king of compatibility. During the initial app setup, Ecobee explicitly prompts you to scan the HomeKit setup code located on the back of the device and the included room sensor. It also features native Alexa, requiring only a quick voice command to link the accounts.
- Honeywell / Resideo: The T9 links easily to Alexa and Google Assistant via standard OAuth skill linking. However, it lacks native Apple HomeKit support. To use the T9 with Siri, you must rely on IFTTT applets or third-party bridges like Homebridge, which completely derails the 'easy setup' premise for Apple users.
Expert Tips for a Flawless First Setup
To ensure your installation goes smoothly and to avoid common pitfalls that lead to abandoned projects, follow these SmartHomeDeck best practices:
- Photograph Your Old Wiring: Before disconnecting a single wire from your old thermostat, take a high-resolution, well-lit photo. This is your ultimate fallback if the new app's wiring wizard gets confused.
- Use the Included Labels: All three manufacturers provide adhesive wire labels. Wrap them around your wires before you pull them off the old terminal block.
- Check the Breaker: If your new thermostat screen remains blank after installation, 90 percent of the time the furnace's internal 3-amp blade fuse has blown, or the breaker was not fully reset. Check both before calling customer support.
- Allow for Calibration: Do not judge the thermostat's accuracy on day one. The internal thermistors need time to account for the wall's thermal mass and the ambient airflow of the room. Give the system 48 hours before adjusting the temperature offset settings in the app.
Final Verdict: Which is Easiest?
If your primary metric for success is absolute minimum installation friction, and you already have a C-wire, the Honeywell Home T9 is the clear winner. Its linear app, forgiving baseplate, and straightforward Wi-Fi pairing make it a true 30-minute weekend project. It earns a Deck Setup Score of 9.0/10.
If you live in an older home without a C-wire and want to avoid hiring an electrician, the Ecobee SmartThermostat Premium is the best choice. While opening the furnace control board to install the PEK adds technical difficulty, the inclusion of the kit in the box and the brilliant, step-by-step in-app wiring diagrams make it highly manageable for a diligent DIYer. It earns a Deck Setup Score of 8.0/10.
The Google Nest Learning Thermostat (Gen 3) remains a beautiful device with excellent predictive algorithms, but its strict C-wire requirements and occasional Wi-Fi pairing hiccups during the Google Home app onboarding process place it at the bottom of our installation difficulty report. It earns a Deck Setup Score of 7.5/10. Ultimately, the 'best' thermostat is the one that matches your home's existing wiring and your personal comfort level with low-voltage electrical work.