The Philosophy of a Cohesive Smart Home
Building a smart home is not about buying a random assortment of gadgets; it is about creating a cohesive, automated ecosystem that enhances your daily life. Many homeowners fall into the trap of purchasing incompatible devices on impulse, resulting in a fragmented experience where five different apps are required to turn off the lights. A true Whole-Home Room-by-Room Automation Plan approaches your living space holistically. By standardizing your communication protocols and selecting devices that work in concert, you can achieve seamless automation that feels like magic rather than a technical chore.
In this comprehensive guide, we will break down the ultimate automation master plan, moving from the foundational network infrastructure to specific, actionable setups for the living room, kitchen, bedroom, and bathroom. We will also explore budget tiers, energy-saving metrics, and aesthetic installation tips to ensure your smart home is as beautiful as it is intelligent.
Phase 1: The Foundation (Network and Hubs)
Before installing a single smart bulb, you must establish a robust foundation. Smart home devices rely heavily on network stability. A standard ISP router will quickly become overwhelmed by dozens of IoT endpoints.
Network Infrastructure
Upgrade to a Wi-Fi 6E Mesh System (such as the Eero Pro 6E or TP-Link Deco XE75). Mesh systems eliminate dead zones and provide the bandwidth necessary for smart cameras and displays. More importantly, ensure your hub supports Thread and Zigbee. These low-power mesh protocols keep IoT traffic off your main Wi-Fi network, reducing latency and congestion.
The Matter Standard
Interoperability is the cornerstone of a future-proof home. According to the Connectivity Standards Alliance, the Matter protocol was developed to ensure cross-brand compatibility, allowing devices from Apple, Google, Amazon, and Samsung to communicate natively. When shopping for new devices, prioritize those bearing the Matter logo to ensure they will integrate smoothly with your chosen ecosystem, whether that is Apple HomeKit, Home Assistant, or SmartThings.
Phase 2: Living Room (Entertainment and Ambiance)
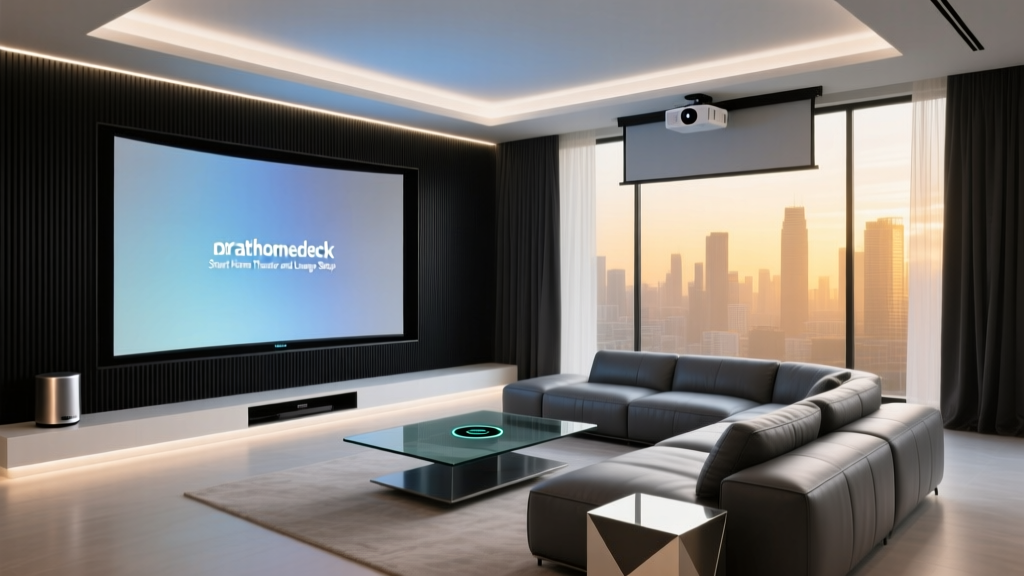
The living room is the hub of daily activity, requiring a balance of cinematic ambiance and everyday convenience. The goal here is to automate lighting, climate, and audio-visual equipment without cluttering coffee tables with remote controls.
Lighting and Shading
For hardwired reliability, the Lutron Caseta system remains the gold standard. By replacing your wall switches with Caseta dimmers, you ensure that smart lighting works even when someone uses the physical switch. Pair these with Lutron Serena Honeycomb Shades to automatically lower blinds during peak afternoon sun, reducing HVAC load and eliminating screen glare.
Audio-Visual Automation
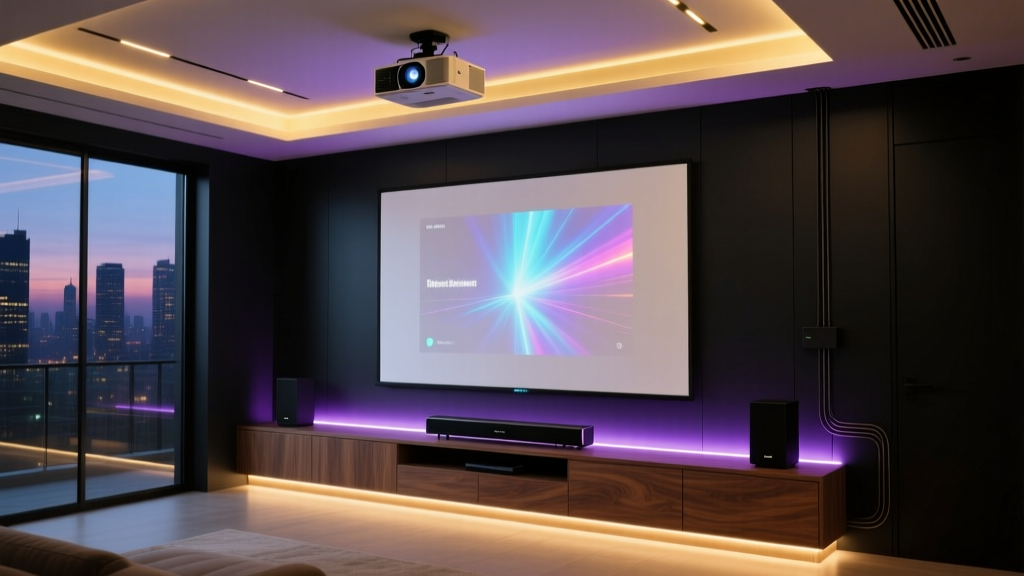
While Logitech has discontinued the Harmony Hub, the SwitchBot Hub 2 has emerged as a powerful alternative for IR (Infrared) blaster control. It allows you to integrate legacy TVs, soundbars, and air conditioners into modern routines. Combine this with a Sonos Arc soundbar and Apple TV 4K (which features a built-in Thread border router) to create a unified entertainment command center.
- Pro Tip: Use a Nanoleaf 4D Lightstrip behind your TV, synced via HDMI to the screen's colors, to reduce eye strain and create an immersive bias lighting effect.
Phase 3: Kitchen (Safety and Culinary Convenience)
The kitchen demands hands-free operation and rigorous safety monitoring. Automation here should focus on preventing disasters and streamlining morning routines.
Leak and Appliance Monitoring
Water damage is one of the most costly home repairs. Place Aqara Water Leak Sensors under the sink, behind the refrigerator, and near the dishwasher. These Thread-enabled sensors can trigger an automatic shut-off valve if a leak is detected. Furthermore, the EPA WaterSense program notes that the average household leaks can account for nearly 10,000 gallons of water wasted every year, making smart monitoring a critical investment for both your wallet and the environment.
Hands-Free Displays and Power
Mount an Amazon Echo Show 15 or Google Nest Hub Max on the wall or under cabinets. These displays serve as digital recipe books, family calendars, and video intercoms. For smaller appliances, use Eve Energy Smart Plugs (Matter over Thread) to monitor the energy consumption of your espresso machine or slow cooker, and schedule them to power down automatically after peak usage hours to prevent phantom energy drain.
Phase 4: Bedroom (Sleep Optimization and Comfort)
The bedroom automation plan should prioritize circadian health, temperature regulation, and minimal disruption. Blue light and erratic temperatures are the enemies of deep sleep.
Circadian Lighting and Climate
Install Philips Hue White and Color Ambiance bulbs in bedside lamps. Program them to mimic the natural sunset in the evening (fading to warm amber) and simulate a gradual sunrise in the morning. For climate control, the Ecobee SmartThermostat Premium utilizes remote room sensors to ensure your bedroom reaches the exact target temperature at bedtime, rather than relying on the hallway thermostat. The U.S. Department of Energy highlights that smart thermostats can save homeowners up to 10-15% on heating and cooling bills annually by learning your schedule and adjusting automatically when you are asleep or away.
Automated Window Treatments
Use the SwitchBot Roller Shade or Aqara Curtain Driver E1. Set a routine that slowly opens the curtains 15 minutes before your alarm, allowing natural light to halt melatonin production and wake you gently.
Phase 5: Bathroom (Luxury and Leak Prevention)
Bathroom automation is often overlooked, yet it offers immense potential for luxury and home preservation.
Smart Ventilation and Water Management
Moisture control is vital. Install a Panasonic WhisperSense exhaust fan equipped with built-in humidity sensors. It will automatically engage when steam levels rise during a shower and run until the room is dry, preventing mold growth without manual intervention. For the ultimate luxury and conservation upgrade, the Moen Smart Faucet allows you to dispense exact measurements of water via voice command (e.g., 'Dispense 1 cup of warm water') and tracks daily water usage via the Moen Smart Water Network app.
Budget Tiers: Starter, Mid, and Pro
Not every home requires a professional integrator. Below is a breakdown of how to approach your room-by-room plan based on your budget.
| Room | Starter Tier (Under $300) | Mid Tier ($300 - $800) | Pro Tier ($800+) |
|---|---|---|---|
| Living Room | Govee Wi-Fi bulbs, SwitchBot IR Blaster | Lutron Caseta Starter Kit, Sonos Era 100 | Lutron Serena Shades, Sonos Arc, Samsung Frame TV |
| Kitchen | Wyze Leak Sensors, Smart Plug for Coffee Maker | Echo Show 8, Eve Energy Plugs, Aqara Hub | Echo Show 15, Moen Smart Faucet, Whole-Home Audio |
| Bedroom | Wyze Bulb Color, SwitchBot Bot (for dumb switches) | Philips Hue White Ambiance, Ecobee Thermostat | Eight Sleep Pod, Motorized Blackout Shades, Hue Gradient |
| Bathroom | Basic Moisture Sensor, Smart Plug for Fan | Panasonic WhisperSense Fan, Aqara Leak Sensors | Moen Flo Smart Shutoff, Kohler DTV+ Digital Shower |
Visualizing the ROI: Energy and Water Savings
While smart home devices require an upfront investment, they pay dividends through utility savings. By automating climate control, lighting, and water management, homeowners can significantly reduce their monthly overhead. The chart below illustrates the estimated annual utility savings categorized by the type of automation implemented across different rooms.
As the data suggests, climate control (driven by smart thermostats and automated blinds in the bedroom and living room) offers the highest return on investment, followed closely by whole-home LED smart lighting and automated water shutoff systems.
Master Automation Routines
The true power of a room-by-room plan is realized when devices across different rooms trigger together in a single routine.
1. The 'Circadian Wake' Routine
Trigger: 30 minutes before your scheduled alarm. Actions: Bedroom Philips Hue lights fade on to 10% warm amber. The Ecobee thermostat adjusts from 65°F (night) to 70°F (day). SwitchBot blinds open to 50%. The kitchen smart plug turns on the coffee maker.
2. The 'Cinematic Evening' Routine
Trigger: Voice command ('Start Movie Night') or Apple TV turning on. Actions: Living room Lutron Caseta lights dim to 15%. Nanoleaf bias lighting syncs to TV. Smart blinds lower completely. The hallway lights turn off to prevent glare.
3. The 'Peace of Mind' Away Mode
Trigger: Geofencing detects all family members' phones have left the premises. Actions: Thermostat sets to Eco mode. All interior lights turn off. Kitchen and bathroom leak sensors elevate their alert priority to trigger audible alarms on outdoor cameras. Robot vacuum deploys from the living room dock.
Installation Tips and Design Aesthetics
A smart home should look like a beautifully designed residence, not a server room. Aesthetics and proper installation are paramount.
- Check for Neutral Wires: Before buying smart switches like Lutron Caseta or GE Cync, turn off the breaker and check your switch boxes. Most advanced smart switches require a neutral wire (usually a bundle of white wires) to stay powered when the light is off. If you lack neutral wires, stick to Lutron Caseta (which does not require one) or smart bulbs.
- Deep Backboxes: Smart switches have deeper bodies than standard toggle switches due to internal radios. Ensure your wall boxes have adequate depth, or use switch plate spacers to prevent crowding and overheating.
- Hide the Hubs: Use a ventilated media enclosure or a dedicated closet for your primary hubs, mesh routers, and NAS drives. Use PoE (Power over Ethernet) switches to reduce cable clutter.
- Sensor Placement: Motion sensors (like the Aqara P2) should be placed in the upper corners of rooms, angled away from windows and HVAC vents to prevent false triggers from sunlight or blowing curtains.
- Aesthetic Consistency: Standardize your switch plates. If you use Lutron in the living room and Leviton in the hallway, the visual mismatch will be jarring. Stick to one brand for all hardwired wall controls to maintain a uniform, architectural look.
Final Thoughts on Your Automation Journey
Executing a whole-home room-by-room automation plan is a marathon, not a sprint. Start with the foundation—your network and hub ecosystem. Next, tackle the living room and kitchen, where the daily impact of automation is most immediately felt. Finally, refine the bedroom and bathroom for comfort and preservation. By prioritizing Matter-compatible devices, respecting the aesthetic integrity of your home, and focusing on routines that solve actual daily friction, you will build a smart home that truly works for you.