The Foundation: Designing a Cohesive Smart Home Ecosystem
Transforming a standard house into an intelligent, responsive living space requires more than just buying a few smart plugs and a voice assistant. A successful whole-home automation plan demands a strategic, room-by-room approach that balances functionality, aesthetics, and budget. By mapping out your home's automation architecture before purchasing a single device, you avoid the dreaded 'walled garden' trap, where devices refuse to communicate with one another. The recent rollout of the Matter protocol, championed by the Connectivity Standards Alliance (CSA), has fundamentally changed the landscape, allowing devices from different manufacturers to interoperate seamlessly over Thread, Wi-Fi, and Ethernet. This master plan will guide you through a phased, room-by-room rollout, ensuring every space in your home is optimized for comfort, efficiency, and security.
Phase 0: The Network and Hub Backbone
Before automating a single room, your network infrastructure must be bulletproof. Smart homes generate significant local network traffic, particularly when utilizing IP-based cameras and continuous sensor telemetry. Upgrade to a Wi-Fi 6 or 6E Mesh System (such as the Eero Pro 6E or TP-Link Deco XE75) to ensure dedicated backhaul channels and ample bandwidth. Furthermore, invest in a dedicated smart home hub that supports Thread and Zigbee, like the Hubitat Elevation or Home Assistant Green. This keeps low-power sensor traffic off your main Wi-Fi network, reducing latency and ensuring your automations fire instantly, even if your internet connection drops.
Phase 1: The Living Room (Entertainment and Climate)
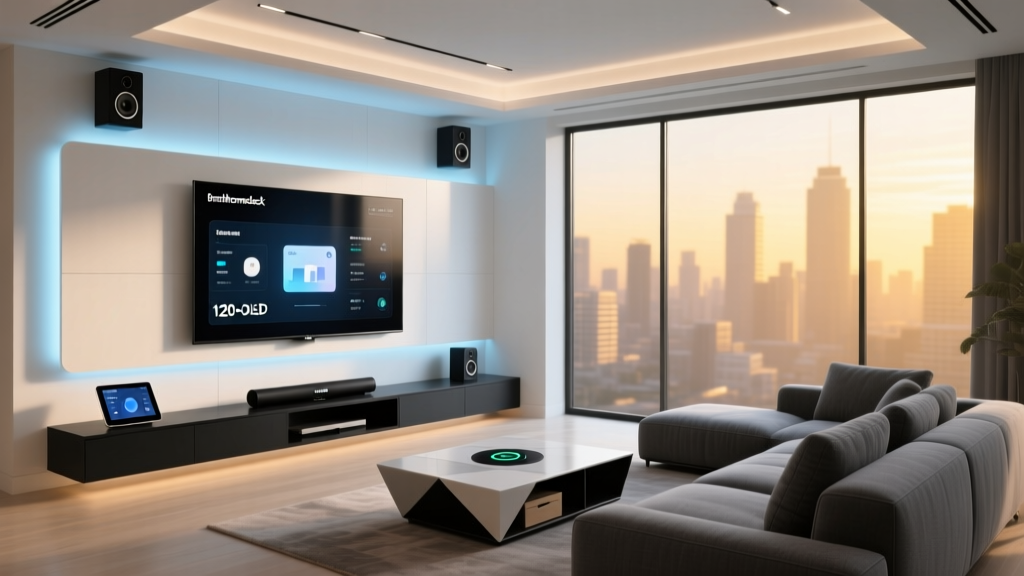
The living room is the social and entertainment hub of the home. Automation here should focus on ambient lighting, immersive media control, and precise climate management.
Device Recommendations & Budget Tiers
- Starter ($150 - $300): Wyze Bulb Color (ambient lighting), Kasa Smart Plugs (for lamps), and a basic Chromecast with Google TV for unified media control.
- Mid-Range ($500 - $900): Philips Hue White and Color Ambiance starter kit, Ecobee SmartThermostat Premium (which includes a built-in smart speaker and room sensors), and a Sonos Beam soundbar.
- Pro ($1,500+): Lutron Caseta in-wall dimmers, Samsung The Frame TV (which doubles as art), full Sonos Arc surround sound system, and SwitchBot Smart Curtain Rods for automated natural light control.
Signature Automation Routines
'Cinema Mode': Triggered via voice or a physical smart button (like the Hue Dimmer Switch). When activated, the main overhead lights turn off, LED bias lighting behind the TV fades to 10% warm white to reduce eye strain, smart blinds close, and the TV and soundbar power on. Simultaneously, the smart thermostat drops the temperature by two degrees to compensate for the body heat generated by a crowded room.
Design and Aesthetic Considerations
Avoid the clutter of multiple remotes and visible wires. Use in-wall smart switches (like Lutron or Leviton Decora Smart) rather than smart bulbs for primary overhead lighting. This ensures that if a guest flips the physical wall switch, the smart home ecosystem doesn't lose power or go offline. Hide LED light strips behind crown molding or media consoles to create a high-end, architectural glow without exposing the hardware.
Phase 2: The Kitchen (Culinary Command and Safety)
The kitchen is a high-traffic, high-activity zone where hands are often wet or messy. Voice control, touchless interfaces, and critical safety monitoring are paramount here.
Device Recommendations & Budget Tiers
- Starter ($100 - $250): Echo Show 5 for recipe display and timers, smart plug for the coffee maker, and a basic Wi-Fi water leak sensor under the sink.
- Mid-Range ($400 - $800): Echo Show 15 (wall-mounted smart display), Moen Flo Smart Water Shutoff (for whole-home leak protection), and Govee under-cabinet smart lighting.
- Pro ($1,200+): Smart appliances (e.g., GE Profile Smart Oven with built-in camera), integrated touchless smart faucets (like Moen Smart Faucet with Motion Control), and built-in flush-mount smart displays.
Signature Automation Routines
'Morning Brew & Briefing': At 6:30 AM on weekdays, the under-cabinet lights slowly fade up to 50% warm white. The smart plug triggers the coffee maker (if prepped the night before), and the smart display begins reading the daily weather, calendar, and traffic briefing. 'Safety Watch': If the smart smoke detector senses smoke, or the under-sink leak sensor detects moisture, the kitchen smart display flashes red, an audible alarm sounds through the home's smart speakers, and the main water valve automatically shuts off.
Design and Aesthetic Considerations
Kitchens demand cleanliness and minimal visual clutter. Wall-mount your smart displays between cabinets to mimic a built-in appliance look. Use paintable, trimless smart home sensors for motion and temperature so they blend seamlessly into the ceiling. When it comes to safety, the National Fire Protection Association (NFPA) strongly recommends interconnected smoke alarms; smart detectors like the Nest Protect fulfill this by sending alerts to your phone and triggering全屋 lighting to flash, guiding you to safety.
Phase 3: The Bedroom (Sleep Optimization and Privacy)
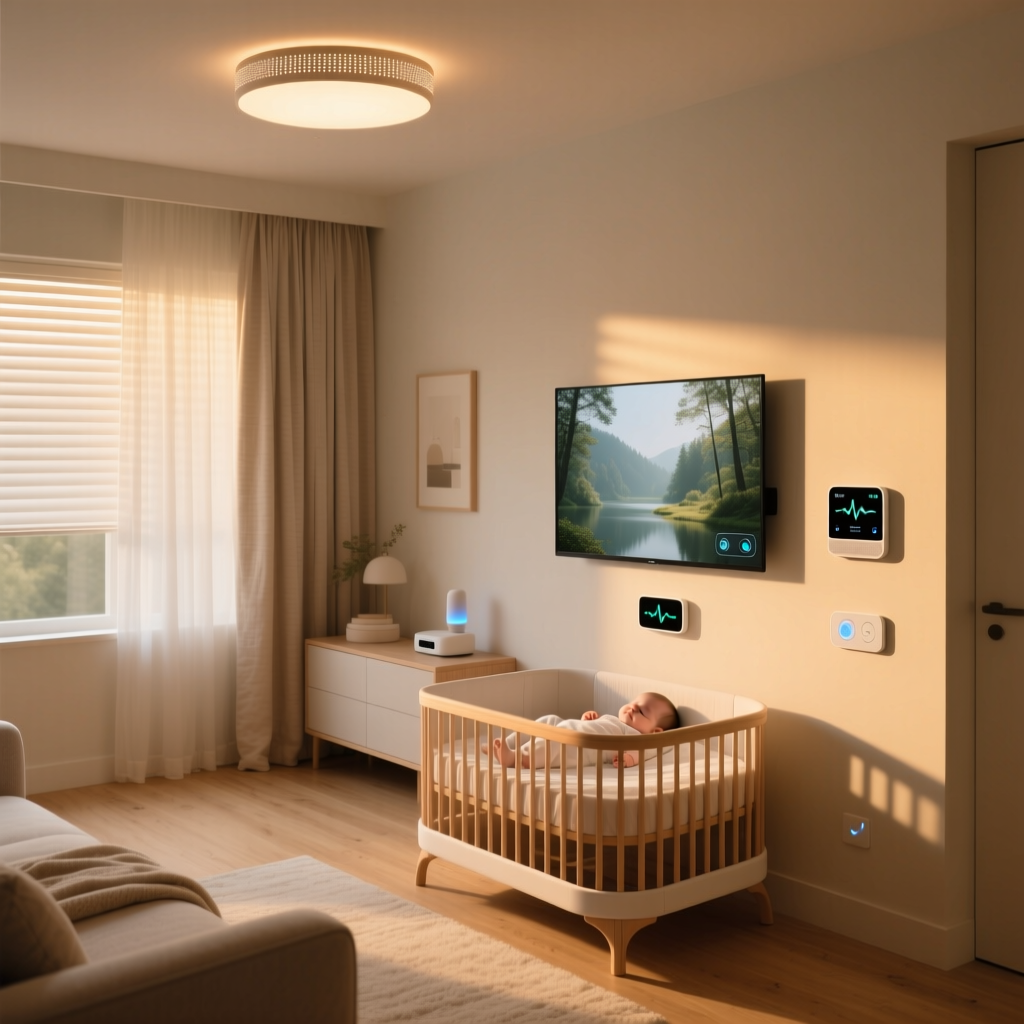
The bedroom should be a sanctuary optimized for circadian rhythms, deep sleep, and privacy. Automation here must be subtle, silent, and non-intrusive.
Device Recommendations & Budget Tiers
- Starter ($100 - $200): Smart plug for a bedside lamp, basic smart bulb with color temperature control, and a smart plug for a white noise machine.
- Mid-Range ($400 - $700): SwitchBot Curtain Rod, Philips Hue White Ambiance (for circadian lighting), and a smart air purifier (like Levoit Core 400S) to monitor and clean indoor air quality.
- Pro ($1,500+): Eight Sleep Pod 4 (for active mattress temperature regulation), Lutron Serena smart shades, and a dedicated ceiling fan with smart control (like Haiku) integrated with room temperature sensors.
Signature Automation Routines
'Deep Sleep Preparation': Triggered by a bedside button or a set schedule. The lights transition to a dim, warm amber (removing blue light that inhibits melatonin production). The smart thermostat lowers the ambient room temperature to the optimal sleep zone (around 65°F/18°C). The smart shades close, and the white noise machine activates. 'Sunrise Wake': Thirty minutes before your alarm, the smart shades slowly open to 20%, and the bedside lights mimic a warm sunrise, gently pulling you out of deep sleep before the audio alarm begins.
Design and Aesthetic Considerations
Avoid screens and bright LEDs in the bedroom. Choose smart home devices that feature 'dark mode' or physical LED indicators that can be turned off. Use fabric-wrapped smart speakers that look like home decor rather than tech gadgets. For window treatments, ensure the motor tracks are hidden within the curtain pelmet or opt for roller shades that tuck neatly into the window casing.
Phase 4: Bathroom and Outdoor Extensions
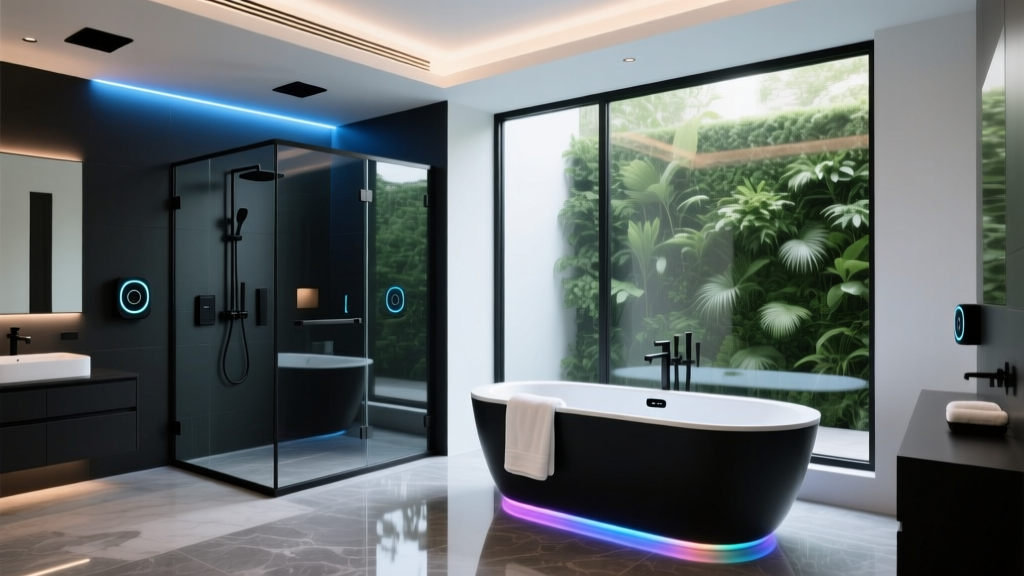
While often overlooked, the bathroom and outdoor spaces offer unique opportunities for automation focused on moisture management, ventilation, and perimeter security.
Bathroom: Moisture and Ventilation
Install a smart humidity sensor (like the SwitchBot Contact Sensor or dedicated Aqara Temperature/Humidity sensor). Create an automation where if humidity spikes above 75% (indicating a shower is running), the smart exhaust fan automatically turns on to prevent mold growth. It should remain on for 20 minutes after the humidity drops back to baseline. Add a smart mirror with built-in defogging and circadian lighting for morning routines.
Outdoor: Security and Curb Appeal
Focus on perimeter defense and architectural lighting. Use smart path lighting (like Philips Hue Calla) that dims to 20% at midnight but flares to 100% bright white if an outdoor smart camera (like the Ring Floodlight Cam or Unifi Protect) detects human motion. Smart irrigation controllers (like Rachio 3) connect to local weather forecasts to skip watering when rain is expected, conserving water and protecting your landscaping.
Budgeting Your Whole-Home Rollout
A common mistake is attempting to automate the entire home at the 'Pro' level immediately. The most effective strategy is to start with 'Mid-Range' hubs and critical infrastructure, then upgrade individual rooms over time. Below is a comparative breakdown of estimated costs per room based on the tiers discussed.
| Room / Zone | Starter Tier (Est. Cost) | Mid-Range Tier (Est. Cost) | Pro Tier (Est. Cost) |
|---|---|---|---|
| Living Room | $150 - $300 | $500 - $900 | $1,500+ |
| Kitchen | $100 - $250 | $400 - $800 | $1,200+ |
| Bedroom | $100 - $200 | $400 - $700 | $1,500+ |
| Bathroom | $50 - $100 | $150 - $300 | $600+ |
| Outdoor | $150 - $300 | $400 - $800 | $2,000+ |
| Total Estimated | $550 - $1,150 | $1,850 - $3,500 | $6,800+ |
Visualizing the ROI: Energy Savings by Room
One of the most compelling arguments for a whole-home automation plan is the return on investment through energy efficiency. According to the ENERGY STAR Smart Thermostat Program, certified smart thermostats alone can save homeowners an average of 8% on heating and 10% on cooling bills annually. When combined with automated lighting and smart shading, the savings compound. The chart below illustrates the estimated average annual energy savings (in USD) achievable by automating specific room ecosystems.
The bedroom and living room show the highest savings potential, primarily driven by smart climate control (thermostats and smart blinds reducing HVAC load) and automated lighting. Outdoor savings are driven by smart irrigation and motion-activated security lighting, while the kitchen and bathroom savings stem from smart ventilation and leak-prevention systems.
Installation Tips and Best Practices
- Neutral Wire Verification: Before purchasing in-wall smart switches, turn off the breaker and verify that your switch boxes contain a neutral wire (usually a bundle of white wires). Most advanced smart switches (like Lutron Caseta or GE Cync) require a neutral wire to maintain constant power to the radio receiver.
- Sensor Placement: Motion sensors should be placed in the corner of a room, about 6 to 8 feet high, angled away from windows and HVAC vents to prevent false triggers from sunlight or moving air.
- Geofencing for Climate: Utilize your hub's geofencing capabilities. Set a virtual perimeter of 5 miles around your home. When the last person's phone leaves the perimeter, the HVAC automatically shifts to 'Eco' mode and all lights turn off.
- Label Your Breakers: When installing hardwired smart devices (thermostats, switches, smart shutoff valves), take the time to accurately map and label your electrical panel. This will save hours of frustration during future maintenance.
Conclusion
A successful whole-home automation plan is a marathon, not a sprint. By approaching your home room-by-room, you ensure that each space is tailored to its specific functional needs while remaining part of a unified, intelligent ecosystem. Start with the network backbone and the high-impact zones like the living room and bedroom. Prioritize devices that support open standards like Matter and Thread to future-proof your investment. With careful planning, thoughtful aesthetic integration, and a focus on practical routines, your smart home will transition from a collection of gadgets into a seamless, responsive environment that actively enhances your daily life.