Introduction: The Great Smart Home Migration
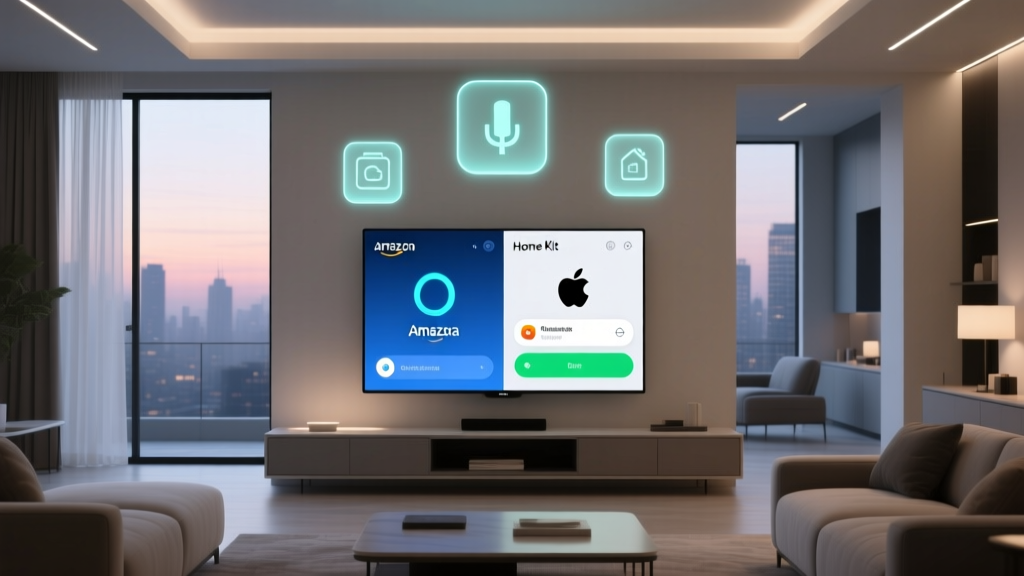
Switching smart home ecosystems is often compared to moving houses. You have to pack up your digital routines, leave behind incompatible hardware, and rebuild your automated life from scratch. For years, Google Home (now Google Nest) has been the default choice for many smart home enthusiasts due to its broad compatibility and aggressive pricing. However, a growing number of users are migrating from Google Home to Apple HomeKit. The driving forces behind this shift are manifold: mounting concerns over cloud-based privacy, a desire for local network execution, and the seamless integration of the Apple Home app with the broader iOS ecosystem.
Migrating from Google to Apple is not a simple flip of a switch. Apple’s walled garden is notoriously strict regarding hardware certification, meaning your existing Google-first devices may not translate directly. This comprehensive guide will walk you through the technical, financial, and practical steps of migrating your smart home from Google Home to Apple HomeKit, ensuring your transition is as smooth and cost-effective as possible.
Why Migrate from Google Home to Apple HomeKit?
Before diving into the logistics of the migration, it is essential to understand the architectural differences between the two platforms. Google Home relies heavily on cloud processing. When you issue a voice command or trigger a routine, the signal often travels to Google’s servers, is processed, and sent back to your device. While this allows for massive computational power and broad third-party integration, it introduces latency and a reliance on external internet connectivity.
Apple HomeKit, by contrast, prioritizes local processing and stringent privacy controls. According to the Apple Home App privacy architecture, HomeKit data is encrypted end-to-end, and Apple does not use your smart home data to build advertising profiles. Furthermore, HomeKit automations execute locally via a home hub, meaning your lights will still turn on when motion is detected even if your internet connection goes down. For users prioritizing privacy, speed, and reliability, the migration to HomeKit is a highly rewarding endeavor.
The Role of Matter and Thread in Ecosystem Migration
Historically, migrating ecosystems meant replacing every single smart device. Today, the Matter protocol, developed by the Connectivity Standards Alliance (CSA), has fundamentally changed the migration landscape. Matter is an open-source, royalty-free connectivity standard that allows devices to communicate locally across different ecosystems.
If your existing Google Home devices support Matter over Thread or Wi-Fi, you can often add them directly to Apple HomeKit without needing to replace them. Thread, a low-power mesh networking protocol, is natively supported by modern Apple hubs, creating a robust, self-healing network for your sensors and smart locks. Before throwing out your existing hardware, check the manufacturer's website for Matter firmware updates. Devices like the Eve Energy plug, Nanoleaf smart bulbs, and newer Aqara sensors are inherently multi-platform and will bridge the gap effortlessly.
Auditing Your Current Smart Home Hardware
The first actionable step in your migration is to audit your current hardware. You must categorize your devices into three distinct groups: Native HomeKit Compatible, Matter-Compatible, and Incompatible (Requires Replacement or Workaround).
| Device Category | Common Google/Nest Brand | HomeKit Native Alternative | Migration Workaround |
|---|---|---|---|
| Thermostat | Nest Learning Thermostat | Ecobee SmartThermostat Premium | Starling Home Hub |
| Security Camera | Nest Cam / Ring | Eve Outdoor Cam / Logitech Circle | Homebridge / Scrypted |
| Smart Lighting | Philips Hue / Cync | Philips Hue / Nanoleaf | Homebridge (for Cync) |
| Smart Locks | August / Yale Assure | Level Lock+ / Schlage Encode Plus | Homebridge |
| Smoke Detectors | Nest Protect | First Alert Onelink Safe & Sound | None (Requires Replacement) |
Handling Incompatible Devices
If you are deeply invested in the Google Nest ecosystem, you likely own Nest Thermostats and Nest Cams. Apple and Google are fierce competitors, and native support for Nest products in HomeKit is non-existent. However, the smart home community has developed brilliant workarounds. The Starling Home Hub is a dedicated hardware bridge that connects Nest thermostats, cameras, and doorbells to Apple HomeKit, complete with HomeKit Secure Video support for compatible cameras. For Ring devices and other Wi-Fi-based smart home products, running a Homebridge server on a Raspberry Pi or a local NAS can emulate HomeKit accessories, tricking your Apple devices into controlling them.
Choosing the Right Apple HomeKit Hub
Unlike Google, which allows almost any Nest speaker or display to act as a home hub, Apple restricts hub functionality to specific devices. A hub is mandatory for remote access, automation execution, and Thread border routing. According to Apple TV 4K technical specifications, the latest generation of Apple TV serves as the ultimate smart home brain.
- Apple TV 4K (Ethernet Model): This is the gold standard for HomeKit hubs. It features a built-in Thread border router and an Ethernet port for rock-solid network connectivity. It is highly recommended for large homes or users with extensive Thread device networks.
- HomePod Mini: A budget-friendly option that also includes a Thread border router. While it lacks the visual interface of the Apple TV, it is perfect for placing in bedrooms or offices to extend your Thread mesh network.
- HomePod (2nd Generation): Offers premium audio quality alongside Thread and Matter support. It is an excellent choice if you want a high-fidelity smart speaker that doubles as a home hub.
Network Preparation: VLANs and mDNS
Before resetting your devices, you must prepare your local network. Apple HomeKit relies heavily on mDNS (Multicast DNS) or Bonjour to discover devices. If you are running a prosumer network setup (like UniFi or pfSense) with IoT devices segregated on a separate VLAN, you must configure mDNS reflectors. Without an mDNS reflector bridging your IoT VLAN and your primary Apple device VLAN, your iPhone will not be able to discover or communicate with your HomeKit accessories during the setup process.
Step-by-Step Migration Execution
Once your network is prepped and your new Apple hub is connected, the physical migration begins. Follow these steps to ensure a clean transition:
- Document Your Current Setup: Take screenshots of your Google Home room assignments, device names, and complex routines. This will serve as your blueprint when rebuilding in the Apple Home app.
- Factory Reset Devices: Smart home devices can typically only belong to one primary ecosystem at a time (unless using Matter). You must factory reset your bulbs, plugs, and switches to put them into pairing mode. For Philips Hue, this may require using the Hue app to delete the bridge or using a Hue Dimmer switch to perform a hard reset.
- Add to Apple Home: Open the Home app on your iOS device, tap the '+' icon, and scan the HomeKit setup code (the 8-digit number or QR code found on the device or its packaging). If the device is Matter-compatible but lacks a HomeKit code, use the manufacturer's app to generate a Matter pairing code.
- Assign Rooms and Names: Apple’s Siri is highly particular about naming conventions. Ensure your devices are named logically (e.g., 'Living Room Lamp' rather than 'Smart Bulb 1') to prevent voice command conflicts.
Rebuilding Automations: Home App vs. Apple Shortcuts
Google Home routines are straightforward but often lack deep conditional logic. Apple HomeKit offers basic automations within the Home app (e.g., 'Turn off lights when I leave home'), but its true power is unlocked via the Apple Shortcuts app.
When migrating complex Google routines, you will likely need to use Shortcuts. For example, if you had a Google routine that said, 'If the outdoor temperature drops below 40 degrees and it is after 6 PM, turn on the heated blanket,' the native Home app cannot handle the dual-condition weather trigger. In Shortcuts, you can create an automation that queries a weather API, checks the time of day, and sends a command to your smart plug. The learning curve for Shortcuts is steeper than Google Home, but the ceiling for customization is virtually limitless.
Privacy and Data Handling Comparison
The most significant paradigm shift you will experience during this migration is how your data is handled. Google’s business model is inherently tied to data collection and targeted advertising. While Google states that Nest device data is kept separate from advertising profiles, the metadata of your daily routines, presence detection, and voice queries are processed in the cloud.
Apple operates on a hardware-and-services margin model. HomeKit accessories communicate directly with your Apple hub over your local network. Video feeds from HomeKit Secure Video cameras are encrypted locally and uploaded directly to your iCloud, meaning even Apple engineers cannot view your camera footage. By migrating to HomeKit, you are effectively moving your home's digital footprint from a corporate server farm back to your local living room.
Conclusion: Is the Switch Worth It?
Migrating from Google Home to Apple HomeKit requires a significant investment of time, patience, and potentially capital. You will inevitably encounter hardware incompatibilities, and the initial setup process can be frustrating compared to Google's frictionless onboarding. However, the long-term benefits of local execution, unparalleled privacy, and the robust, mesh-networking capabilities of Thread make it a superior choice for smart home enthusiasts. By leveraging Matter, utilizing bridges like Starling and Homebridge, and mastering Apple Shortcuts, you can build a smart home that is not only intelligent but entirely your own.