Why Migrate to a Local Smart Home Ecosystem?
For years, smart home enthusiasts have relied on cloud-dependent ecosystems like Google Home, Amazon Alexa, and Apple HomeKit. While these platforms offer easy setup and voice control, they come with significant drawbacks: internet outages can render your home unintelligent, latency can make basic automations feel sluggish, and privacy concerns regarding data harvesting are ever-present. According to the Mozilla Foundation's Privacy Not Included guide, many mainstream smart home devices collect vast amounts of telemetry and personal data, prompting privacy-conscious users to seek alternatives.
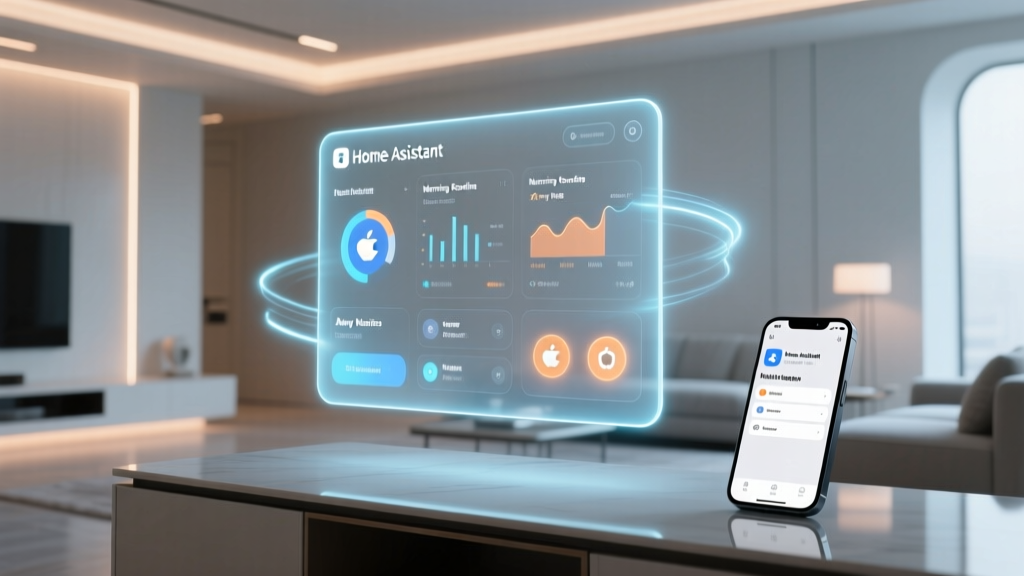
Migrating to a local-first ecosystem like Home Assistant (HA) offers unparalleled control, sub-100ms latency, and complete data sovereignty. However, the prospect of tearing down an existing smart home and rebuilding it is daunting. This comprehensive guide will walk you through the exact steps to audit your current devices, select the right local hardware, and execute a seamless migration from proprietary hubs to a unified, local dashboard.
Step 1: The Great Device Audit
Before purchasing new hardware, you must categorize your existing devices by their underlying wireless protocols. Your migration strategy will depend entirely on whether your devices use Zigbee, Z-Wave, Wi-Fi, or the newer Matter/Thread standards.
1. Zigbee Devices (Philips Hue, Aqara, Sengled, IKEA Dirigera)
Zigbee devices are the easiest to migrate. Because Zigbee is an open standard, you are not locked into the manufacturer's hub. A Philips Hue bulb paired to a Hue Bridge can be factory reset and paired directly to a third-party Zigbee coordinator. Migration Method: Factory reset each bulb or sensor (often requiring a physical reset button hold for 10 seconds, or using a Hue Dimmer Switch held close to the bulb until it blinks). Cost to Migrate: $0 for the devices; requires a $15-$30 Zigbee USB dongle for your server.
2. Z-Wave Devices (Aeotec, Zooz, Ring Alarm Sensors)
Z-Wave is also an open mesh protocol, but it requires a strict "exclusion" process from the old hub before it can be "included" in Home Assistant. Migration Method: Put your old hub (e.g., SmartThings or Hubitat) into exclusion mode, trigger the Z-Wave device (like a Zooz ZEN72 dimmer or Aeotec door sensor) to remove it from the old network, then immediately put Home Assistant's Z-Wave integration into inclusion mode to add it. Cost to Migrate: $0 for devices; requires a $40-$60 Z-Wave 800-series USB stick.
3. Wi-Fi Devices (Shelly, TP-Link Kasa, LIFX, Ring)
Wi-Fi devices are a mixed bag. Brands like Shelly and LIFX natively support local APIs or MQTT, making them perfect for HA. However, devices heavily tied to proprietary clouds (like Ring cameras or older TP-Link Kasa plugs) may not offer local control without complex workarounds. Migration Method: For Shelly devices, enable the local MQTT server setting in the Shelly web UI. For trapped devices, you may need to budget for replacements. Cost to Replace Trapped Devices: Budget $45-$90 per camera to switch from Ring to local RTSP alternatives like the Reolink E1 Zoom or Amcrest IP5M-T1179EW.
4. Matter and Thread Devices (Eve, Nanoleaf, Aqara M2)
Matter is the ultimate migration cheat code. The Connectivity Standards Alliance (CSA) designed Matter with a feature called Multi-Admin, which allows a single device to be controlled by multiple ecosystems simultaneously without resetting it. You can keep your Apple HomeKit setup running while simultaneously adding the device to Home Assistant.
Step 2: Selecting Your Home Assistant Server
To leave the cloud behind, you need a local server running 24/7. Your choice of hardware will dictate your budget and the complexity of your setup.
- Home Assistant Green ($99): The official, plug-and-play solution. It is a small, fanless, low-power ARM-based server. It is the best choice for 90% of users migrating from Google or Apple ecosystems. It requires zero Linux knowledge.
- Intel NUC / Mini PC ($150 - $250): Ideal for power users who want to run HAOS alongside other Docker containers like Plex, Frigate (for local AI camera processing), or Pi-hole. Look for an Intel N100 chip with 8GB of RAM and a 256GB NVMe SSD.
- Raspberry Pi 4/5 ($75 - $100): While historically popular, SD card corruption is a known issue with heavy database logging. If you use a Pi, you must invest in an external SSD and a USB-to-SATA adapter, which pushes the total cost close to the Home Assistant Green.
Pro Tip: Do not forget the coordinator dongles. The Home Assistant Connect ZBT-1 ($35) handles both Zigbee and Thread/Matter, making it a future-proof investment for migrating ecosystems.
Step 3: The Migration Process by Protocol
Once your server is online and connected to your 2.4GHz Wi-Fi network (crucial for IoT device discovery), the physical migration begins. Here is how to handle the transition without losing your mind.
The Zigbee Unpair/Repair Dance
Zigbee networks are bound to the coordinator's PAN ID and security keys. You cannot simply "import" a Philips Hue network into Home Assistant. You must factory reset every device. To speed this up, use an open-source tool like Zigbee2MQTT instead of the native ZHA integration. Zigbee2MQTT supports over 3,000 devices and provides a web-based interface that makes interviewing and mapping the mesh network significantly easier.
Leveraging Matter's Multi-Admin Feature
If you are migrating from Apple HomeKit, Matter devices (like the Eve Energy Smart Plug or Nanoleaf Essentials Bulb) do not need to be reset. According to the official Home Assistant Matter documentation, you can generate a pairing code in the Apple Home app and share it with Home Assistant. Both ecosystems will control the device locally over your Thread mesh network, allowing you to slowly phase out Apple Home without breaking your home's functionality on day one.
Device Migration Compatibility Matrix
Use the table below to determine how your specific brands will transition into a local ecosystem.
| Brand / Device | Protocol | Migration Method | Difficulty | Local Control Quality |
|---|---|---|---|---|
| Philips Hue | Zigbee | Factory Reset & ZHA/Z2M Pairing | Medium | Excellent (Full color/transition control) |
| Aqara Sensors | Zigbee | Pinhole Reset & Z2M Pairing | Easy | Excellent (Fast reporting) |
| Zooz Switches | Z-Wave | Exclude / Include via Z-Wave JS | Easy | Excellent (Instant state updates) |
| Shelly Relays | Wi-Fi | Enable Local MQTT / HTTP API | Easy | Excellent (No hub required) |
| Ring Cameras | Wi-Fi | Trapped (Requires Replacement) | N/A | Poor (Cloud dependent, no RTSP) |
| Eve Motion | Thread/Matter | Multi-Admin Share Code | Very Easy | Excellent (Local Thread mesh) |
Visualizing the Migration Effort
Not all protocols require the same time investment. The chart below illustrates the estimated time required to migrate a standard home of 20 devices per protocol, factoring in physical resets, network interviews, and entity renaming.
Average Migration Time by Protocol
As shown, Matter and Thread drastically reduce migration friction, while Zigbee requires the most manual labor due to the physical factory-reset requirements of individual bulbs and sensors.
Step 4: Translating Automations and Scenes
Moving devices is only half the battle; rebuilding your automations is where the real ecosystem shift occurs. In Google Home, you likely relied on simple "If This, Then That" routines. In Apple HomeKit, you used Scenes and basic time-based triggers. Home Assistant offers a vastly more powerful, albeit complex, automation engine.
From Routines to YAML and UI
Home Assistant's automation editor allows you to build complex logic using Triggers, Conditions, and Actions. For example, a simple "Turn on lights at sunset" routine in Google Home becomes a Trigger (Sun: Elevation below -0.83 degrees), a Condition (Media Player: Not Playing), and an Action (Light: Turn on, transition 3 seconds, color temp 2700K).
Actionable Advice: Do not build every automation from scratch. Utilize the Home Assistant Blueprint repository. Blueprints are pre-written, community-tested automation templates. You simply import a Blueprint (e.g., "Motion-activated lighting with lux sensor bypass") and select your newly migrated Zigbee motion sensor and Hue bulbs from dropdown menus.
Handling Voice Control Post-Migration
Migrating to Home Assistant does not mean you must give up voice control. You can expose your local HA entities back to Google Assistant or Alexa via the official Nabu Casa cloud integration ($6.50/month). This creates a hybrid model: the logic, processing, and device states live locally on your server, ensuring your home works if the internet dies, while the cloud integration simply acts as a bridge for voice commands.
Overcoming Common Migration Roadblocks
The 2.4GHz Wi-Fi Bottleneck
When migrating Wi-Fi devices like Shelly relays or LIFX bulbs, ensure your router's 2.4GHz and 5GHz bands are separated, or use a dedicated IoT SSID. Many smart home chips (like the ESP8266 or ESP32) fail to connect if the router uses a unified Smart Connect band-steering SSID.
Z-Wave Ghost Nodes
If you rush the Z-Wave exclusion process, your new network may inherit "ghost nodes"—devices the controller thinks are on the network but are actually offline. Always run a "Heal Network" process in the Z-Wave JS UI after migrating your switches and sensors to ensure the mesh routing tables are optimized for your new coordinator's physical location.
Final Thoughts on Ecosystem Freedom
Migrating from a walled garden like Apple HomeKit or a cloud-reliant platform like Google Home to Home Assistant is a weekend project that pays dividends for years. While the upfront cost of a Home Assistant Green ($99), a ZBT-1 Dongle ($35), and the time spent resetting Zigbee bulbs may seem steep, the reward is a blazing-fast, private, and infinitely customizable smart home. By prioritizing open protocols like Matter, Thread, and Zigbee, you ensure that your next hardware upgrade will never again require a complete ecosystem teardown.