Why Your Network is the Backbone of Smart Home Installation
Welcome to the Smart Home Installation Complete Guide. The most common mistake DIY installers and homeowners make when entering the world of home automation is purchasing a dozen smart bulbs and plugs before securing the underlying network. A smart home is only as reliable as the network it operates on. When you introduce 30, 50, or even 100 Internet of Things (IoT) devices to a standard ISP-provided router, you will quickly encounter dropped connections, lagging voice commands, and device pairing failures.
Modern smart home ecosystems require robust bandwidth management, low latency, and extensive physical coverage. According to the Wi-Fi Alliance, the Wi-Fi 6 (802.11ax) standard introduces Orthogonal Frequency-Division Multiple Access (OFDMA), which allows a router to communicate with multiple IoT devices simultaneously within a single transmission window. This is a game-changer for smart homes, where dozens of low-bandwidth sensors and smart switches are constantly pinging the network. Before you mount a single smart thermostat or wire a smart lock, you must establish a rock-solid mesh Wi-Fi foundation and select the right central hub to orchestrate your devices.
Choosing the Right Mesh Wi-Fi System
Traditional single-point routers struggle to push 2.4GHz signals through modern building materials like energy-efficient Low-E glass, concrete, and metal ductwork. A mesh Wi-Fi system utilizes multiple nodes placed strategically around your home to create a seamless, unified network blanket. For a smart home installation, you need a system that supports a high concurrent device capacity and offers dedicated backhaul channels so your smart devices do not compete with your 4K streaming traffic.
When calculating coverage, a general rule of thumb for mesh systems is to deploy one node per 1,500 square feet of living space. However, if your home features thick masonry walls or a multi-story layout with central HVAC chases that block RF signals, you may need to reduce that spacing to 1,000 square feet per node to ensure your smart sensors in the far corners of the house remain online.
| Model | Max Coverage (Per Node) | Wi-Fi Standard | IoT Device Capacity | Estimated Cost (3-Pack) |
|---|---|---|---|---|
| Eero Pro 6E | 2,000 sq ft | Wi-Fi 6E | 100+ | $499 - $599 |
| TP-Link Deco XE75 | 2,200 sq ft | Wi-Fi 6E | 200+ | $450 - $550 |
| Netgear Orbi RBKE963 | 2,500 sq ft | Wi-Fi 6E Quad-Band | 200+ | $999 - $1,299 |
| Amazon eero 6+ | 1,500 sq ft | Wi-Fi 6 | 75+ | $299 - $349 |
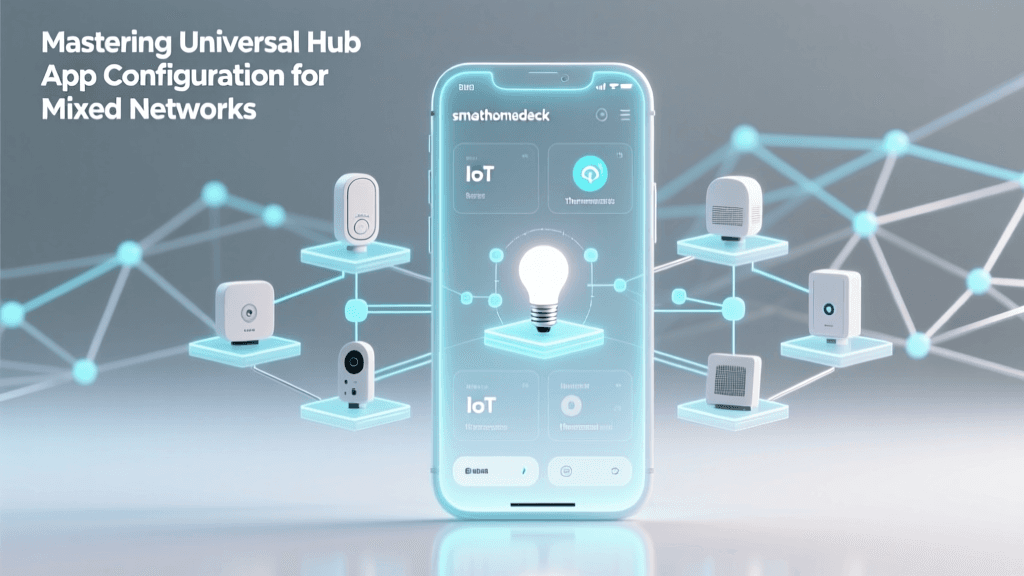
Selecting Your First Smart Home Hub
While Wi-Fi handles the heavy data lifting, your smart home hub acts as the central brain, translating protocols like Zigbee, Z-Wave, Thread, and the new Matter standard into actionable automations. The introduction of Matter, a unifying protocol backed by Apple, Google, Amazon, and Samsung, has shifted the landscape. The Connectivity Standards Alliance developed Matter to ensure cross-platform compatibility, meaning a Matter-certified smart lock can be controlled by an Apple HomePod or a Samsung SmartThings hub without relying on third-party cloud servers.
When selecting a hub, you must decide between local processing and cloud-dependent processing. Local hubs process automations entirely within your home network, ensuring your lights still turn on via motion sensors even if your internet connection goes down. Cloud hubs are generally cheaper but suffer from latency and internet outages.
For beginners, the Apple TV 4K (with Ethernet) or the Samsung SmartThings Station offer excellent entry points. For advanced DIYers who want total local control and protocol agnosticism, the Homey Pro is the undisputed heavyweight champion, featuring built-in radios for Zigbee, Z-Wave, Matter, Thread, 433MHz, and Infrared.
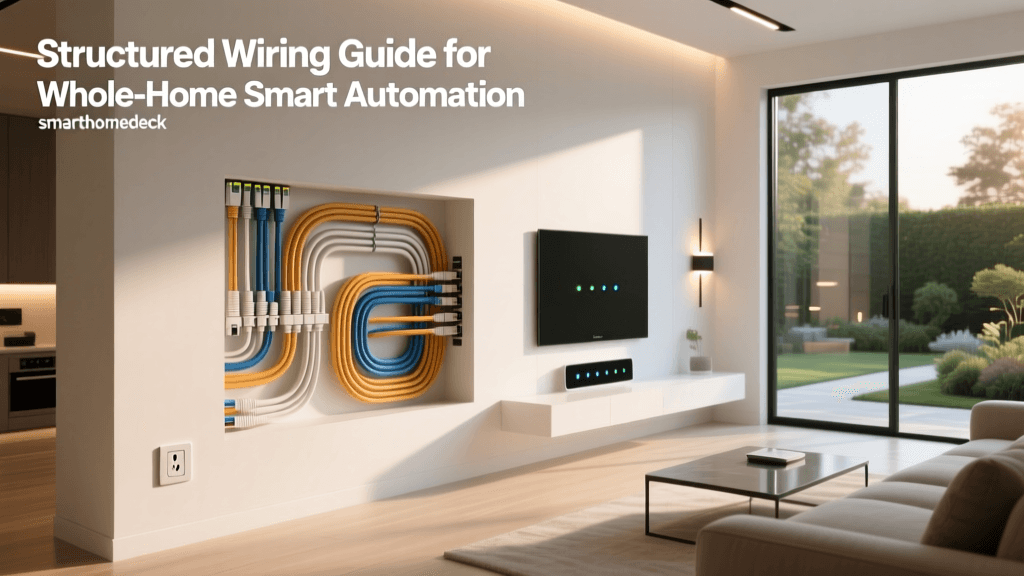
Step-by-Step Hub and Network Installation
Proper physical installation is just as critical as software configuration. Follow these steps to ensure optimal signal propagation and hub responsiveness.
Phase 1: Physical Placement and Wiring
Tools Required: Ethernet cables (Cat6 recommended), surge protector, Wi-Fi analyzer app (like WiFiman), and a cordless drill for optional wall mounting.
- Modem Bridging: Contact your ISP and place your modem into 'Bridge Mode.' This disables the ISP's built-in routing and NAT functions, preventing Double NAT issues that ruin smart home device discovery (especially for Apple HomeKit and Chromecast).
- Primary Node Placement: Connect your primary mesh node directly to the bridged modem using a Cat6 Ethernet cable. Place this node in a central, elevated location. Avoid hiding it inside media cabinets or behind televisions, as metal and glass severely attenuate 5GHz and 6GHz signals.
- Satellite Node Placement: Place satellite nodes halfway between the primary node and the dead zones. Use your Wi-Fi analyzer app to ensure the satellite node is receiving at least -65 dBm from the primary node before plugging it in. If the signal is weaker than -70 dBm, the backhaul will bottleneck your smart home traffic.
- Hub Placement: If your hub supports Ethernet (like the Apple TV 4K or Homey Pro), wire it directly to a mesh node or an unmanaged Gigabit switch connected to your primary router. Hardwiring the hub eliminates wireless interference and drastically reduces automation latency.
Phase 2: Software Configuration
- Download the manufacturer app for your mesh system and complete the initial setup.
- Update the firmware on all mesh nodes and your smart hub immediately. Out-of-the-box firmware often contains security vulnerabilities and bugs that affect IoT stability.
- Create your primary SSID (network name) and a strong WPA3 password.
Optimizing for IoT Devices: SSIDs and VLANs
One of the most frustrating hurdles in smart home installation is the 2.4GHz vs. 5GHz band issue. The vast majority of budget smart plugs, Wi-Fi bulbs, and appliances only support the 2.4GHz band because it offers better range and wall penetration. However, modern mesh systems often combine 2.4GHz, 5GHz, and 6GHz bands into a single SSID, using band-steering to push devices to the faster 5GHz band. This frequently causes smart device pairing to fail, as the setup phone connects to 5GHz while the device demands a 2.4GHz handshake.
The Solution: Access your router's advanced settings and create a dedicated 'IoT Network' or 'Guest Network' that is strictly locked to the 2.4GHz band. Give this network a distinct SSID (e.g., 'SmartHome_IoT_2.4'). When pairing new devices, connect your smartphone to this 2.4GHz network first, then initiate the pairing process in the device's app. Once paired, the device will remember the network credentials.
Security is another paramount concern. IoT devices are notorious for having weak security postures. The Cybersecurity and Infrastructure Security Agency (CISA) strongly recommends segmenting IoT devices from your primary network where personal computers and NAS drives reside. If your mesh system supports VLANs (Virtual Local Area Networks) or robust Guest Network isolation, enable 'Client Isolation' on your IoT SSID. This prevents a compromised smart bulb from being used as a pivot point to access your home office PC.
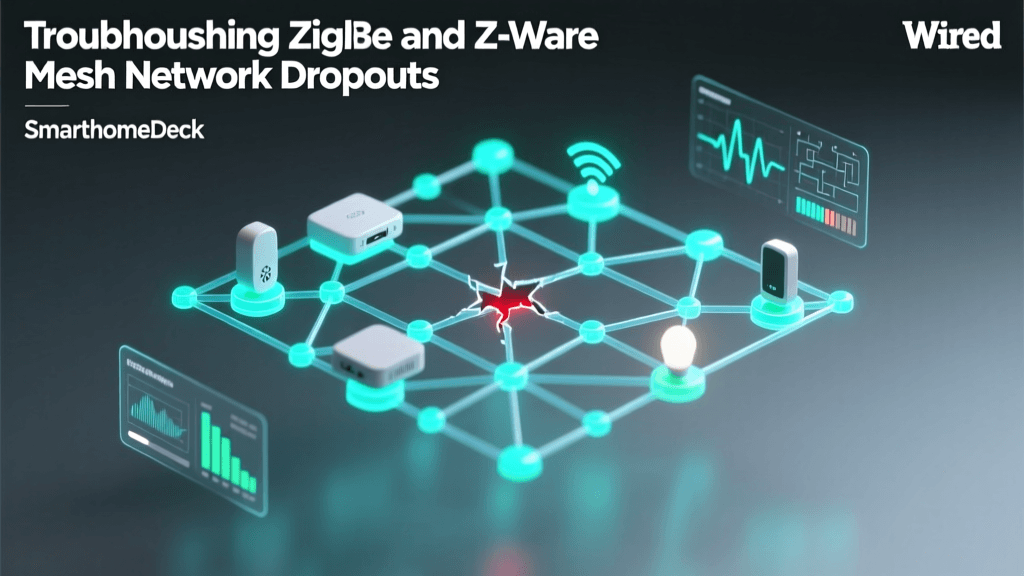
Troubleshooting Common Setup Hurdles
Even with perfect planning, DIY installers will encounter roadblocks. Here is how to solve the most common smart home setup issues:
- Zigbee Interference: Zigbee operates on the 2.4GHz spectrum and frequently overlaps with Wi-Fi channels. If your Zigbee sensors are dropping offline, access your hub's Zigbee settings and change the channel to 11, 15, 20, or 25. These channels do not overlap with standard Wi-Fi channels 1, 6, and 11.
- Device Pairing Timeouts: If a Wi-Fi smart plug refuses to pair, ensure your smartphone's Bluetooth is turned on (many modern devices use BLE for initial handshake provisioning) and temporarily disable your phone's cellular data to force it to route local traffic through the Wi-Fi network.
- Hub Offline Status: If your hub shows as 'Offline' in the cloud app but local automations still work, check your router's DNS settings. Some ISP DNS servers block the heartbeat pings of smart home servers. Change your router's DNS to Cloudflare (1.1.1.1) or Google (8.8.8.8).
Scaling Your System for Whole-Home Automation
Once your foundational mesh network and primary hub are installed and stable, you are ready to scale. As you expand into multi-room setups, outdoor security cameras, and whole-home lighting, you will likely exceed the direct connection limits of a single hub radio.
To scale a Zigbee or Thread network, you must utilize mains-powered devices as 'routers' or 'repeaters.' Smart plugs, hardwired smart switches, and smart bulbs act as signal repeaters, extending the mesh web into garages, basements, and driveways. Always install a few smart plugs in strategic hallway outlets to bolster your mesh signal before attempting to pair battery-operated door sensors in distant rooms.
By investing the time to properly install a Wi-Fi 6 mesh network, segmenting your IoT traffic, and choosing a hub that supports local Matter and Thread processing, you are building a smart home that is not only incredibly responsive but also future-proofed for the next decade of home automation innovation.