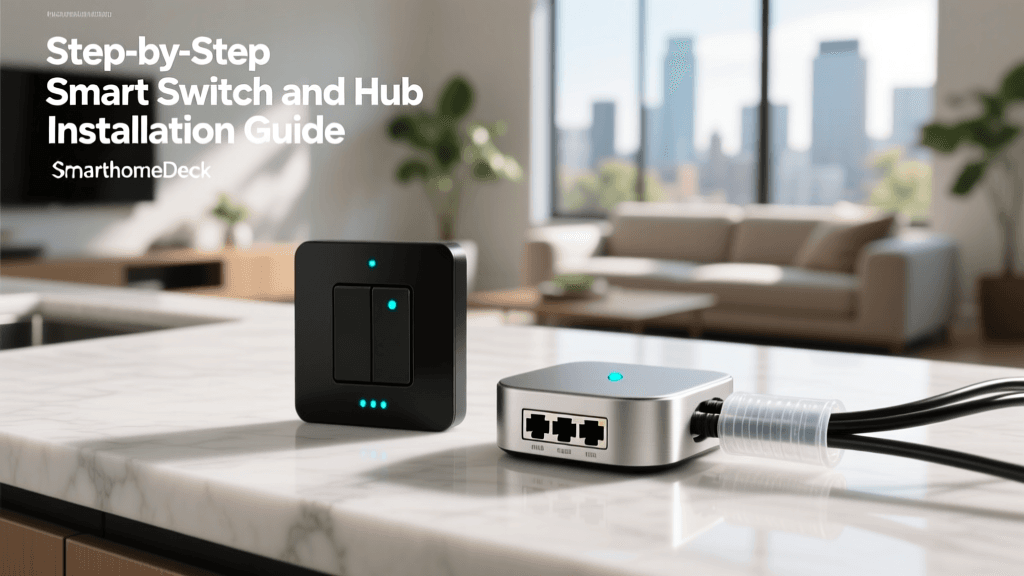
Introduction to Local Smart Home Controllers
The smart home industry has undergone a massive paradigm shift over the last few years, moving away from fragmented, cloud-dependent ecosystems toward unified, local-first controllers. For DIY installers and advanced homeowners, relying on cloud-based hubs like older generations of SmartThings or Wink introduces unacceptable latency, privacy concerns, and vulnerability to internet outages. Today, mastering smart home controller and app configuration means leveraging universal local hubs—primarily Home Assistant and Hubitat Elevation—to manage mixed-protocol networks encompassing Zigbee, Z-Wave, and the emerging Matter standard.
Configuring these controllers and their companion mobile applications requires a fundamental understanding of network topology, radio frequency management, and local API routing. Whether you are setting up a Home Assistant Green appliance or a Hubitat C-8, the goal remains the same: achieve sub-50-millisecond local execution times, maintain 100% uptime during internet outages, and create intuitive mobile dashboards for every member of the household.
Local control is not just about speed; it is about privacy, reliability, and the freedom from mandatory cloud subscriptions. A properly configured local hub ensures your home functions seamlessly even when the outside world goes offline.
Choosing Your Hub: Home Assistant vs. Hubitat Elevation
Before diving into app configuration, it is essential to understand the architectural differences between the two dominant local controllers. Both support mixed protocols via USB dongles or built-in radios, but their approach to app integration and automation routing differs significantly.
| Feature | Home Assistant (Green/Yellow/NUC) | Hubitat Elevation (C-8) |
|---|---|---|
| Primary Interface | Web GUI, YAML, Companion App | Web Admin Console, Mobile App |
| Protocol Support | Zigbee (ZHA/Z2M), Z-Wave (Z-Wave JS), Matter, Thread | Built-in Zigbee & Z-Wave, Matter (via hub updates) |
| Automation Engine | Automations UI, Node-RED, AppDaemon | Rule Machine, Button Controller |
| App Customization | Highly customizable dashboards, custom cards | Structured dashboard tiles, Hub Mesh |
| Estimated Cost | $99 (Green) to $250+ (NUC Kits) | $159 (C-8 Hub) |
Network Preparation for Mixed Protocol Environments
App configuration will fail or perform poorly if the underlying network topology is flawed. Smart home controllers require a stable, segmented network environment to communicate effectively with mobile apps and IoT devices.
VLAN Segmentation and mDNS
Best practice dictates placing IoT devices and smart hubs on a dedicated Virtual Local Area Network (VLAN). However, the Home Assistant Companion App and Hubitat Mobile App rely heavily on multicast DNS (mDNS) for local device discovery. If your hub is on an IoT VLAN and your smartphone is on your primary trusted VLAN, mDNS broadcasts will be blocked by your router's firewall. You must configure an mDNS reflector (such as Avahi on pfSense/OPNsense or the native mDNS repeater in UniFi) to allow discovery packets to cross VLAN boundaries.
Managing 2.4GHz Wi-Fi and Zigbee Interference
Zigbee operates on the 2.4GHz spectrum, directly competing with standard Wi-Fi and Bluetooth. To ensure your hub's Zigbee radio maintains a strong mesh network, you must separate the channels. Configure your 2.4GHz Wi-Fi access points to use channels 1, 6, or 11. Then, configure your Zigbee coordinator (via the ZHA or Zigbee2MQTT add-ons) to use Zigbee channel 15, 20, or 25. This physical separation prevents Wi-Fi traffic from drowning out low-power Zigbee sensor signals, which directly impacts the responsiveness of your mobile app controls.
App Configuration: Home Assistant Companion
The Home Assistant Companion App is the bridge between your local server and your mobile device. Configuring it for both local and remote access is a multi-step process that prioritizes security and low-latency routing.
Internal vs. External URL Routing
By default, the Companion App attempts to connect to your hub via its local IP address when you are on your home Wi-Fi, and falls back to a remote connection when you are on cellular data. For optimal app configuration, you should explicitly define both.
- Internal URL: Set this to your hub's static IP and port (e.g.,
http://192.168.1.50:8123). For advanced users, configuring a local reverse proxy with a self-signed SSL certificate allows you to usehttpslocally, which is required for certain mobile browser features and notification actions. - External URL: While port-forwarding is an option, it exposes your hub to the internet. The recommended configuration is subscribing to Nabu Casa (Home Assistant Cloud). This creates an encrypted, outbound-only tunnel from your hub to the Home Assistant cloud servers, allowing your app to connect securely from anywhere without opening firewall ports.
Sensor Permissions and Background Tracking
The Companion App turns your smartphone into a powerful multi-sensor. To enable presence-based automations (like turning off lights when the last person leaves), you must configure the app's location permissions. Set location access to 'Always Allow' and enable 'Background Updates'. Be aware that aggressive battery optimization on Android devices (especially Samsung and Xiaomi) will kill the app's background processes. You must manually exclude the Home Assistant app from battery optimization in your phone's OS settings to ensure reliable presence detection.
App Configuration: Hubitat Mobile App
Hubitat takes a more structured, appliance-like approach to app configuration. The Hubitat Mobile App is designed to be user-friendly for family members while providing deep administrative access for the installer.
Hub Setup and Local Discovery
When installing the Hubitat app, it scans the local network for the C-8 hub. Once discovered, you will link your Hubitat cloud account to the local hub. Unlike Home Assistant, Hubitat relies on its cloud servers to facilitate the initial handshake and remote access setup, though all subsequent command execution remains strictly local.
Dashboard Creation and Device Grouping
The core of the Hubitat app experience is the Dashboard. Rather than exposing raw device entities, you configure 'Apps' within the Hubitat web interface (like Hubitat Dashboard) and push them to the mobile app. When configuring dashboards for mixed networks, group devices by room and function. Use the 'Hub Mesh' feature if you are deploying multiple Hubitat hubs across a large property; this allows the mobile app to see and control devices from secondary hubs seamlessly through the primary hub's interface.
Integrating Zigbee, Z-Wave, and Matter
A universal controller is only as good as its radio integrations. Configuring these protocols requires specific steps within the hub's backend to ensure they reflect correctly in the mobile app.
Zigbee Home Automation (ZHA)
For Home Assistant users, the Zigbee Home Automation (ZHA) integration is the native solution. When pairing Zigbee devices, always bring the device within three feet of the coordinator dongle for the initial handshake to ensure the device joins the network with the highest security keys. Once paired, move the device to its final location and allow the mesh network 24 hours to stabilize and map out optimal routing paths.
Z-Wave S2 Security
Z-Wave networks operate on sub-GHz frequencies (908.42 MHz in the US), providing excellent wall penetration. When adding Z-Wave devices to your controller, always utilize S2 Security. S2 requires you to scan a QR code or enter a PIN from the device during inclusion. This prevents 'man-in-the-middle' attacks and ensures that battery-powered devices wake up and report their status to the app much faster than older, unsecured Z-Wave devices.
Matter and Thread Commissioning
Matter represents the future of interoperability. As outlined by the Connectivity Standards Alliance (CSA) Matter protocol, Matter devices can be commissioned directly to your local hub using a standardized QR code. For Thread-based Matter devices, ensure your hub or a secondary border router (like an Apple TV 4K or Nest Hub) is actively broadcasting the Thread network credentials. In the Home Assistant app, navigate to Settings > Devices & Services > Matter to scan the commissioning code and route the device directly into your local dashboard.
Advanced Dashboard and Automation Routing
Once your devices are integrated, the final step in app configuration is designing the user interface and routing automations. A poorly designed dashboard will frustrate users, while a well-designed one makes the complex technology invisible.
Home Assistant: Mushroom Cards and YAML
Home Assistant's default dashboard is functional but basic. For a premium mobile app experience, install HACS (Home Assistant Community Store) and download the 'Mushroom' custom card collection. Mushroom cards provide a clean, modern, and touch-friendly interface perfect for mobile screens. You can configure conditional visibility in your dashboard YAML, ensuring that the 'Goodnight' button only appears on the app dashboard after 8:00 PM, reducing visual clutter.
Hubitat: Rule Machine and Virtual Switches
In Hubitat, complex automations are handled by the Rule Machine app. To expose these automations to the mobile app dashboard, create 'Virtual Switches' or 'Virtual Buttons' in the Hubitat interface. Write a Rule Machine script that triggers your complex logic when the virtual switch is turned on, and then configure the mobile app dashboard to display that virtual switch as a standard tile. This allows family members to trigger advanced routines (like 'Movie Mode' which dims lights, closes blinds, and turns on the TV) with a single tap on their phone.
Troubleshooting Common Controller and App Sync Issues
Even with meticulous configuration, mixed-protocol networks can experience synchronization issues between the hub and the mobile app. Here is how to troubleshoot the most common problems.
- App Shows 'Disconnected' on Local Wi-Fi: This is almost always a DHCP or IP conflict issue. Ensure your smart home controller has a static IP reservation in your router's DHCP settings. If the hub reboots and receives a new IP, the mobile app will fail to connect until the cache is cleared or the IP is updated.
- Zigbee Devices Dropping Off the Mesh: If battery-powered Zigbee sensors stop reporting to the app, they have likely lost their parent router. Ensure you have enough mains-powered Zigbee devices (like smart plugs or light switches) distributed throughout the home to act as repeaters. Avoid placing the hub's Zigbee dongle directly next to a USB 3.0 hard drive or an unshielded Wi-Fi router, as USB 3.0 data transfer generates massive 2.4GHz interference.
- Matter Commissioning Failures: If the app fails to pair a Matter device, check your Thread border routers. Matter over Thread requires an active, synchronized Thread network. If you have multiple border routers from different ecosystems (e.g., Apple and Google), ensure they are configured to share Thread credentials, or temporarily disable one to force the device to commission through your primary hub's border router.
- High Battery Drain on Mobile App: If the Home Assistant Companion App is draining your phone battery, review your location tracking settings. Switching from 'High Accuracy' GPS polling to standard zone-based tracking (using cell towers and Wi-Fi SSIDs) will reduce battery consumption by over 80% while still providing reliable home/away automations.
Conclusion
Mastering smart home controller and app configuration is a rewarding endeavor that transforms a collection of disjointed gadgets into a cohesive, intelligent living space. By prioritizing local execution, carefully managing RF interference, and meticulously configuring your Home Assistant or Hubitat mobile applications, you create a resilient system that serves your household reliably. Whether you are integrating legacy Z-Wave locks or cutting-edge Matter-over-Thread sensors, the foundation of a great smart home lies in the strength of its local hub and the clarity of its app interface.