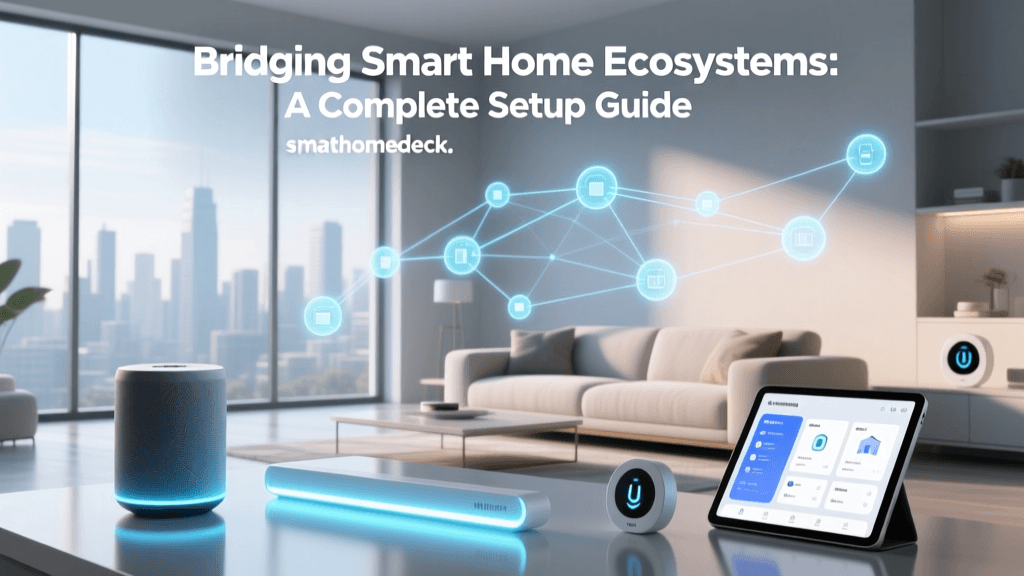
The Foundation of a Modern Smart Home
Setting up your first smart home is an exciting milestone, but the sheer volume of protocols, apps, and devices on the market can quickly turn excitement into frustration. Many beginners make the mistake of purchasing random smart bulbs, plugs, and cameras without a unified strategy, resulting in a cluttered smartphone filled with five different apps and a network that constantly drops offline. The secret to a seamless, reliable, and future-proof smart home lies in two critical components: a robust central hub and an optimized home network.
In this comprehensive guide, we will walk you through the exact steps to set up your first smart home infrastructure. We will focus on the modern standard of Matter and Thread mesh networking, ensuring your devices communicate locally, securely, and without hogging your Wi-Fi bandwidth. Whether you are outfitting a small apartment or a multi-story house, establishing this foundation will save you hundreds of dollars and countless hours of troubleshooting down the road.
Step 1: Selecting Your Primary Smart Hub
A smart home hub acts as the brain of your ecosystem. It translates different wireless languages (like Zigbee, Z-Wave, Thread, and Bluetooth) into a unified system and processes automations locally. This means your lights will still turn on when you walk into a room even if your internet connection goes down. With the advent of the Matter standard, choosing a hub that supports Thread and Matter over IP is essential for future compatibility.
Here is a comparison of the top three beginner-friendly hubs that double as Thread Border Routers, which are necessary to bridge your low-power mesh devices to your main Wi-Fi network.
| Hub Model | Supported Protocols | Cost Range | Best For |
|---|---|---|---|
| Apple TV 4K (128GB, Ethernet) | Matter, Thread, Wi-Fi, Bluetooth LE | $149 - $169 | Apple HomeKit users and premium local processing |
| Amazon Echo (4th Gen) | Matter, Zigbee, Thread, Wi-Fi, Bluetooth | $79 - $99 | Alexa users and legacy Zigbee device integration |
| Samsung SmartThings Station | Matter, Thread, Zigbee, Wi-Fi | $79 - $99 | Cross-platform users and Samsung Galaxy ecosystem |
Pro Tip: If you choose the Apple TV 4K, ensure you purchase the 128GB model with the Ethernet port. The 64GB Wi-Fi-only model lacks the Thread radio hardware required for modern mesh networking. For Android and cross-platform users, the Samsung SmartThings Station offers incredible value and acts as a bridge for virtually every major voice assistant.
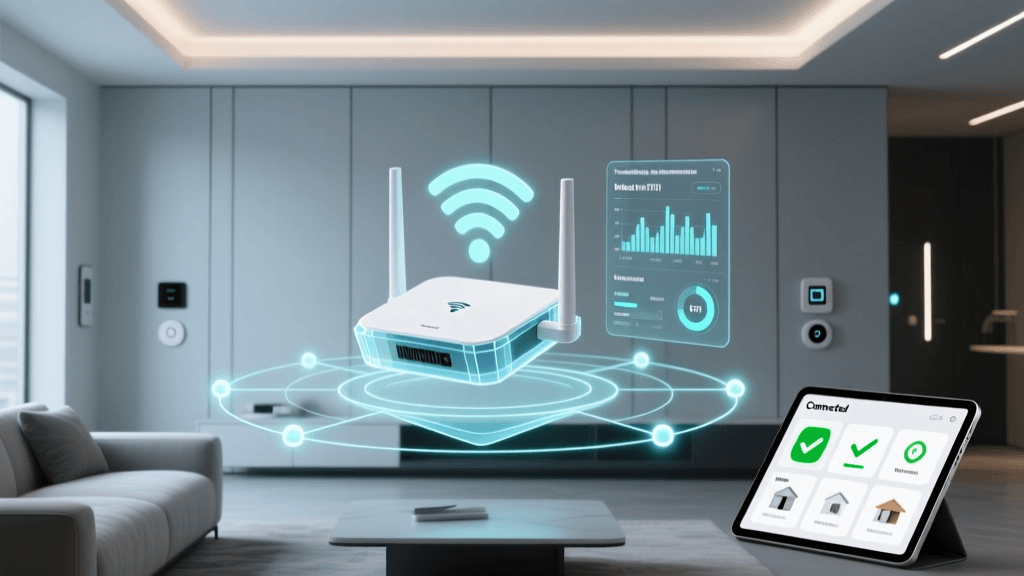
Step 2: Preparing and Securing Your Home Network
Before you unbox a single smart device, you must prepare your home router. Smart home devices are notorious for congesting Wi-Fi networks, and they can also serve as vulnerable entry points for cyber threats if not properly segmented. According to the Federal Trade Commission (FTC), securing your home network by separating IoT devices from your personal computers and smartphones is one of the most effective ways to protect your digital privacy.
Understanding Wi-Fi Bands for IoT
Most modern routers are dual-band, broadcasting both 2.4GHz and 5GHz networks. Smart home devices almost exclusively use the 2.4GHz band because it offers superior range and wall penetration, despite lower maximum speeds. High-bandwidth devices like 4K streaming sticks and gaming consoles should be relegated to the 5GHz band.
Setting Up an IoT Guest Network
To optimize performance and security, log into your router's admin panel and enable a 'Guest Network.' Configure this network to broadcast only on the 2.4GHz band. Name it something distinct, like 'HomeNetwork_IoT'. Connect all your smart plugs, bulbs, and displays to this network. This prevents a compromised smart bulb from accessing your primary network where your laptop and personal data reside.
Step 3: Understanding Matter and Thread Mesh Networking
The smart home industry has historically been fragmented, with devices locked into proprietary ecosystems. The introduction of Matter, overseen by the Connectivity Standards Alliance (CSA-IoT), has revolutionized device setup. Matter ensures that a smart plug bought from one brand will work seamlessly with a hub from another brand, provided both support the standard.
More importantly for your physical setup is Thread. Unlike Wi-Fi, where every device must connect directly to your central router, Thread creates a 'mesh network.' Your Thread-enabled smart bulbs, plugs, and switches talk to each other, passing data along the chain until it reaches your Thread Border Router (your smart hub). This dramatically extends the range of your smart home without requiring expensive Wi-Fi extenders.
Installation Insight: Thread devices require constant power to act as mesh repeaters. Battery-powered devices (like door sensors and motion detectors) are 'end devices' and do not extend the mesh. To ensure a strong mesh network in a large home, distribute hardwired Thread devices (like smart plugs and wall switches) evenly throughout your floor plan.
Step 4: Physical Placement and Installation
Where you place your central hub dictates the reliability of your entire system. Wireless signals degrade when passing through dense materials. Follow these physical installation guidelines to maximize signal propagation:
- Centralize the Hub: Place your SmartThings Station or Echo in the geographic center of your home. Avoid hiding it inside a metal entertainment cabinet or behind a television, which acts as a Faraday cage and blocks RF signals.
- Elevation Matters: Position the hub 3 to 4 feet off the ground. Radio waves spread outward and slightly downward; placing the hub on the floor severely limits its effective range.
- Avoid Interference Sources: Keep your hub at least 5 feet away from microwaves, cordless landline phones, and large aquariums. Water and certain frequencies of microwave radiation can severely disrupt 2.4GHz and Thread signals.
- Use Ethernet When Possible: If your hub supports it (like the Apple TV 4K or a SmartThings Hub v3), hardwire it to your router using a Cat6 Ethernet cable. This frees up Wi-Fi bandwidth and ensures your automations never fail due to wireless interference.
Step 5: Budgeting for Your First Setup
Setting up a smart home doesn't require spending thousands of dollars on day one. A strategic, phased approach is best. Here is a recommended budget breakdown for a starter 3-room setup (Living Room, Kitchen, and Primary Bedroom):
- Core Hub & Router Upgrade (if needed): $100 - $200
- Smart Lighting (4x Matter/Thread Bulbs): $60 - $100 (e.g., Nanoleaf Essentials or Philips Hue)
- Smart Plugs (3x Matter Plugs): $30 - $45 (e.g., Eve Energy or Meross)
- Climate Control (1x Smart Thermostat): $120 - $250 (e.g., Ecobee or Amazon Smart Thermostat)
- Security (1x Matter Video Doorbell): $150 - $230 (e.g., Aqara G4 or Eufy)
Total Estimated Initial Investment: $460 - $825. By prioritizing Matter-certified devices, you ensure that every dollar spent is protected against platform obsolescence.
Step 6: Pairing and Commissioning Devices
With your hub plugged in, connected to Ethernet (if applicable), and your IoT Wi-Fi network broadcasting, it is time to commission your first devices. The Matter standard has simplified this process immensely.
- Locate the Matter QR Code: Every Matter-certified device features a unique QR code on the packaging or the device itself. This code contains the device's cryptographic credentials and setup PIN.
- Open Your Preferred App: Open Apple Home, Google Home, or Samsung SmartThings. Tap the '+' icon and select 'Add Accessory' or 'Add Device'.
- Scan and Connect: Use your smartphone camera to scan the QR code. The app will securely handshake with the device via Bluetooth LE, pass it your Wi-Fi or Thread network credentials, and then step back as the device joins the mesh.
- Assign Rooms and Names: Name your devices logically (e.g., 'Kitchen Island Pendant' rather than 'Smart Bulb 4') and assign them to the correct digital room. This is crucial for voice assistant commands and group automations.
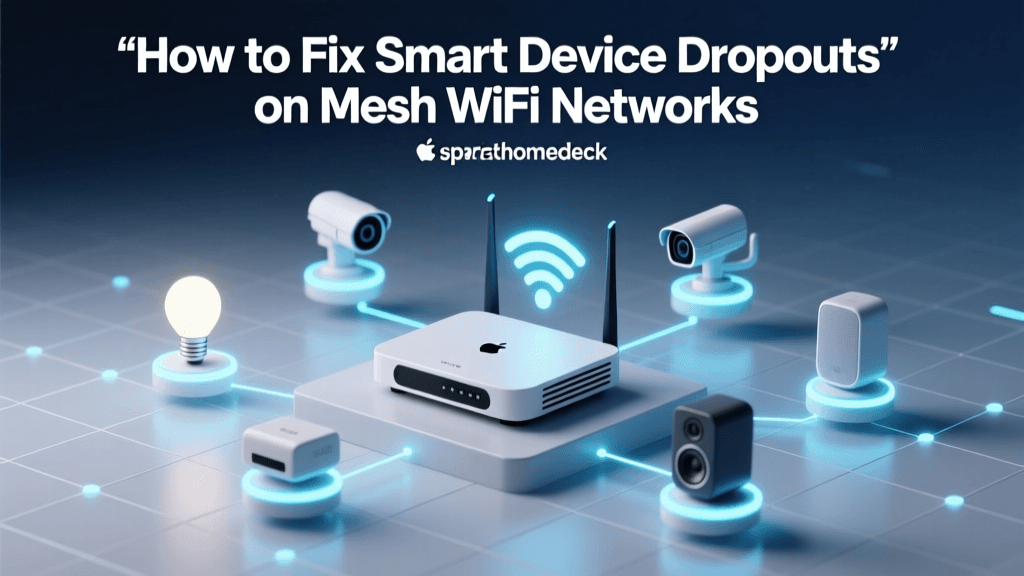
Troubleshooting Common Setup Roadblocks
Even with meticulous planning, you may encounter hiccups during your initial setup. Here is how to resolve the most common issues DIY installers face:
Device Refuses to Pair or Times Out
This is almost always a network band issue. Ensure your smartphone is temporarily connected to the exact same 2.4GHz IoT network you are trying to onboard the device to. Many routers use 'Smart Connect' to merge 2.4GHz and 5GHz bands under one name, which confuses smart home setup protocols. Temporarily disable Smart Connect or create a dedicated 2.4GHz SSID.
Thread Devices Show as 'No Response' in App
If a Thread device drops offline, it lacks a path back to the Border Router. Remember that battery-powered sensors do not route signals. If a door sensor is far from the hub, plug a Matter smart plug into a wall outlet halfway between the sensor and the hub. The plug will join the Thread mesh and act as a repeater, instantly restoring the sensor's connection.
Automations are Delayed or Sluggish
If your lights take two or three seconds to turn on after a motion sensor is triggered, your automation might be relying on cloud processing. Ensure you are using local-compatible hubs and devices. Check your hub's settings to prioritize 'Local Execution' or 'Local Routines' over cloud-based triggers.
Conclusion: Next Steps for Your Smart Home
Congratulations! By carefully selecting a Matter-compatible hub, segmenting your Wi-Fi network, and leveraging Thread mesh topology, you have built a smart home foundation that is secure, blazing fast, and ready for expansion. Now that your hardware is installed and commissioned, your next phase is the fun part: creating automations. Start simple with motion-activated lighting and scheduled climate adjustments, and gradually build complex, multi-room routines that anticipate your daily habits. Welcome to the future of home living.