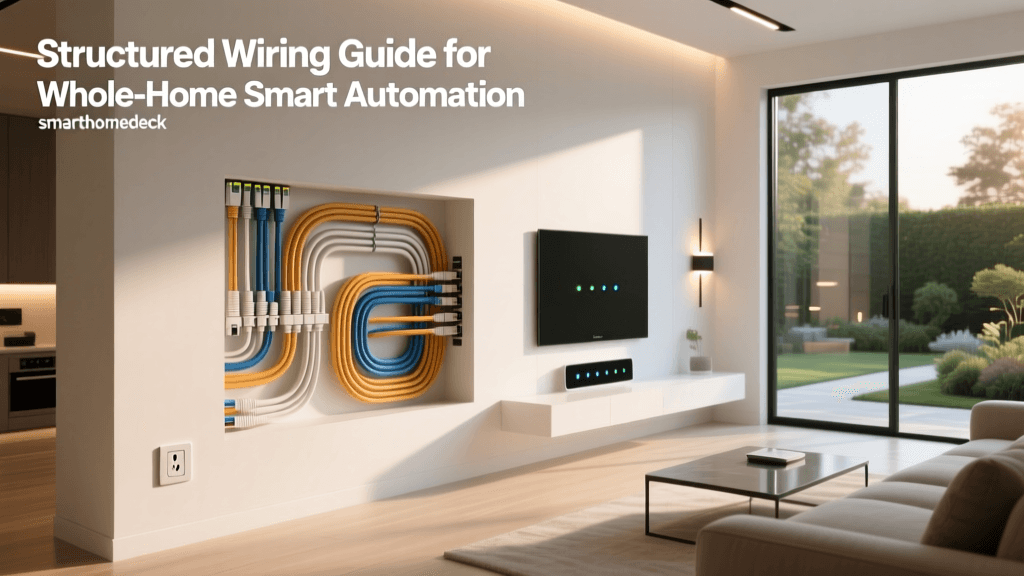
Why You Need a Dedicated Smart Home Hub
When you first dip your toes into home automation, it is tempting to rely solely on Wi-Fi-enabled devices and cloud-based apps. However, as your collection of smart switches, sensors, and locks grows, a dedicated smart home hub becomes the undisputed brain of your operation. A hub serves three critical functions: it acts as a universal translator between different wireless protocols, processes automations locally for zero-latency execution, and keeps your home functional even when your internet connection drops.
According to the Connectivity Standards Alliance (CSA), the push toward unified standards like Matter is changing the landscape, but legacy and specialized protocols like Zigbee and Z-Wave remain essential for low-power sensors and reliable mesh networking. This guide will walk you through selecting the right hub, understanding wireless protocols, and executing a professional-grade installation in your home.
Understanding Smart Home Protocols
Before unboxing any hardware, you must understand the invisible languages your devices use to communicate. Choosing the right protocol dictates your hub requirements, device battery life, and network reliability.
Zigbee (2.4 GHz)
Zigbee operates on the 2.4 GHz frequency band, the same band used by most Wi-Fi routers and microwaves. It forms a mesh network, meaning every mains-powered Zigbee device (like a smart plug or wired switch) acts as a repeater, extending the network's range. However, because it shares the 2.4 GHz spectrum, it can suffer from interference if your Wi-Fi channels are not properly managed.
Z-Wave (Sub-GHz)
As detailed by the Z-Wave Alliance, Z-Wave operates on sub-GHz frequencies (908.42 MHz in the US), which allows it to penetrate walls and floors much more effectively than 2.4 GHz signals. Z-Wave is strictly regulated, ensuring that every certified device is 100% backward and forward compatible. It is the gold standard for critical security devices like smart locks and garage door controllers.
Thread and Matter
Thread is a low-power, IP-based mesh networking protocol that serves as the transport layer for Matter. Unlike Zigbee, Thread devices can communicate directly with your IP network without a proprietary bridge, provided you have a Thread Border Router (like an Apple HomePod or certain Nest Hubs). Matter sits at the application layer, promising cross-platform compatibility between Apple, Google, Amazon, and Samsung ecosystems.
Top Smart Home Hubs for DIY Installation
Selecting the right hub depends on your technical expertise, desired ecosystem, and need for local versus cloud control. Below is a comparison of the top hubs on the market for DIY installers.
| Hub Model | Protocols Supported | Local Control | Estimated Cost | Best For |
|---|---|---|---|---|
| Home Assistant Green | Zigbee (via dongle), Matter, Thread | 100% Local | $99 | Advanced DIYers, Privacy advocates |
| Hubitat Elevation | Zigbee, Z-Wave, LAN | 100% Local | $150 | Complex rule machine automations |
| Samsung SmartThings Station | Matter, Thread, Wi-Fi (Zigbee via Hub v3) | Hybrid/Cloud | $60 - $100 | Beginners, Samsung ecosystem users |
| Apple HomePod (2nd Gen) | Thread, Matter, Wi-Fi | Local (Apple Ecosystem) | $299 | Apple users, Voice control, Audio |
For those seeking the ultimate balance of power and local reliability, the Home Assistant Green paired with a USB Zigbee coordinator is currently the industry favorite among enthusiasts. It requires zero cloud dependencies and offers the most robust automation engine available.
Step-by-Step Hub Installation and Network Setup
Proper physical placement and network configuration are where most DIY installations fail. Follow these steps to ensure a rock-solid foundation.
Step 1: Optimal Physical Placement
Do not hide your hub in a basement rack or a metal media enclosure. Metal acts as a Faraday cage, destroying RF signals. Place your hub in a central, elevated location in your home, ideally on the main floor. If you are using a USB Zigbee coordinator stick with a Home Assistant or Hubitat setup, always use a 3-to-6-foot USB 2.0 extension cable. USB 3.0 ports generate massive amounts of 2.4 GHz noise that will cripple your Zigbee mesh. Moving the antenna away from the hub's motherboard is a non-negotiable best practice.
Step 2: Ethernet Backhaul and Power
While some hubs offer Wi-Fi connectivity, you should always use a hardwired Ethernet connection for your primary hub. This frees up airtime on your wireless network and ensures that automation commands are dispatched instantly. Connect the hub to a reliable Uninterruptible Power Supply (UPS) or a high-quality surge protector to prevent database corruption during power flickers.
Step 3: Network Segmentation (IoT VLAN)
For advanced users running UniFi, pfSense, or OPNsense routers, isolating your smart home devices on a dedicated IoT VLAN (Virtual Local Area Network) is a critical security measure.
- Subnetting: Assign your IoT devices to a separate subnet (e.g., 192.168.20.x) from your main personal devices (192.168.1.x).
- Firewall Rules: Block the IoT VLAN from accessing your main LAN, but allow your main LAN to initiate connections to the IoT VLAN for local app control.
- mDNS Repeater: If you use casting devices like Chromecasts or Apple TVs across VLANs, enable an mDNS (Multicast DNS) repeater on your router so your phone can still discover and control them across subnets.
Step 4: Wi-Fi Channel Optimization
If you are deploying Zigbee, you must ensure your Wi-Fi and Zigbee networks are not talking over each other. Zigbee channels 11, 15, 20, and 25 are the most common. Wi-Fi channels 1, 6, and 11 are the standard non-overlapping channels.
- Set your 2.4 GHz Wi-Fi router to Channel 1.
- Set your Zigbee coordinator to Channel 15 or 20.
- This guarantees zero overlap and drastically reduces dropped sensor packets.
Building a Resilient Mesh Network
Unlike Wi-Fi, where every device talks directly to the router, Zigbee and Z-Wave rely on mesh routing. End devices (like battery-powered door sensors) sleep to conserve power and only wake up to send a signal to the nearest 'router' device (a mains-powered smart plug or light switch).
The 3-to-1 Rule for Mesh Health
For every three battery-powered end devices you add to your network, you should have at least one mains-powered repeating device. If you are wiring a new home or doing a major renovation, install smart switches (like Lutron Caseta or Zigbee-enabled wall relays) in every major room. This creates an invisible, high-speed web of repeating nodes that ensures a motion sensor in the far corner of your garage still triggers your hallway lights in under 100 milliseconds.
Adding Devices and Creating Automations
Once your hub is online and your network is optimized, it is time to include your first devices.
- Put the Hub in Inclusion/Pairing Mode: Access your hub's dashboard and select 'Add Device'. For Z-Wave, choose 'Secure Inclusion' to ensure encrypted communication for locks and garage doors.
- Power the Device: Pull the battery tab or flip the breaker for wired devices. Bring battery-powered sensors within 3 feet of the hub for the initial pairing process to ensure a strong handshake, then move them to their permanent location and trigger them to force a mesh route recalculation.
- Name and Categorize: Use a strict naming convention. For example: [Room] - [Device Type] - [Specific Location] (e.g., 'Kitchen - Motion Sensor - Pantry'). This makes writing automation scripts infinitely easier.
Troubleshooting Common Hub Setup Issues
Even with meticulous planning, you may encounter hiccups. Here is how to solve the most common installation headaches:
Ghost Devices and Routing Loops
If a Z-Wave or Zigbee device shows up as 'dead' or 'ghost' in your dashboard, it usually means the mesh routing table is outdated. The hub is trying to send a signal through a repeater that no longer exists or has been moved. The Fix: Run a 'Z-Wave Repair' or 'Heal Mesh' command from your hub's settings. This forces the hub to interview every node and rebuild the optimal routing map. Always perform a mesh heal after moving furniture or adding new mains-powered devices.
Latency in Automations
If your motion-triggered lights take more than half a second to turn on, your automation might be routing to the cloud. Ensure that your automation engine is set to execute locally. If you are using Home Assistant, verify that your Zigbee integration is using 'Local Push' rather than 'Cloud Polling'. Furthermore, check that your hub's CPU is not bottlenecked by heavy add-ons or excessive logging.
Device Battery Drain
If a brand-new door sensor dies in two weeks, it is almost always a mesh routing issue. The sensor is struggling to find a reliable path back to the hub and is burning through its battery repeatedly transmitting the same packet. Add a smart plug or wired switch halfway between the sensor and the hub to provide a reliable, low-power routing hop.
Conclusion
Installing a smart home hub is the most impactful upgrade you can make to your home's technological infrastructure. By prioritizing local control, respecting RF interference boundaries, and strategically building your mesh network, you will create an automation system that is not only incredibly powerful but completely invisible in its daily operation. Whether you choose the enthusiast-grade Home Assistant Green or the reliable Hubitat Elevation, the principles of central placement, Ethernet backhaul, and protocol separation remain the golden rules of a successful DIY smart home installation.