How to Install a Smart Home System: The Ultimate Step-by-Step Guide
Transforming your living space into a fully automated, intelligent environment is one of the most rewarding home improvement projects you can undertake. Learning how to install a smart home system not only increases your property value but also drastically improves your daily convenience, energy efficiency, and home security. Whether you want your lights to turn on automatically at sunset, your thermostat to adjust when you leave for work, or your doors to lock themselves at night, a properly configured smart home ecosystem makes it all possible.
However, with thousands of devices on the market and multiple competing wireless protocols, the process can feel overwhelming for beginners. This comprehensive, step-by-step guide will walk you through the entire installation process, from selecting the right central hub to creating complex automated routines.
Project Overview
Difficulty Level: Moderate (Requires basic Wi-Fi networking knowledge and minor electrical safety awareness for hardwired devices).
Estimated Time: 4 to 8 hours (Spread over a weekend, depending on the size of your home and the number of devices).
Primary Skills Needed: Smartphone app navigation, basic network troubleshooting, and safe handling of electrical faceplates.
Tools & Products Needed
Before you begin tearing open boxes and downloading apps, gather the essential tools and hardware required for a smooth installation. Having everything on hand will prevent frustrating interruptions.
- Smart Home Hub / Bridge: The central brain of your system (e.g., SmartThings, Home Assistant, or a dedicated ecosystem hub).
- Smart Devices: Your chosen smart lighting, smart plugs, sensors, and smart security cameras.
- Smart Thermostat: For climate control (check our smart thermostat guide for compatibility).
- Smartphone or Tablet: Fully updated to the latest operating system for device pairing.
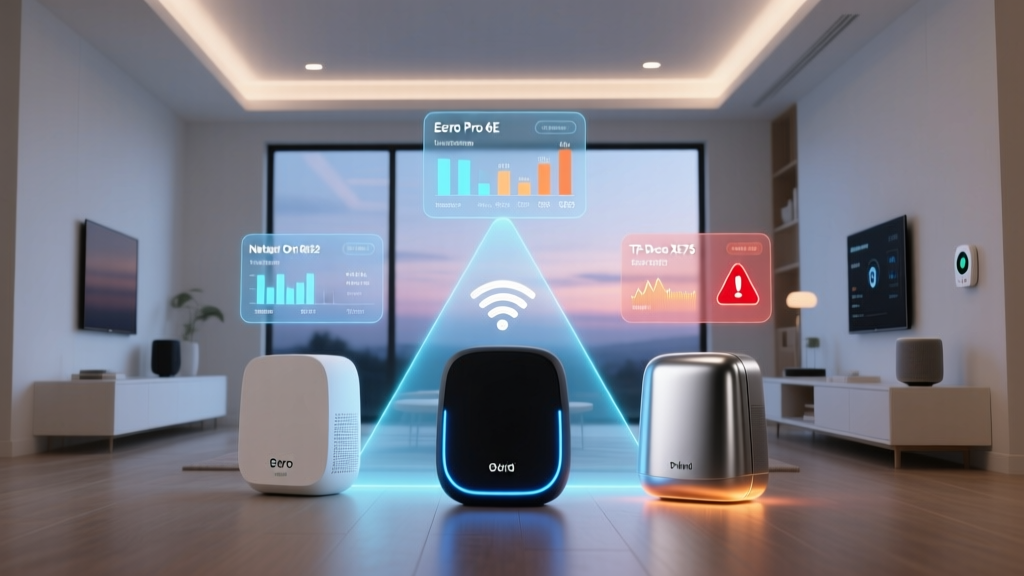
- Mesh Wi-Fi Router: A robust mesh networking system to ensure blanket coverage across your property.
- Non-Contact Voltage Tester: Absolutely essential for safely installing hardwired smart switches and thermostats.
- Flathead & Phillips Screwdrivers: For removing existing faceplates and switch covers.
- Wire Strippers & Electrical Tape: For managing and securing exposed copper wiring.
- Step Ladder: For reaching ceiling fixtures, high cameras, and smoke detectors.
Step 1: Choose & Set Up Your Smart Home Hub
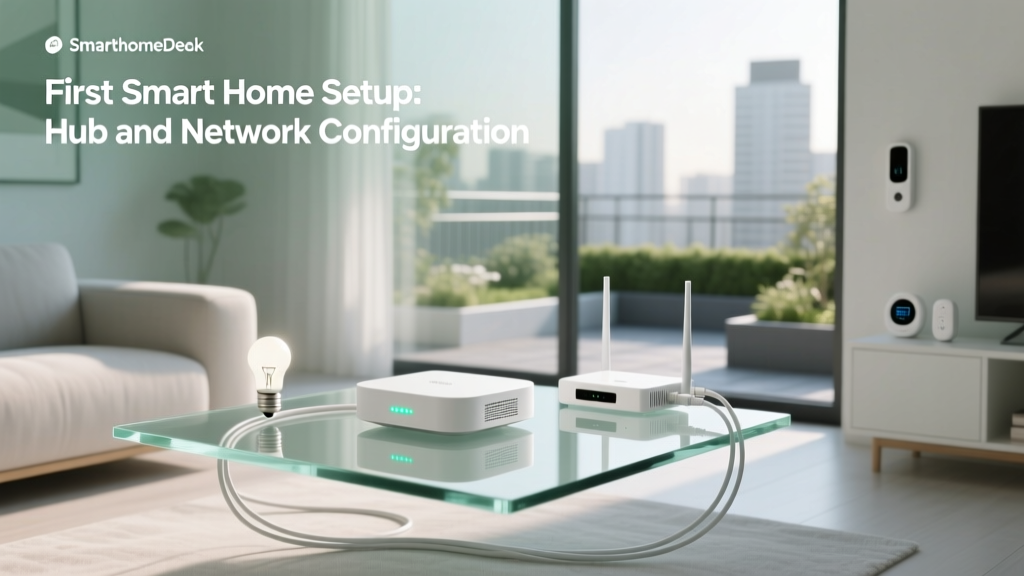
The smart home hub is the central command center for your entire ecosystem. It acts as the translator between your wireless devices (which often use low-power protocols like Zigbee, Z-Wave, or Thread) and your home Wi-Fi network. Choosing the right hub dictates which devices you can buy in the future, so this is the most critical decision in the installation process.
Understanding Wireless Protocols
Modern smart homes rely on a mix of protocols. While Wi-Fi and Bluetooth are common, they drain battery life quickly and clog up your router. Dedicated smart home protocols are designed for low-latency, low-power mesh networking:
- Zigbee & Z-Wave: Legacy but highly reliable mesh protocols. They require a dedicated hub but do not interfere with your Wi-Fi.
- Thread & Matter: The current industry standard. Matter is a unifying software layer that allows devices from different brands to communicate seamlessly, while Thread is the low-power mesh network it runs on.
Explore our comprehensive breakdown of the best smart home hubs to find the one that fits your technical comfort level. If you prefer a plug-and-play experience, ecosystem-specific hubs (like Apple HomePod or Amazon Echo with built-in Zigbee) are ideal. If you want ultimate local control and privacy, consider an open-source platform like Home Assistant.
Hub Placement & Initialization
Once you have selected your hub, placement is key. Do not hide it inside a metal media cabinet or a basement corner. Place the hub in a central, elevated location in your home to ensure its internal antennas can reach the furthest corners of your property. Plug it directly into your primary router via an Ethernet cable if possible, as this drastically reduces latency and cloud-dependence.
Download the manufacturer’s companion app, create your master account, and follow the on-screen prompts to connect the hub to your network. Enable Two-Factor Authentication (2FA) immediately to protect your home’s digital perimeter.
Step 2: Upgrade Your Network & Wi-Fi Infrastructure
A smart home system is only as reliable as the network it runs on. If you are adding 30, 40, or even 50+ smart devices to your home, a standard ISP-provided router will quickly become overwhelmed, leading to dropped connections and unresponsive devices.
Optimizing Your Router for IoT Devices
Most smart home accessories, particularly smart plugs, basic bulbs, and sensors, operate exclusively on the 2.4GHz Wi-Fi band. This band offers superior range and wall penetration compared to 5GHz, but it is highly susceptible to interference from microwaves, baby monitors, and neighboring apartments.
To optimize your home networking setup:
- Invest in a Mesh Wi-Fi System: Mesh nodes eliminate dead zones, ensuring that a smart lock on your back door or a leak sensor in the basement maintains a stable connection.
- Separate Your SSIDs: Many modern routers allow you to create a dedicated 2.4GHz network or an "IoT VLAN" (Virtual Local Network). Giving your smart devices their own isolated network prevents them from slowing down your primary devices (like laptops and streaming TVs) and adds a layer of security.
- Assign Static IPs or DHCP Reservations: Log into your router’s admin panel and assign permanent IP addresses to your smart hubs and critical security devices. This prevents the router from accidentally assigning their IP to a guest’s phone, which would cause the smart device to drop offline.
Step 3: Install Smart Lighting & Plugs
Smart lighting is the most popular entry point into home automation. It offers immediate visual feedback and dramatically changes the ambiance of your home. However, you must choose between smart bulbs and smart switches.
Smart Bulbs vs. Smart Switches
Smart Bulbs (like Philips Hue or LIFX) are perfect for lamps, color-changing accents, and fixtures where you want individual bulb control. The downside? If someone flips the physical wall switch, the smart bulb loses power and goes offline.
Smart Switches (like Lutron Caseta or TP-Link Kasa) replace your existing wall switches. They are generally preferred for overhead lighting because they maintain physical control while adding smart capabilities. Before buying smart switches, turn off the breaker, remove your current switch, and check for a neutral wire (usually a bundle of white wires in the back of the box). Most modern smart switches require a neutral wire to stay powered on when the lights are off.
Installation & Pairing Process
- Turn off the power at the circuit breaker and verify it is dead using your non-contact voltage tester.
- Disconnect the old switch and wire the new smart switch according to the manufacturer’s diagram (Line, Load, Neutral, and Ground).
- Restore power and wait for the LED indicator on the switch to begin blinking (pairing mode).
- Open your smart home app, select "Add Device," and follow the prompts to name the switch and assign it to a specific room.
For lamps and appliances, simply plug your smart plugs into standard wall outlets, plug your dumb devices into them, and pair them via the app. Group your devices by room (e.g., "Living Room Lights") to make voice commands and automations much easier to manage later.
Step 4: Add Security & Climate Control Devices
Once your lighting is configured, it is time to tackle the heavy hitters of home automation: security and climate. These devices not only provide convenience but can also lower your home insurance premiums and reduce monthly utility bills.
Smart Thermostats & Sensors
Upgrading to a smart thermostat allows your HVAC system to learn your schedule and adjust temperatures based on occupancy. Like smart switches, most advanced thermostats require a "C-Wire" (Common Wire) to provide continuous 24V power to the unit’s Wi-Fi radio and display. If your current thermostat lacks a C-Wire, you may need to use the adapter kit included with the thermostat or hire an HVAC technician to run a new wire from your furnace control board.
Pair your thermostat with remote room sensors. These battery-operated pucks detect motion and temperature in specific rooms, ensuring your home office is comfortable while you work, rather than just measuring the temperature in the hallway where the main unit is installed.
Smart Locks, Cameras & Doorbells
Securing your perimeter is a core pillar of any smart security setup. When installing a smart lock, ensure your door is properly aligned. A smart lock motor will burn out quickly if it has to force the deadbolt against a misaligned strike plate. Calibrate the lock via the app so it knows the exact position of the locked and unlocked states.
For video doorbells and outdoor cameras, consider your power source. Battery-powered cameras offer flexible placement but require periodic recharging. Hardwired PoE (Power over Ethernet) cameras offer 24/7 continuous recording and superior reliability but require running Ethernet cables through your attic or walls. Always position cameras to avoid direct sunlight glare and ensure they are mounted high enough to be out of reach from potential vandals.
Step 5: Create Automations & Routines
Having smart devices is only half the battle; making them work together seamlessly is where the true magic of a smart home lies. Automations (often called "Routines" or "Scenes") allow your home to react to your life without you ever needing to open an app or speak a voice command.
Understanding Triggers, Conditions & Actions
Every automation consists of three parts:
- Trigger: The event that starts the automation (e.g., "At Sunset", "When the front door unlocks", "When motion is detected").
- Condition: The rules that must be met for the trigger to fire (e.g., "Only if I am not home", "Only between 10 PM and 6 AM").
- Action: What the devices actually do (e.g., "Turn on porch light", "Set thermostat to 68 degrees", "Send push notification").
Essential Routines to Build First
- The "Good Morning" Routine: Triggered by your alarm clock or a set time. Actions: Slowly fade up bedroom lights to 50%, start the coffee maker via a smart plug, and read out the daily weather and calendar events via a smart speaker.
- The "Away / Geofencing" Routine: Triggered when the last person’s smartphone leaves a virtual perimeter around your house. Actions: Lock all doors, arm the security system, turn off all lights, and set the thermostat to Eco mode.
- The "Movie Night" Scene: Triggered by a voice command or a smart remote button. Actions: Dim living room lights to 10%, turn on the TV and soundbar via an IR blaster, and close smart blinds.
- The "Nighttime Security" Routine: Triggered at 11:00 PM. Actions: Lock doors, turn on exterior motion-sensor lighting, and arm interior cameras.
Take time to refine these routines. The goal is to reduce the number of manual interactions you have with your devices. If you find yourself manually turning off the same light every night, create an automation to handle it for you.
Troubleshooting Common Smart Home Installation Issues
Even with meticulous planning, you will inevitably encounter technical hiccups. Here is how to resolve the most common smart home installation headaches.
Device Shows as "Offline" or "Unresponsive"
This is almost always a network or power issue. First, check if the device has power (for battery devices, swap the batteries; for hardwired devices, check the breaker). Next, check your router. If you recently changed your Wi-Fi password or SSID, you will need to reset the device and re-pair it. If the device is far from the hub or router, try adding a smart plug halfway between them to act as a signal repeater (Zigbee and Z-Wave mains-powered devices automatically repeat signals).
Hub Fails to Discover New Devices
If your hub cannot find a new bulb or sensor, you are likely experiencing wireless interference or a pairing limit. Ensure the device is within 10 feet of the hub during the initial pairing process; you can move it to its permanent location afterward. Additionally, some hubs have a limit of 32 or 64 directly connected devices. If you hit this limit, you must add smart home repeaters or upgrade to a more robust hub.
Automations Trigger at the Wrong Time
If your "Sunset" lighting routine triggers an hour too early or too late, check the location settings in your smart home app. The app uses GPS coordinates and local time zones to calculate astronomical events. Ensure your hub’s firmware is up to date and that the location pin is dropped exactly on your property.
Smart Switches Flickering or Buzzing
If a newly installed smart dimmer switch causes your LED bulbs to flicker or emit a buzzing sound, you have a compatibility issue. Not all LED bulbs are dimmable, and even fewer are compatible with smart dimmers. Check the manufacturer’s compatibility list and ensure you are using high-quality, dimmable LED bulbs. You may also need to adjust the "minimum dimming level" in the switch’s app settings.
Frequently Asked Questions
Can I install a smart home system if I rent my apartment?
Absolutely. Renters should focus on non-destructive, plug-and-play devices. Use smart bulbs instead of hardwired switches, rely on smart plugs for lamps and fans, and use battery-operated security cameras and doorbell cameras that mount with heavy-duty adhesive strips rather than screws. When you move out, simply pack up your devices and take them with you.
Will my smart home still work if the internet goes down?
This depends entirely on your hub and protocol. Cloud-dependent Wi-Fi devices (like many cheap smart plugs and cameras) will lose remote access and automations during an internet outage. However, if you use a local-processing hub with Zigbee, Z-Wave, or Matter/Thread devices, your physical switches, motion sensors, and local automations will continue to function perfectly even if your ISP is down.
Do I need to replace every light bulb in my house to have smart lighting?
No. The most cost-effective and reliable method is to install smart switches on your main overhead circuits and use smart bulbs only in specific accent lamps where you want color-changing capabilities or tunable white light for circadian rhythm support. Mixing smart switches and smart bulbs on the same circuit is generally not recommended, as turning off the smart switch will cut power to the smart bulb.
Is a smart home system secure from hackers?
Like any connected technology, smart homes carry inherent cybersecurity risks. To secure your system, always use strong, unique passwords for your smart home accounts, enable Two-Factor Authentication (2FA), keep your router and device firmware updated, and isolate your IoT devices on a separate guest network or VLAN. Avoid buying unbranded, ultra-cheap devices from unknown manufacturers, as they often lack basic security encryption.
Can I mix and match different brands of smart devices?
Yes, but it requires the right ecosystem. If you rely solely on individual brand apps, mixing brands becomes a nightmare. However, by using a unifying platform like Apple HomeKit, Samsung SmartThings, Home Assistant, or by purchasing devices certified with the Matter logo, you can seamlessly mix brands. A Philips Hue bulb, a Yale lock, and an Ecobee thermostat can all operate together in the same routine if routed through a compatible central hub.