Introduction to Whole-Home Smart Lighting and Hub Networks
Transitioning from traditional switches to a fully integrated smart lighting ecosystem is one of the most impactful upgrades you can make to your home. However, a truly reliable smart home is not built by simply screwing in a few Wi-Fi bulbs and connecting them to a mobile app. It requires a structured, methodical approach to network architecture, hub placement, electrical wiring, and mesh network topology. Whether you are retrofitting a single-story apartment or wiring a multi-story residential property, understanding the step-by-step installation process is critical for long-term stability.
In this comprehensive guide, we will walk through the exact methodology used by professional integrators to install a central smart home hub and deploy a multi-room lighting system. We will cover network segmentation, physical wiring safety, mesh network optimization, and advanced automation workflows. By the end of this guide, you will have the technical knowledge required to deploy a resilient, low-latency smart lighting network that operates seamlessly in the background of your daily life.
Phase 1: Pre-Installation Network Planning
Before touching a single wire or unboxing a hub, you must prepare your local area network (LAN). Smart home devices are notorious for consuming IP addresses and generating background chatter that can congest standard consumer routers. Furthermore, improper network configuration is the leading cause of 'device offline' errors in DIY smart home setups.
1. Isolate Your IoT Devices
The first step is to create a dedicated network segment for your smart home devices. If your router supports Virtual Local Area Networks (VLANs) or multiple SSIDs, create a dedicated 'IoT Network.' This serves two purposes: it reduces congestion on your primary network used for streaming and gaming, and it provides a layer of security by isolating potentially vulnerable IoT firmware from your personal computers and smartphones.
2. Manage 2.4GHz Wi-Fi Channels
Most Wi-Fi-based smart home devices operate exclusively on the 2.4GHz spectrum. According to the Federal Communications Commission (FCC), signal interference from neighboring networks and household appliances can severely degrade wireless performance. To minimize this, log into your router's admin panel and manually set your 2.4GHz channel to 1, 6, or 11. These are the only non-overlapping channels. Use a Wi-Fi analyzer app on your smartphone to determine which of these three channels is least congested in your specific environment.
3. Implement DHCP Reservations
Every smart hub and network-connected switch requires a static IP address. If your router's DHCP server assigns a new IP address to your hub after a power outage, your local automations and voice assistant integrations will break. Navigate to your router's DHCP settings and bind the MAC addresses of your smart hubs and Wi-Fi lighting bridges to permanent IP reservations.
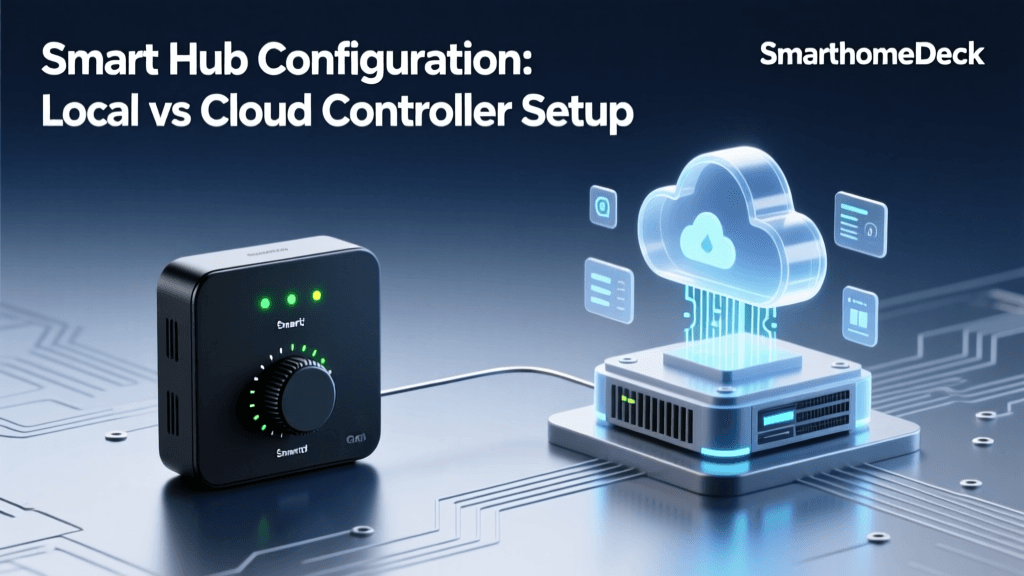
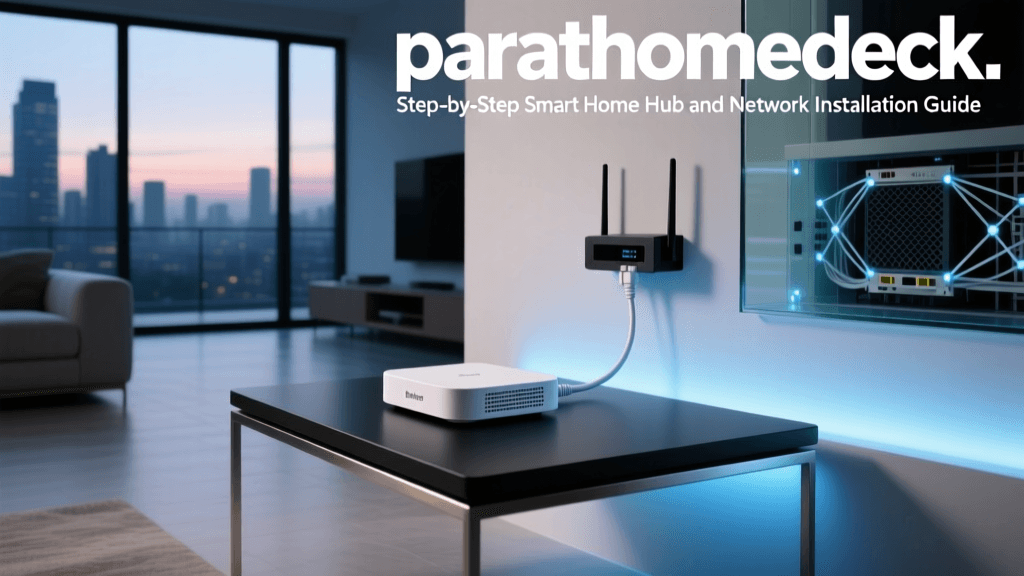
Phase 2: Selecting and Installing the Central Hub
The hub is the brain of your smart home. It translates wireless protocols like Zigbee, Z-Wave, and Thread into IP data that your router can process. Choosing the right hub dictates the compatibility and speed of your entire system.
Hub Comparison Matrix
| Hub Model | Primary Protocols | Local Processing | Best Use Case | Approx. Cost |
|---|---|---|---|---|
| Home Assistant Green | Wi-Fi, Zigbee (via dongle), Matter | Yes (100% Local) | Advanced DIYers, complex automations | $99 |
| Samsung SmartThings Station | Zigbee, Matter, Thread | Partial (Cloud dependent) | Mainstream users, Samsung ecosystem | $69 |
| Philips Hue Bridge | Zigbee (Hue proprietary) | Yes (Local API) | Premium lighting-only setups | $59 |
Optimal Hub Placement
Wireless protocols like Zigbee and Z-Wave are highly susceptible to physical obstructions. Never place your hub inside a metal media enclosure, behind a television, or in a basement corner. The ideal location is central to the home, elevated at least three feet off the ground, and away from microwave ovens or thick masonry walls. If your home is larger than 2,500 square feet, you may need to deploy a secondary hub or a dedicated protocol repeater to ensure complete coverage.
Phase 3: Smart Switch vs. Smart Bulb Installation
When upgrading your lighting, you must choose between smart bulbs (e.g., Philips Hue, Sengled) and smart switches (e.g., Lutron Caseta, TP-Link Kasa). Smart bulbs are ideal for lamps and color-changing accent lighting, but smart switches are vastly superior for overhead, multi-bulb fixtures and general room illumination because they maintain physical wall control.
Wiring a Neutral-Required Smart Switch
Most modern smart switches require a neutral wire to keep their internal Wi-Fi or Zigbee radios powered even when the light is turned off. The National Fire Protection Association (NFPA) emphasizes that strict adherence to electrical codes and safety protocols is mandatory when working with mains voltage to prevent home fires and electrical shocks.
SAFETY WARNING: Never attempt to wire a smart switch without first turning off the power at the main circuit breaker and verifying the absence of voltage using a non-contact voltage tester. If you are unsure about your home's wiring, hire a licensed electrician.
- Identify the Wires: Remove the existing dumb switch. You will typically see a black wire (Line/Hot), another black wire (Load), a bare copper or green wire (Ground), and a bundle of white wires (Neutral) capped together in the back of the box.
- Connect the Ground: Attach the green ground wire from the smart switch to the bare copper ground wire in the wall box using a wire nut.
- Connect the Neutral: Smart switches require a neutral connection to complete the circuit for their internal radio. Add a short white 'pigtail' wire to the existing bundle of white neutral wires in the back of the box, cap them all together, and connect the other end of the pigtail to the white neutral wire on your smart switch.
- Connect Line and Load: Attach the black Line wire from the wall to the black Line terminal on the switch. Attach the black Load wire (leading to the light fixture) to the red or blue Load terminal on the switch. If your switch does not differentiate between Line and Load, either black wire can go to either terminal.
- Test and Secure: Carefully fold the wires into the box using a 'Z-fold' method to avoid pinching, screw the switch into the wall plate, restore power at the breaker, and test the physical button.
Phase 4: Building a Resilient Zigbee Mesh Network
If you are using Zigbee-based lighting (like Philips Hue or Sengled) or a Zigbee hub, understanding mesh topology is crucial. Unlike Wi-Fi, where every device talks directly to the router, Zigbee devices pass signals from one to another. The Connectivity Standards Alliance (CSA) outlines how mesh networking protocols dynamically route signals around physical obstacles and interference, ensuring high reliability.
The Golden Rule of Pairing
The order in which you pair devices to your hub dictates the health of your mesh network. Always follow this sequence:
- Pair Mains-Powered Devices First: Smart plugs, in-wall smart switches, and hardwired smart bulbs act as 'Router Nodes.' They have constant power and powerful antennas that repeat the Zigbee signal. Pair these in a grid-like pattern across your home to build the backbone of the mesh.
- Pair Battery-Powered Devices Second: Motion sensors, door/window contact sensors, and wireless dimmer switches are 'End Devices.' They sleep to conserve battery and do not repeat signals. Pair these directly next to the router nodes you just installed to ensure they latch onto a strong parent node.
If you pair a battery-powered sensor in a far bedroom before installing a smart plug in the hallway, the sensor may route its signal through a weak, distant path, leading to delayed automation triggers and rapid battery drain.
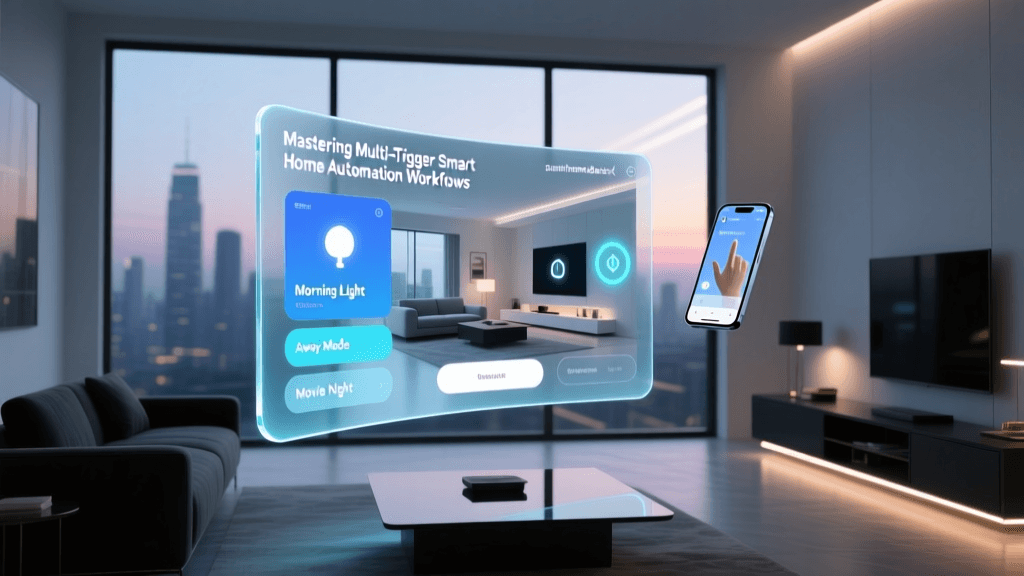
Phase 5: Automation Workflows and Voice Integration
With the hardware installed and the mesh network stabilized, the final phase is programming the automation logic. A common mistake among beginners is over-relying on voice assistants or smartphone apps. A true smart home should anticipate your needs using environmental data and presence detection.
Implementing Lux-Based Lighting Automations
Instead of turning on lights based purely on a time schedule, use a lux (light intensity) threshold. By integrating a multi-sensor that measures ambient light, you can create a workflow where the overhead lights only activate if the room's lux level drops below 40 lux AND motion is detected. This prevents lights from turning on during bright, sunny afternoons, saving energy and extending bulb lifespan.
Advanced Presence Detection
Standard Passive Infrared (PIR) motion sensors are excellent for hallways but fail in rooms where you sit still, like home offices or reading nooks. For these areas, install millimeter-wave (mmWave) presence sensors, such as the Aqara FP2 or Everything Presence One. These sensors detect micro-movements like breathing and typing, ensuring the lights never turn off while you are actively occupying the room.
Cost and Energy Analysis: Bulbs vs. Switches
When planning a whole-home installation, budget is a primary concern. While smart bulbs offer color-changing capabilities, outfitting an entire home with them is cost-prohibitive and can lead to network congestion. Smart switches, while requiring more complex installation, are far more economical for multi-bulb fixtures.
As the data illustrates, while smart switches incur an upfront labor cost for electrical wiring, the hardware savings on multi-bulb fixtures (like a kitchen recessed lighting setup with six bulbs) quickly offsets the installation expense. Furthermore, smart switches generally consume less standby power and eliminate the 'ghosting' issue where smart bulbs draw trickle current even when turned off via software.
Conclusion and Next Steps
Installing a whole-home smart lighting and hub system is a rewarding project that dramatically enhances home comfort, security, and energy efficiency. By taking the time to properly segment your network, safely wire your smart switches, and strategically build your Zigbee mesh topology, you eliminate the vast majority of reliability issues that plague amateur setups. Once your physical layer is rock solid, you can spend your time experimenting with advanced automation logic, integrating window treatments, and expanding your ecosystem into climate control and security monitoring.