The Foundation of Whole-Home Automation
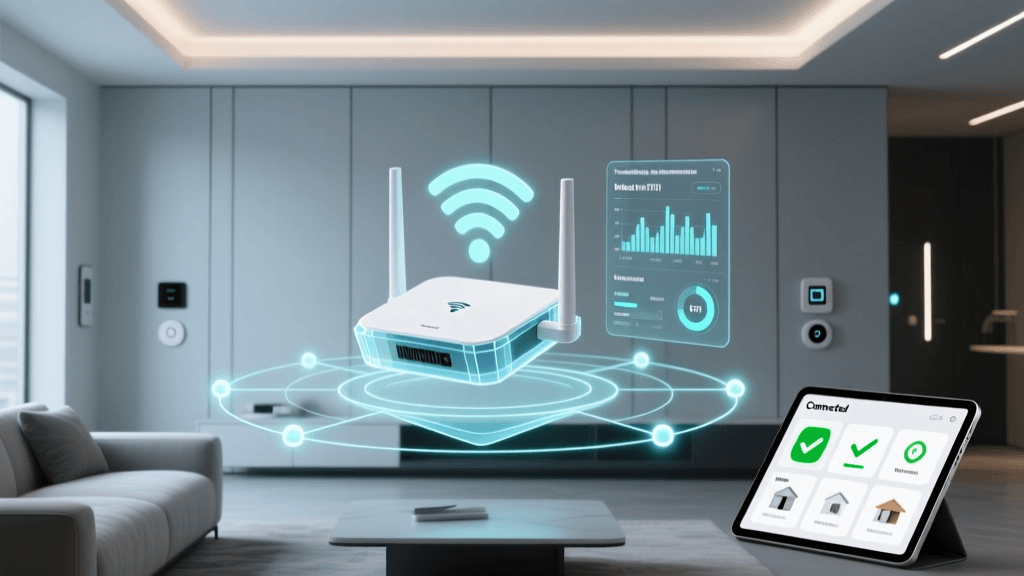
Building a reliable smart home requires more than just buying devices; it demands a robust network and a centralized brain. Standard ISP routers typically max out around 30 to 40 connected devices before experiencing severe latency or dropping connections entirely. When you factor in smart bulbs, security cameras, thermostats, and sensors, a modern smart home can easily exceed 100 endpoints. This step-by-step guide walks you through installing a dedicated smart home hub and a high-capacity mesh Wi-Fi network to ensure your automation workflows remain fast, local, and secure.
Phase 1: Planning Your Network and Hub Placement
Before running cables or peeling off adhesive strips, you must map your environment. The goal is to minimize physical obstructions between your central hub and the farthest corners of your home where sensors will reside.
Selecting the Right Smart Home Hub
Your hub acts as the translator and orchestrator for your devices. While cloud-based ecosystems are easy to set up, local hubs offer faster response times and continued functionality during internet outages. Below is a comparison of top-tier hubs for DIY installers:
| Hub Model | Protocols Supported | Local Processing | Approx. Cost |
|---|---|---|---|
| Home Assistant Green | Ethernet, Thread (via add-ons) | 100% Local | $99 |
| Hubitat Elevation | Zigbee 3.0, Z-Wave Plus | 100% Local | $149 |
| Samsung SmartThings Station | Zigbee, Thread, Matter | Partial (Cloud-dependent) | $79 |
| Aeotec Smart Home Hub | Zigbee, Z-Wave, Bluetooth | Partial | $139 |
Choosing a Mesh Wi-Fi System
For the Wi-Fi backbone, tri-band mesh systems are essential. A tri-band system (like the Eero Pro 6E or TP-Link Deco XE75, ranging from $300 to $600 for a 3-pack) dedicates one entire 5GHz or 6GHz band exclusively for backhaul communication between nodes. This prevents the bottlenecking that occurs when smart cameras and laptops compete for the same bandwidth.
Phase 2: Installing the Mesh Wi-Fi System
Step 1: Primary Node Placement
Place your primary mesh node in a central, elevated location, ideally near your home's structural core. Avoid hiding it inside metal enclosures, AV cabinets, or behind thick masonry walls, which can degrade the signal by up to 50%. Connect the primary node directly to your modem using a CAT6 Ethernet cable.
Step 2: Satellite Node Positioning
Satellite nodes should be placed no more than 30 to 40 feet from the primary node or the next closest satellite. The rule of thumb is to place the node in an area where it still receives a strong signal from the main router, rather than in the dead zone itself. If your home has multiple stories, stagger the nodes vertically (e.g., place a second-floor node directly above a first-floor node) to leverage floor-penetrating signal patterns.
Advanced Wiring: Implementing Ethernet Backhaul
While wireless mesh systems are convenient, hardwiring your satellite nodes via Ethernet backhaul is the gold standard for smart home installations. If your home is pre-wired with CAT5e or CAT6 Ethernet, connect the WAN port of each satellite node directly to the wall jacks. This frees up the wireless bands entirely for your devices and eliminates the signal degradation that occurs when nodes communicate wirelessly through drywall and flooring. For homes without existing wiring, consider using MoCA (Multimedia over Coax Alliance) adapters to leverage existing coaxial TV cables, achieving near-Ethernet speeds of up to 1 Gbps between nodes.
Step 3: Network Segmentation for IoT
Security is paramount. According to the Federal Trade Commission (FTC), isolating smart home devices from your primary network is a critical step in protecting personal data. Most advanced mesh systems allow you to create a dedicated IoT VLAN or an isolated Guest Network. Configure a 2.4GHz SSID specifically for your smart plugs, cameras, and appliances, keeping your main 5GHz/6GHz network reserved for phones, laptops, and streaming devices.
Phase 3: Setting Up the Smart Home Hub
Step 1: Physical Connection
Connect your chosen smart home hub (e.g., Home Assistant Green or Hubitat Elevation) directly to your primary mesh node or an unmanaged Ethernet switch using a wired connection. Never connect a central hub via Wi-Fi; the stability of your entire automation network depends on a hardwired backbone.
Step 2: Protocol Configuration
Modern hubs support multiple low-power protocols like Zigbee, Z-Wave, and Thread. The Wi-Fi Alliance's Matter standard is rapidly unifying these ecosystems, but understanding the underlying latency and meshing capabilities of each protocol remains vital for installers.
Protocol Latency Comparison
As illustrated above, low-power mesh protocols like Zigbee and Thread offer significantly lower latency than standard Wi-Fi, making them ideal for motion sensors and instant-trigger lighting automations.
Preparing for Matter and Thread
The introduction of the Matter standard has shifted the smart home landscape. Matter operates over Thread (a low-power mesh network similar to Zigbee) or Wi-Fi. When setting up your hub, ensure it acts as a Thread Border Router. Devices like the Apple TV 4K, Eero Pro 6E, and Home Assistant Green with a Thread dongle can serve this function. A Thread Border Router bridges the low-power Thread mesh network to your home's IP network (Wi-Fi/Ethernet), allowing Thread-enabled sensors to communicate seamlessly with your hub without requiring a separate, proprietary dongle. Investing in Thread-capable hardware today future-proofs your installation against the next generation of interoperable smart devices.
Phase 4: Pairing Devices and Building the Mesh
The Golden Rule of Pairing Order
When adding devices to your Zigbee or Z-Wave hub, the order of operations dictates the health of your mesh network. Always pair mains-powered devices (smart switches, smart plugs, hardwired light fixtures) first. These devices act as signal repeaters, extending the mesh outward from your central hub. Once the backbone is established, pair your battery-powered devices (door/window sensors, motion detectors, temperature sensors) in their final physical locations.
Troubleshooting Pairing Failures
- Distance: Bring the device within 5 feet of the hub for the initial pairing handshake, then move it to its permanent location.
- Interference: Zigbee operates on the 2.4GHz spectrum, overlapping with Wi-Fi channels 1, 6, and 11. Set your mesh Wi-Fi to channel 1 or 11, and configure your hub's Zigbee channel to 15, 20, or 25 to avoid signal collision.
- Z-Wave Interference: Unlike Zigbee, Z-Wave operates on the 908.42 MHz (in North America) sub-GHz spectrum, meaning it does not compete with your Wi-Fi network. However, it can occasionally experience interference from older 900MHz cordless phones or certain baby monitors. If Z-Wave devices are dropping off the network, audit your home for legacy wireless electronics and remove them.
- Reset Cycles: If a device fails to pair, perform a factory reset. For most smart bulbs, this involves turning the power on and off five times in rapid succession until the bulb flashes.
Phase 5: Security, Updates, and Maintenance
Once your hardware is installed and devices are paired, securing the ecosystem is your final step. The National Institute of Standards and Technology (NIST) emphasizes the importance of continuous firmware management for IoT devices to mitigate vulnerabilities.
Best Practices for Long-Term Stability
- Automate Firmware Updates: Enable automatic updates on your mesh router and smart hub. For battery-powered sensors, schedule updates during off-peak hours to prevent mid-night drain.
- Disable UPnP: Universal Plug and Play (UPnP) on your router allows devices to open ports automatically, which is a massive security risk. Disable UPnP in your router's admin panel and use manual port forwarding only if strictly necessary for remote access.
- Local vs. Cloud Automations: Whenever possible, write your automation routines directly on the local hub rather than relying on cloud-based IFTTT applets. This ensures your lights and locks function even if your ISP experiences an outage.
- Power Protection: Plug your modem, primary mesh node, and smart hub into a high-quality Uninterruptible Power Supply (UPS) with surge protection. A sudden power spike can fry the radio antennas inside a hub, requiring a complete network rebuild.
Budgeting for a Whole-Home Installation
A common pitfall for DIY installers is underestimating the total cost of a robust infrastructure. While individual smart bulbs and plugs are relatively inexpensive, the backbone requires a larger upfront investment. Expect to spend between $400 and $800 on a high-quality tri-band mesh Wi-Fi system capable of handling 100+ devices. Add another $100 to $200 for a dedicated local hub, and roughly $50 for a basic UPS battery backup. While this initial outlay is higher than simply plugging devices into a basic ISP router, the reduction in troubleshooting time, eliminated latency, and enhanced security provide a massive return on investment for smart home enthusiasts.
Conclusion
Installing a smart home system step by step—starting with a resilient mesh network and a locally processed hub—transforms a collection of gadgets into a cohesive, intelligent ecosystem. By carefully planning node placement, segmenting your network for security, and respecting the pairing order of mesh protocols, you lay the groundwork for a home that is as reliable as it is smart. Whether you are integrating basic smart lighting or designing a whole-home security automation workflow, this foundational setup guarantees your system will perform flawlessly for years to come.