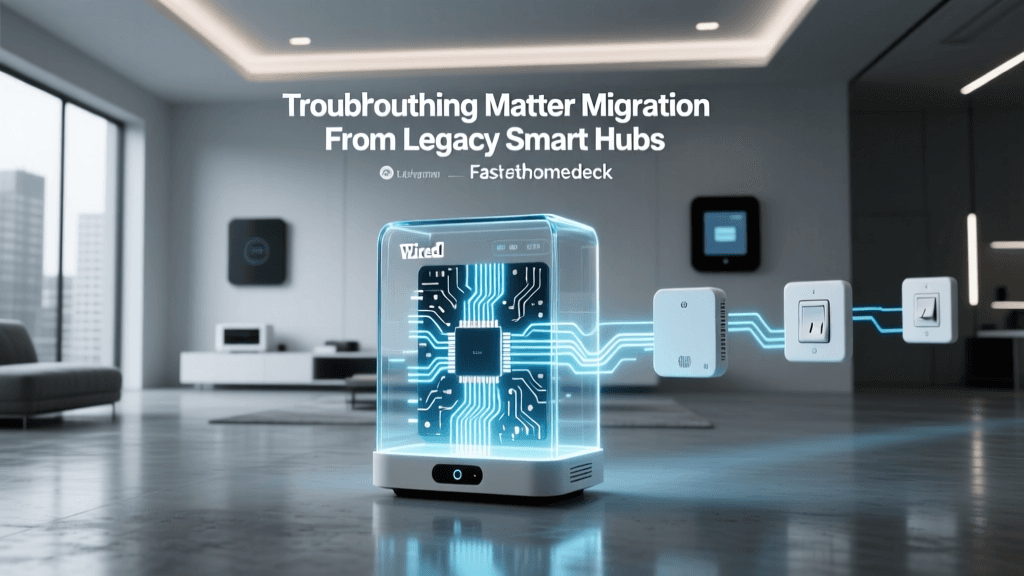
The Ultimate Step-by-Step Guide to Matter Hub and Smart Lighting Installation
Building a reliable smart home from scratch can feel overwhelming, especially with the myriad of competing wireless protocols and hub requirements. However, the introduction of the Matter standard has fundamentally changed the landscape, offering unprecedented interoperability, local control, and network stability. Whether you are retrofitting a single room or wiring a whole-home automation system, understanding the physical installation and network topology is critical for long-term success.
In this comprehensive guide, we will walk you through the exact step-by-step process of installing a modern Matter-compatible smart home hub, upgrading your network infrastructure to support Thread, and safely hardwiring smart light switches. By the end of this tutorial, you will have a fully functional, low-latency lighting ecosystem that operates independently of the cloud.
Tools and Materials Required
Before beginning any physical installation, gather the necessary tools to ensure a smooth workflow. Safety and precision are paramount when dealing with mains electricity and low-voltage networking.
- Non-Contact Voltage Tester: Essential for verifying that power is completely off at the switch box.
- Wire Strippers and Lineman Pliers: For preparing 14 AWG or 12 AWG solid copper wires.
- Phillips and Flathead Screwdrivers: Insulated handles are highly recommended.
- Matter-Compatible Smart Hub: Such as the Home Assistant Green, Apple TV 4K (3rd Gen), or Samsung SmartThings Station.
- Thread Border Router: Often built into modern hubs, or standalone devices like the Eero 6+ mesh nodes.
- Matter-over-Thread Smart Switches: E.g., Eve Light Switch, Nanoleaf Smart Switch, or Aqara FP2 integrated relays.
Cost Breakdown and Budgeting
Investing in a Thread-based Matter ecosystem requires a slightly higher upfront cost compared to legacy Wi-Fi bulbs, but the long-term reliability and energy savings are substantial. According to the U.S. Department of Energy, transitioning to smart, automated LED lighting can significantly reduce residential lighting energy consumption by ensuring lights are only active when needed.
| Component | Estimated Cost Range | Notes |
|---|---|---|
| Matter Hub / Controller | $99 - $150 | Home Assistant Green or Apple TV 4K |
| Thread Border Router | $50 - $120 | Often integrated into modern mesh Wi-Fi |
| Matter Smart Switch (Per Unit) | $45 - $85 | Requires neutral wire in most cases |
| Motion / Occupancy Sensors | $30 - $60 | Aqara or Eve Matter sensors |
Phase 1: Network Preparation and Thread Topology
Unlike traditional Wi-Fi devices that congest your primary router, Matter over Thread utilizes a low-power, mesh-networking protocol designed specifically for smart home IoT devices. Thread creates a self-healing mesh network where every hardwired smart switch acts as a router, extending the range and reliability of your smart home signals.
According to the Connectivity Standards Alliance (CSA), Matter over Thread ensures that devices communicate locally, meaning your lights will still respond to physical switches and local automations even if your internet connection goes down. To prepare your network:
- Verify Router Capacity: Ensure your primary Wi-Fi router can handle the baseline IP traffic. Thread devices do not connect to your Wi-Fi directly; they connect to a Thread Border Router, which then bridges the Thread mesh to your LAN via Ethernet or Wi-Fi.
- Positioning the Border Router: Place your Thread Border Router (or Hub) in a central location in your home. Avoid placing it inside metal enclosures, AV cabinets, or near microwaves, as 2.4 GHz interference can degrade the mesh signal.
- Network Segmentation (Optional but Recommended): If your router supports VLANs, create a dedicated IoT VLAN. This isolates your smart home traffic from your personal computers and smartphones, enhancing security and reducing broadcast chatter.
Phase 2: Hub Installation and Initialization
The hub is the brain of your smart home. For this guide, we will assume you are using a local-first Matter controller like the Home Assistant Green or a mainstream ecosystem hub like the Apple TV 4K.
Step 1: Physical Connection
Connect the hub to your primary network switch or router using a Cat6 Ethernet cable. While Wi-Fi setup is possible, a hardwired Ethernet connection guarantees that the hub can process automations and Matter commissioning requests without latency spikes.
Step 2: Software Configuration
Power on the hub and access its web interface or companion app. If using Home Assistant, navigate to the local IP address assigned by your router. Enable the 'Matter (BETA)' or 'Thread' integration in the settings menu. The hub will automatically configure itself as a Thread Border Router, generating the necessary cryptographic keys to securely commission new devices into your mesh network.
Phase 3: Hardwired Smart Switch Installation
This is the most critical and potentially hazardous phase of the installation. Hardwiring smart switches requires working with your home's mains electrical system. If you are uncomfortable or unfamiliar with residential wiring, hire a licensed electrician. The National Fire Protection Association (NFPA) strongly advises adhering to local electrical codes and utilizing proper safety gear when performing DIY electrical work.
WARNING: Never assume a wire is dead based solely on the wall switch position. Always turn off the circuit breaker at the main panel and verify with a non-contact voltage tester before touching any bare copper.
Step 1: Power Down and Verify
Locate your main electrical panel and switch off the breaker controlling the room's lighting circuit. Flip the existing wall switch to the 'ON' position, then place your non-contact voltage tester against the wires inside the wall box. If the tester beeps or flashes red, the wrong breaker was turned off. Repeat until the circuit is confirmed dead.
Step 2: Identify Existing Wiring
Remove the faceplate and unscrew the existing dumb switch. Pull it gently out of the gang box. You will typically see three or four types of wires. Understanding these is crucial for Matter switch compatibility.
| Wire Function | Standard US Color Code | Smart Switch Terminal | Purpose |
|---|---|---|---|
| Line (Hot) | Black (or Red) | LINE / L | Brings 120V AC power from the breaker panel. |
| Load | Black, Red, or Blue | LOAD | Carries power to the light fixture. |
| Neutral | White (bundled) | NEUTRAL / N | Completes the circuit; powers the switch's internal Wi-Fi/Thread radio. |
| Ground | Bare Copper or Green | GROUND / G | Safety path for fault currents. |
Note: Most modern Matter-over-Thread smart switches require a Neutral wire to keep their internal radios powered at all times. If your older home lacks a neutral wire in the switch box, you must either use a specialized no-neutral switch (like the Lutron Caseta line, which uses a proprietary Clear Connect RF protocol rather than Thread) or install smart bulbs at the fixture and use a wireless smart button on the wall.
Step 3: Wire the Smart Switch
- Ground First: Connect the bare copper ground wire from the wall to the green ground screw or wire lead on the smart switch.
- Neutral Connection: Locate the bundle of white neutral wires tucked in the back of the gang box. You will need to add a 'pigtail' (a short piece of 14 AWG white wire) to this bundle using a wire nut or Wago connector. Connect the other end of the pigtail to the switch's Neutral terminal.
- Line and Load: Connect the hot Line wire to the switch's Line terminal, and the Load wire to the Load terminal. If your switch does not distinguish between Line and Load (auto-sensing), you can connect them to either terminal.
- Secure and Mount: Gently fold the wires back into the gang box, ensuring no bare copper is exposed. Screw the switch into the box and attach the faceplate.
Phase 4: Matter Pairing and Thread Commissioning
With the physical installation complete and the breaker turned back on, the smart switch will boot up. It will typically blink or pulse an LED to indicate it is in 'Commissioning Mode'.
Step 1: Scanning the Matter QR Code
Open your smart home app (Apple Home, Google Home, or Home Assistant). Select 'Add Device' and scan the Matter QR code located on the switch or in the manual. The app will read the 11-digit setup code and the vendor/product IDs.
Step 2: Thread Network Joining
Because your hub is acting as a Thread Border Router, it will securely share the Thread network credentials with the new switch via Bluetooth Low Energy (BLE). The switch will then join the Thread mesh. This process usually takes 10 to 30 seconds. Once joined, the switch will appear in your app, and the physical LED will stop blinking.
Step 3: Firmware Updates
Immediately check for firmware updates within the app. Matter devices support Over-The-Air (OTA) updates via the Thread mesh, which are crucial for patching security vulnerabilities and improving radio stability.
Phase 5: Building Automations and Multi-Room Logic
A smart switch is only as good as the automations driving it. With Matter, automations execute locally on your hub, ensuring instantaneous response times regardless of internet connectivity.
Creating a Circadian Rhythm Scene
If you have installed smart LED bulbs paired with your Matter switches, you can create automations that adjust color temperature throughout the day to support human circadian rhythms.
- Trigger: Time of Day (e.g., 7:00 AM)
- Action: Turn on Kitchen Lights, set brightness to 100%, set color temperature to 5000K (Cool Daylight).
- Trigger: Time of Day (e.g., 9:00 PM)
- Action: Set Living Room Lights brightness to 40%, set color temperature to 2200K (Warm Amber).
Integrating Matter Motion Sensors
Place a Matter-compatible occupancy sensor in high-traffic areas like hallways or pantries. Configure a multi-condition automation:
- Condition 1: Motion detected.
- Condition 2: Ambient lux level is below 50 (ensures lights don't turn on during bright sunny days).
- Action: Turn on hallway switch to 50% brightness.
- Delay: Wait 3 minutes.
- Condition 3: No motion detected.
- Action: Turn off hallway switch.
Troubleshooting Common Installation Issues
Even with meticulous planning, DIY smart home installations can encounter hurdles. Here is how to resolve the most common Thread and Matter setup issues.
Issue 1: Device Fails to Commission (Stuck on 'Connecting')
Solution: Matter commissioning relies heavily on BLE for the initial handshake. Ensure your smartphone is within 3 feet of the switch and the hub during setup. If it fails, perform a factory reset on the switch (usually by holding the physical button for 10-15 seconds until the LED flashes rapidly) and restart your hub before trying again.
Issue 2: Switch Drops Off the Network Periodically
Solution: Thread is a mesh network. If a switch is dropping offline, it likely lacks a strong connection to a neighboring Thread router. Add another hardwired Matter switch or a dedicated Thread Border Router (like an Apple HomePod Mini) in an adjacent room to bridge the gap and strengthen the mesh topology.
Issue 3: Flickering Lights or Buzzing Switch
Solution: This is almost always a wiring error. Turn off the breaker immediately. You have likely swapped the Line and Load wires, or the neutral connection is loose. Double-check your wire nuts and ensure the ground wire is not touching any of the terminal screws.
Conclusion
Upgrading to a Matter-over-Thread smart lighting system is one of the most impactful home improvement projects a DIY enthusiast can undertake. By carefully planning your network topology, respecting electrical safety standards, and leveraging local hub processing, you eliminate the lag and cloud-dependency that plagues older smart home setups. The result is a robust, instantaneous, and highly automated living space that adds tangible value and convenience to your daily life.