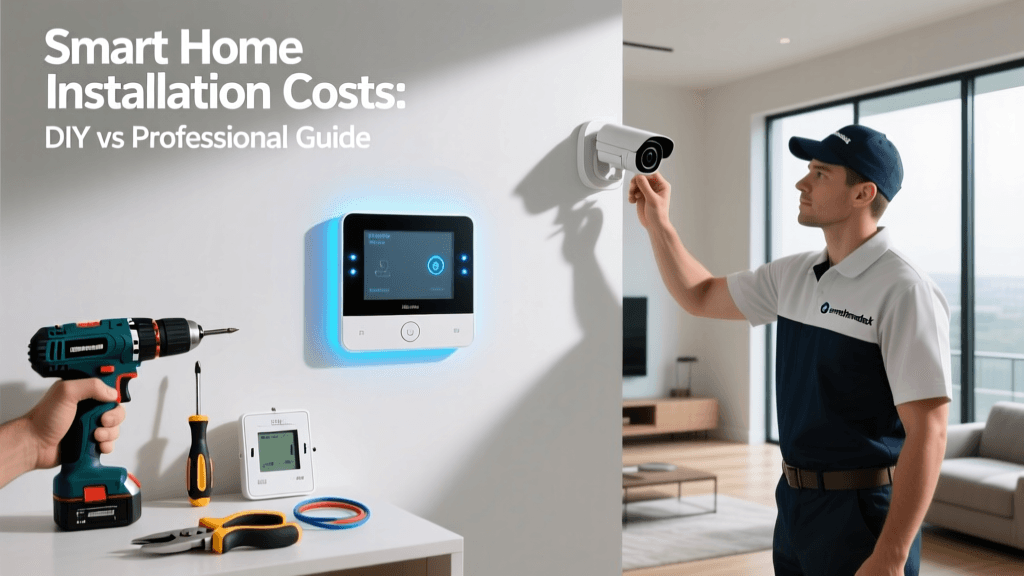
The Great Smart Home Debate: DIY vs. Professional Installation
As home automation technology matures, the barrier to entry has significantly lowered. What once required a team of specialized engineers and custom programmers can now be purchased off the shelf at a local home improvement store. However, as homeowners look to scale their setups from a single smart speaker to a fully integrated ecosystem encompassing lighting, climate control, security, and network infrastructure, a critical question emerges: Should you tackle the installation yourself, or hire a certified professional?
The decision ultimately comes down to a complex matrix of upfront costs, hidden expenses, technical expertise, and long-term reliability. While a DIY approach promises immediate savings on labor, it often introduces hidden costs in the form of specialized tools, trial-and-error troubleshooting, and potential electrical remediation. Conversely, professional installation commands a premium but delivers structured wiring, code compliance, and seamless integration. In this comprehensive guide, we will break down the true costs of both paths, examining specific product categories, wiring requirements, and long-term return on investment.
The DIY Route: Upfront Savings and Hidden Hurdles
The primary allure of the DIY smart home installation is the elimination of labor costs. With hourly rates for licensed electricians and AV integrators ranging from $75 to $150 or more, doing the work yourself seems like a guaranteed way to keep your budget in check. However, the hardware is only half the equation.
Smart Thermostats and the C-Wire Dilemma
Upgrading to a premium device like the Ecobee Smart Thermostat Premium or the Google Nest Learning Thermostat is a common first step. According to the U.S. Environmental Protection Agency's ENERGY STAR program, certified smart thermostats can save homeowners roughly 8% on heating and cooling bills annually. The hardware typically costs between $180 and $250. If your home's HVAC control board already has a dedicated 24V 'C-wire' (common wire) providing continuous power, installation is a straightforward 30-minute DIY job requiring only a screwdriver and a smartphone.
However, many older homes lack a C-wire. When DIYers encounter this, they face a fork in the road: use the manufacturer's included Power Extender Kit (PEK), which requires opening the HVAC air handler and wiring a module directly to the control board, or run a new 18/5 thermostat wire from the basement to the hallway. While the PEK is free, it requires a comfort level with high-voltage HVAC components that many homeowners lack. Running new wire through finished drywall can turn a weekend project into a multi-day ordeal involving drywall saws, fish tapes, and patching materials.
Smart Lighting: Bulbs vs. In-Wall Switches
Lighting automation presents two distinct DIY paths. The first is smart bulbs, such as the Philips Hue ecosystem. While incredibly easy to install—simply screw them in and pair via Bluetooth or a Hue Bridge—the cost scales poorly. Outfitting a 20-bulb home with premium Hue White and Color Ambiance bulbs can easily exceed $1,000 in hardware alone.
The second path is in-wall smart switches, like the Lutron Caseta or Kasa Smart Wi-Fi lines. This approach is more cost-effective for multi-bulb fixtures but introduces the complexity of line-voltage wiring. Most smart switches require a 'neutral' wire to keep the internal radio powered when the light is off. Many homes built before the 1980s lack neutral wires in their switch boxes. Discovering this mid-installation means a trip back to the hardware store for alternative wiring solutions or abandoning the project altogether.
The Professional Route: What You Are Actually Paying For
Hiring a professional smart home integrator—often certified by organizations like CEDIA (Custom Electronic Design & Installation Association)—is an investment in infrastructure, reliability, and time. Professionals do not just mount devices; they design ecosystems.
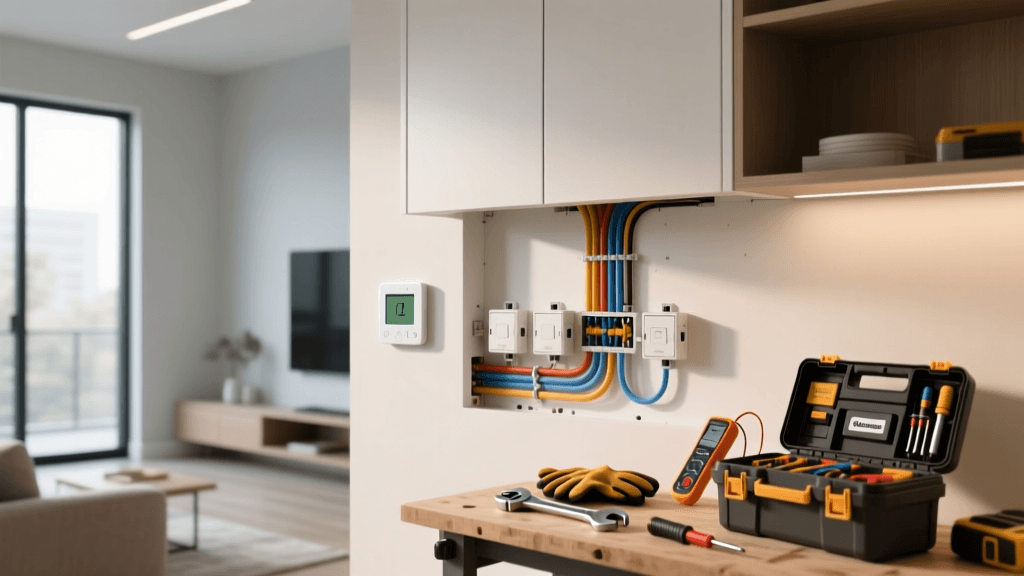
Structured Wiring and Network Backbone
A professional installer will typically begin with the network. While a DIYer might rely on a consumer mesh Wi-Fi system like Eero or Orbi, a pro will install hardwired Cat6a ethernet drops and Power over Ethernet (PoE) switches. This ensures that security cameras, wireless access points (like Ubiquiti UniFi), and smart hubs have dedicated, interference-free bandwidth. The labor to pull wires through walls, terminate them into a structured media enclosure, and configure VLANs (Virtual Local Area Networks) to isolate IoT traffic from personal computers is highly specialized and commands a premium labor rate.
High-End Ecosystems: Control4, Savant, and Lutron RadioRA
Professionals also have access to dealer-only product lines that are not available at retail. Systems like Lutron RadioRA 3, Control4, and Savant offer superior reliability, advanced programming logic, and elegant physical keypads that replace banks of unsightly switches. The hardware for these systems is inherently more expensive—a single Lutron RadioRA dimmer can cost two to three times as much as a retail DIY alternative—but the programming and commissioning are where the true professional value lies. An integrator will program complex scenes (e.g., 'Goodnight' turns off all lights, locks doors, arms the security system, and drops the thermostat) and provide ongoing remote support.
Cost Comparison: DIY vs Professional Installation
To understand the financial gap between the two approaches, let us examine a typical 2,500-square-foot home upgrade across four major smart home categories. The table below outlines estimated hardware and labor costs based on national averages.
| Project Category | DIY Hardware Cost | DIY Hidden Costs (Tools/Mistakes) | Pro Hardware Cost | Pro Labor & Programming | Total Professional Cost |
|---|---|---|---|---|---|
| Smart Climate (3 Zones) | $600 | $150 (C-wire adapters, wire fishing tools) | $900 | $450 | $1,350 |
| Whole-Home Lighting (30 Switches) | $1,800 (Retail Wi-Fi/Z-Wave) | $200 (Wire nuts, voltage testers, drywall repair) | $4,500 (Lutron RadioRA) | $2,500 | $7,000 |
| Network & Hubs | $400 (Mesh Wi-Fi + Hubs) | $50 (Cable clips, zip ties) | $1,800 (Rack, PoE Switch, APs) | $1,200 | $3,000 |
| Security (4 PoE Cameras) | $600 (Wi-Fi/Battery Cams) | $100 (Drill bits, ladder rental, silicone) | $1,200 (PoE NVR System) | $800 | $2,000 |
| Total Estimated | $3,400 | $500 | $8,400 | $4,950 | $13,350 |
As the data illustrates, while the DIY route saves nearly $10,000 on this specific whole-home build-out, the professional route utilizes vastly superior, commercial-grade hardware backed by dedicated labor and programming.
Electrical Safety and Code Compliance
When evaluating costs, one must factor in the potential financial devastation of a house fire or an invalidated home insurance policy. Working with line-voltage electricity (120V/240V) is inherently dangerous. The U.S. Consumer Product Safety Commission (CPSC) warns that faulty electrical wiring and improper connections are leading causes of residential fires. DIYers who improperly wire smart switches, fail to use proper wire connectors (like Wago lever nuts or correctly applied wire nuts), or overload circuits risk catastrophic outcomes.
Furthermore, many municipalities require permits and inspections for electrical modifications. If a DIY installation is performed without a permit and later causes an electrical fault, the homeowner's insurance company may deny the claim. Professional electricians and integrators pull the necessary permits, ensuring the work meets the National Electrical Code (NEC), which provides invaluable peace of mind and protects your home's resale value.
The Hidden Cost of Time and Troubleshooting
'The true cost of a DIY smart home isn't just measured in dollars spent at the hardware store; it's measured in weekends lost to Zigbee pairing failures, firmware update loops, and troubleshooting mesh network dead zones.'
Time is a critical, often overlooked currency in home improvement. A professional integrator possesses the diagnostic tools—such as Fluke network certifiers and RF spectrum analyzers—to identify interference and optimize device placement in a single visit. A DIYer, relying on free smartphone apps and trial-and-error, may spend dozens of hours researching forum posts to figure out why their Z-Wave mesh network is dropping connections or why their Matter-over-Thread devices refuse to pair with their hub.
If you value your weekends and prefer a 'set it and forget it' ecosystem, the labor premium charged by professionals is often justified by the sheer amount of time saved.
When to Hire a Professional: The FTC Guidelines
If you decide that the complexity of your project warrants professional help, it is vital to vet your contractor carefully. The Federal Trade Commission (FTC) advises homeowners to obtain at least three written bids, verify state and local licensing, and check references before signing any contracts. For smart home technology specifically, look for integrators who hold CEDIA certifications or manufacturer-specific training (e.g., Lutron Certified Programmers). Ensure the contract explicitly details the scope of programming, post-installation support, and warranty coverage for both labor and hardware.
The Decision Matrix: Which Path is Right for You?
To help you finalize your budget and strategy, use this quick decision matrix to determine which installation method suits your specific project.
Choose the DIY Route If:
- You are retrofitting a single room or apartment: Plug-and-play devices like Philips Hue bulbs, smart plugs, and Wi-Fi cameras are perfect for renters or small-scale upgrades.
- You have low-voltage experience: If you are comfortable running ethernet, terminating RJ45 jacks, and wiring 24V HVAC controls, you can safely tackle network and thermostat upgrades.
- You enjoy the hobby of tinkering: Platforms like Home Assistant require significant setup time, YAML coding, and maintenance. If you view this as a fun hobby rather than a chore, DIY is the only way to go.
- Your budget is strictly limited to hardware costs: If you have more time than money and are willing to learn through trial and error.
Choose the Professional Route If:
- You are building or gut-renovating: This is the golden window for structured wiring. Have an integrator pull Cat6a and 18/4 shielded wire to every keypad, camera, and access point location before the drywall goes up.
- You want a unified, luxury interface: If you want a single, elegant app or wall-mounted touchscreen that controls audio, video, lighting, and shades without juggling five different manufacturer apps.
- You lack neutral wires or have complex 3-way/4-way circuits: Rewiring a multi-story home to add neutral wires requires a licensed electrician.
- You require enterprise-grade network security: Professionals can configure firewalls, isolate IoT devices on separate VLANs, and set up remote management so your smart home doesn't become a vulnerability on your personal network.
Conclusion
The choice between professional and DIY smart home installation is rarely black and white. Many savvy homeowners adopt a hybrid approach: hiring licensed electricians to pull new wires and install line-voltage smart switches, while handling the low-voltage hub configuration, smart plug deployment, and software automation routines themselves. By understanding the true costs—both financial and temporal—you can strategically allocate your budget to create a smart home that is not only technologically advanced but also safe, reliable, and perfectly tailored to your lifestyle.