Introduction to Whole-Home Smart Installation
Transitioning from a traditional home to a fully integrated smart home ecosystem is one of the most rewarding DIY projects a homeowner can undertake. However, a successful smart home system installation step by step requires more than just buying a handful of gadgets and plugging them in. It demands a strategic approach to network infrastructure, hub selection, electrical wiring, and mesh protocol management. Whether you are retrofitting an older property or wiring a new build, this comprehensive guide will walk you through the exact process of building a reliable, responsive, and secure smart home from the ground up.
Many beginners make the mistake of purchasing Wi-Fi-only devices that clog up their primary network, leading to dropped connections and frustrating lag. By following a structured installation methodology, you can avoid these pitfalls and create a seamless automation experience. Below, we break down the entire installation process into seven actionable steps.
Step 1: Assess and Upgrade Your Network Foundation
Before you unbox a single smart switch or sensor, you must evaluate your home network. The average modern smart home contains between 30 and 50 connected devices, ranging from high-bandwidth security cameras to low-bandwidth temperature sensors. Your standard ISP-provided router is rarely equipped to handle this density.
Implementing Wi-Fi 6 and Mesh Topology
Upgrading to a Wi-Fi 6 (802.11ax) mesh system is highly recommended. Wi-Fi 6 introduces OFDMA (Orthogonal Frequency-Division Multiple Access), which allows the router to communicate with multiple IoT devices simultaneously, drastically reducing latency. Systems like the Eero Pro 6E or Netgear Orbi provide excellent whole-home coverage. Place your primary router in a central, elevated location, and position satellite nodes at the edges of your home to ensure strong signal penetration through walls and floors.
Network Segmentation for IoT Security
Security is paramount when dealing with internet-connected devices. According to the National Institute of Standards and Technology (NIST), IoT devices often lack robust built-in security features, making them vulnerable entry points for cyber threats. To mitigate this, create a separate Virtual Local Area Network (VLAN) or utilize the dedicated IoT network feature found on modern mesh routers. This isolates your smart bulbs and plugs from your personal computers and smartphones, preventing potential lateral movement by malicious actors.
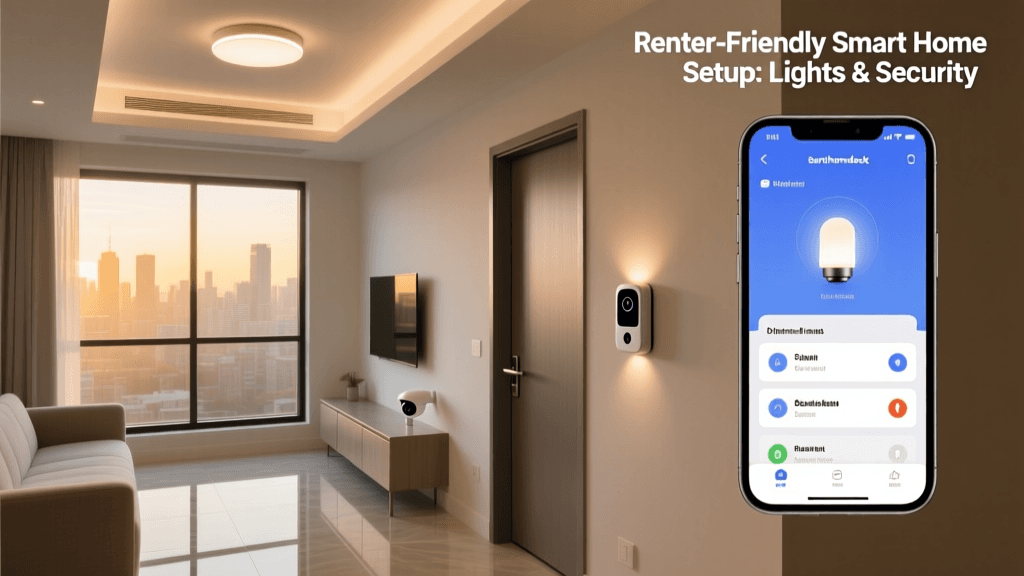
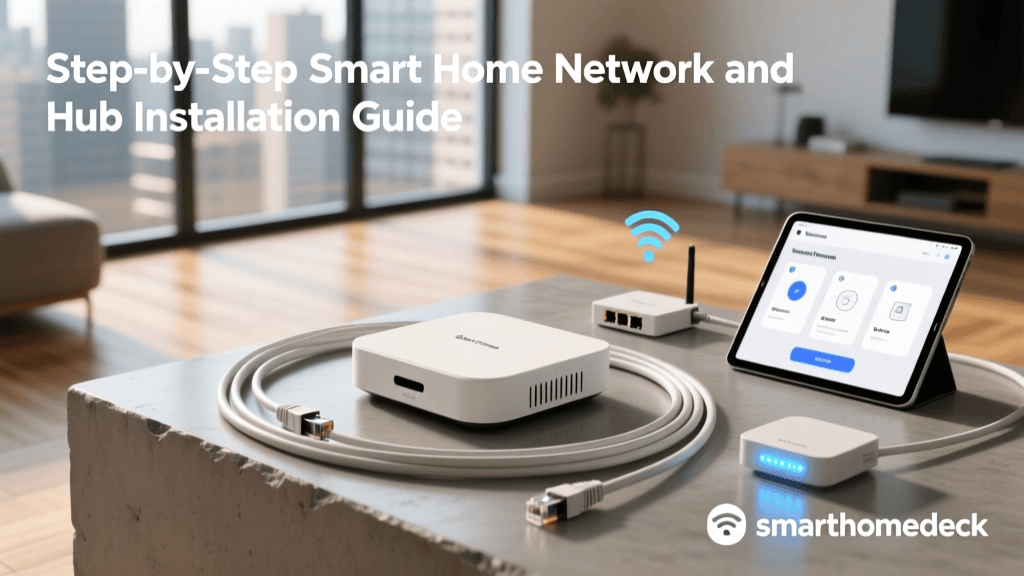
Step 2: Choose and Configure Your Smart Hub
The hub is the brain of your smart home. It translates local radio frequencies (like Zigbee and Z-Wave) into commands your network can understand, allowing for local processing and faster automation execution without relying on cloud servers.
| Smart Hub | Protocols Supported | Local Processing | Difficulty Level | Average Cost |
|---|---|---|---|---|
| Home Assistant Green | Zigbee, Thread, Wi-Fi, Matter | Yes (Full) | Advanced | $99 |
| Hubitat Elevation | Z-Wave, Zigbee, LAN | Yes (Full) | Intermediate | $149 |
| Samsung SmartThings | Z-Wave, Zigbee, Thread, Matter | Partial | Beginner | $129 |
For DIY installers who prioritize privacy and lightning-fast local automations, the Home Assistant Green or Hubitat Elevation are the top choices. They allow you to run complex logic without sending data to external servers. Once you have selected your hub, connect it directly to your primary router or main network switch via an Ethernet cable to ensure the most stable connection possible.
Step 3: Map Out Your Device Placement
Strategic placement is the difference between a smart home that feels magical and one that feels clumsy. Before drilling holes or pulling wires, map out your device locations based on daily traffic patterns and environmental needs.
- Entryways and Hallways: Install motion sensors at natural choke points to trigger lighting automations. Place them at chest height (around 4 feet) to avoid false triggers from pets.
- Kitchens and Bathrooms: Deploy water leak sensors under sinks, behind toilets, and near dishwashers. These inexpensive devices can save you thousands in water damage.
- Living Areas: Use smart blinds or motorized curtains paired with ambient light sensors to regulate natural light and HVAC loads throughout the day.
- Exterior Perimeter: Position outdoor cameras and smart floodlights at all primary entry points, ensuring they overlap slightly for comprehensive coverage.
Step 4: Wiring and Physical Installation
Hardwired devices, such as smart switches and dimmers, provide a much more reliable experience than battery-operated alternatives. However, working with household electrical systems requires strict adherence to safety protocols.
Safety First: Power Down and Verify
Never begin electrical work without turning off the power at the main breaker panel. Once the breaker is off, use a non-contact voltage tester to verify that the wires in the wall box are completely dead. Safety is non-negotiable.
Understanding Your Wall Box Wiring
Most modern smart switches require four specific connections. Identifying these correctly is the most critical part of the physical installation:
- Line (Hot): This wire brings power from the breaker panel to the switch. It is typically black and will test as live before the breaker is turned off.
- Load: This wire carries power from the switch to the light fixture. It is also often black or red.
- Neutral: This wire completes the circuit back to the panel. It is usually a bundle of white wires capped together in the back of the box. Note: Many older homes built before the 1980s lack neutral wires. If you do not have a neutral wire, you must use specific no-neutral smart switches, such as the Lutron Caseta line, or install smart relays directly at the light fixture.
- Ground: The bare copper or green wire, essential for preventing electrical shocks.
When connecting your smart switch, use wire nuts or push-in connectors like Wagos to secure the connections. Ensure no bare copper is exposed outside the connectors. Gently fold the wires into the back of the box, mount the switch, and restore power at the breaker.
Step 5: Pairing Devices and Building the Mesh
Protocols like Z-Wave and Zigbee rely on a mesh network topology. Unlike Wi-Fi, where every device connects directly to the router, mesh devices pass signals from one another, extending the range of your network. However, only mains-powered devices (like smart switches and smart plugs) act as signal repeaters. Battery-powered sensors only receive and transmit data; they do not route it.
The Hub-Outward Pairing Strategy
To build a robust mesh, always pair devices in a specific order. Start by installing and pairing your smart switches and plugs in the rooms closest to your central hub. Once those are established, they will act as repeaters. Next, move outward to the furthest rooms to pair additional switches. Finally, pair your battery-powered sensors (like door/window contacts and motion detectors) in their final installed locations. This ensures the sensors have a strong, multi-hop path back to the hub.
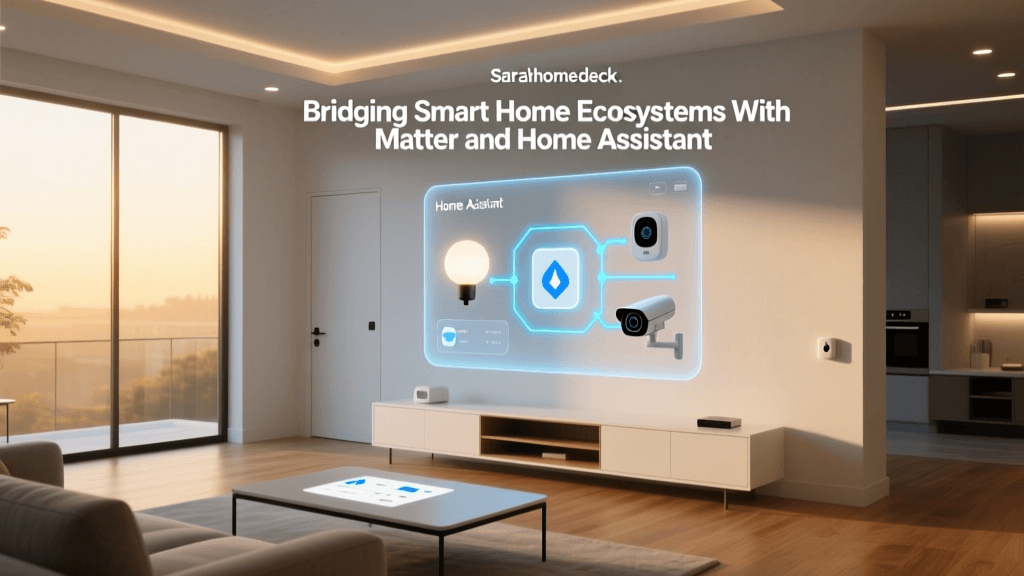
As the industry transitions toward the new Matter standard, Thread is becoming the preferred low-power mesh protocol. Thread devices pair exceptionally fast and offer self-healing mesh capabilities that rival or exceed traditional Zigbee setups.
Step 6: Creating Basic Automations
With your hardware installed and connected, it is time to program the logic that makes your home truly smart. Start with simple, high-impact automations before moving to complex conditional routines.
Pro Tip: Name your devices logically by room and function (e.g., Kitchen Main Light, Hallway Motion) rather than using brand names or serial numbers. This makes writing automations significantly easier.
- The Goodnight Routine: Triggered by a virtual switch or voice command. This automation locks all smart deadbolts, turns off all interior lights, sets the thermostat to sleep mode, and arms the security system.
- Arriving Home Geofence: Using your smartphone location, trigger the porch lights and foyer lights to turn on when you enter a 500-foot radius of your home after sunset.
- Climate Optimization: According to the U.S. Department of Energy, smart thermostats can significantly reduce heating and cooling costs. Set your thermostat to automatically adjust to an eco-temperature when the house is empty and resume comfort levels 30 minutes before your scheduled arrival.
Step 7: Securing Your Smart Home Ecosystem
Security must be an ongoing process, not just a one-time setup. After your system is running, perform a security audit. Change all default passwords on your hubs, cameras, and network equipment. Ensure that your router firmware and hub operating systems are set to update automatically. Disable remote access features (like UPnP) on your router unless explicitly required and secured, as these can expose your internal network to the open internet.
Troubleshooting Common Installation Hiccups
Even the most carefully planned installations encounter hiccups. Here is how to resolve the most common issues DIYers face:
Device Keeps Dropping Off the Mesh
If a Z-Wave or Zigbee sensor frequently loses connection, it is likely too far from a repeater. Run a mesh healing tool in your hub interface to force the device to find a new, stronger routing path. If that fails, add a smart plug in an outlet halfway between the sensor and the hub to bridge the gap.
Smart Switch Buzzing or Flickering Lights
This is almost always caused by a mismatch between the dimmer switch and the LED bulbs. Smart dimmers require specific minimum wattages and often need the LED bulbs to be rated as fully dimmable. If you are using a smart switch with a non-dimmable fixture, ensure you have configured the hub to treat the switch as a simple on/off relay rather than a dimmer.
Hub Unresponsiveness
If your local hub stops responding to commands, check your network topology. Hubs should be plugged directly into the primary router or a managed switch, not behind a secondary Wi-Fi extender or a complex VLAN setup that blocks local discovery protocols like mDNS or SSDP.
Conclusion
A successful smart home system installation step by step is a marathon, not a sprint. By prioritizing a robust network foundation, selecting the right local hub, carefully executing electrical wiring, and strategically building your mesh network, you will create a resilient ecosystem that adds genuine convenience and value to your daily life. Take your time, document your wiring, and enjoy the process of bringing your home into the future.