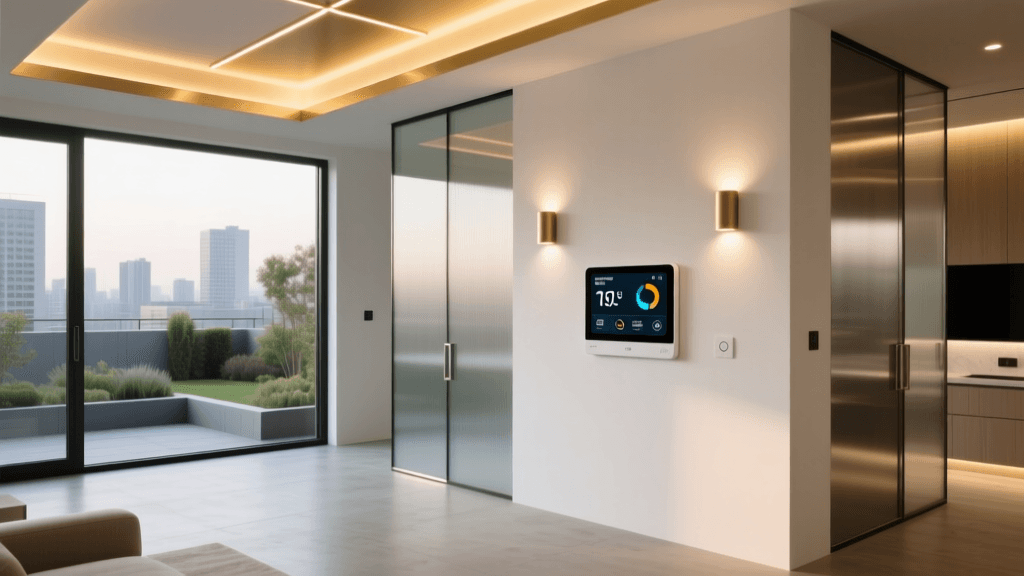
Planning Your Smart Home Ecosystem
Building a reliable smart home is no longer about buying random Wi-Fi plugs and hoping they work together. Today, a cohesive smart home system installation step by step requires a strategic approach to networking, hub selection, and protocol management. With the advent of the Matter standard, championed by the Connectivity Standards Alliance (CSA), cross-brand compatibility has become a reality. However, the foundation of any robust automation setup still relies on meticulous planning and proper hardware installation.
According to guidelines from the National Institute of Standards and Technology (NIST), securing IoT devices begins at the network level before a single smart switch is wired. This guide will walk you through the exact steps to install a whole-home smart system, from laying the network groundwork to configuring complex automation routines.
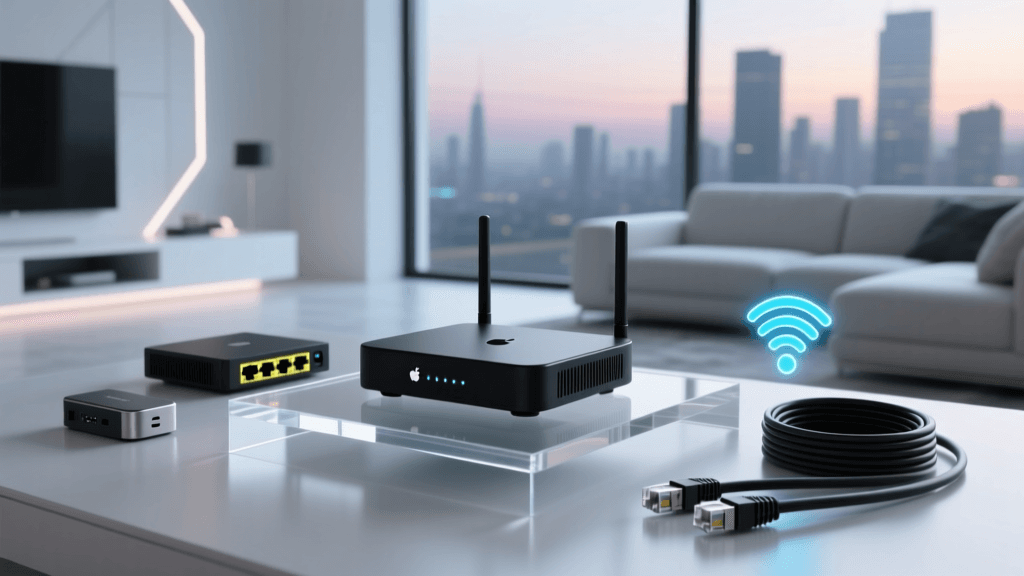
Step 1: Upgrading Your Network Foundation
Before installing a single smart bulb, you must evaluate your router. A standard ISP-provided router typically handles 20 to 30 devices before experiencing severe latency. A modern smart home can easily exceed 70 connected IoT endpoints.
Deploying a Wi-Fi 6 Mesh System
Wi-Fi 6 (802.11ax) introduces OFDMA technology, which allows multiple IoT devices to communicate with the router simultaneously without clogging the bandwidth. We recommend systems like the Eero Pro 6E or TP-Link Deco XE75 for homes over 2,000 square feet.
- Placement: Install the primary node at the center of your home, wired directly to your modem via Cat6 Ethernet.
- IoT Network Segregation: Create a dedicated 2.4GHz SSID specifically for smart home devices. This isolates IoT traffic from your primary streaming and work devices, enhancing security and stability.
- Security Protocols: Enable WPA3-SAE on your IoT network if your devices support it, and strictly disable WPS (Wi-Fi Protected Setup), which is a known vulnerability vector for IoT botnets.
- IP Reservations: Assign static IP addresses to your smart hubs and critical bridges (like the Lutron Smart Bridge) to prevent communication drops during DHCP lease renewals.
Step 2: Choosing and Installing the Central Hub
While Matter over Thread is reducing the need for proprietary bridges, a local processing hub remains essential for complex, low-latency automations that survive internet outages. Local hubs process logic on your LAN rather than relying on cloud servers.
| Hub Model | Protocols Supported | Local Processing | Best For | Approx. Cost |
|---|---|---|---|---|
| Homey Pro (2023) | Zigbee, Z-Wave, Matter, Thread, Wi-Fi | Yes | Advanced DIYers, Cross-platform | $399 |
| Hubitat Elevation | Zigbee, Z-Wave, LAN | Yes | Rule Machine logic, Reliability | $149 |
| Apple TV 4K (3rd Gen) | Thread, Matter, Wi-Fi | Yes (HomeKit) | Apple Ecosystem, Secure Video | $129 |
Hub Installation and Thread Border Routing
Do not hide your hub inside a metal media cabinet or behind a television. Zigbee and Z-Wave rely on mesh networking, and the central coordinator needs a clear line of sight. Mount the hub centrally, elevated at least four feet off the ground, and connect it via Ethernet whenever possible. Furthermore, modern hubs act as Thread Border Routers. Thread uses IPv6 natively and doesn't have the 32-device limit per mesh network that Zigbee sometimes struggles with on lower-end coordinators, making it vastly superior for high-density sensor deployments.
Step 3: Hardwiring vs. Battery-Powered Device Installation
The core of your smart home will consist of lighting, climate control, and security sensors. Understanding the electrical requirements of these devices is crucial for a safe and functional installation.
Smart Lighting: Switches vs. Bulbs
For whole-home lighting, smart switches are vastly superior to smart bulbs. Smart switches maintain physical control for guests and do not require the circuit to remain constantly powered. The Lutron Caseta system is the gold standard for reliability.
- Neutral Wire Requirement: Most smart switches (like the TP-Link Kasa or Lutron Claro) require a neutral wire in the gang box. Use a non-contact voltage tester to verify its presence before purchasing.
- No-Neutral Solutions: If your older home lacks neutral wires, the Lutron Caseta system utilizes a proprietary Clear Connect RF protocol that does not require a neutral wire at the switch, making it ideal for pre-1980s homes.
Climate Control: The C-Wire Dilemma
Smart thermostats like the Ecobee Smart Thermostat Premium or Google Nest Learning Thermostat require continuous power. While some claim to leech power from the HVAC control wires, this often causes relay clicking or blown fuses in modern furnaces.
Pro Tip: Always install a dedicated 24V Common Wire (C-Wire) or use the manufacturer's included Power Extender Kit (PEK) at the HVAC control board. According to ENERGY STAR, properly installed certified smart thermostats can save households up to 8% on heating and cooling costs annually, but only if they remain online and accurately calibrated.
Step 3.5: Smart Locks and Access Control
Securing your physical entry points is just as important as securing your digital network. Smart locks like the Schlage Encode Plus or the Aqara U200 Retrofit represent the pinnacle of keyless entry. However, installation requires precision.
- Door Prep: Ensure your door bore hole is exactly 2-1/8 inches in diameter. If the door is misaligned, the deadbolt will bind against the strike plate, causing the smart lock motor to overwork and drain batteries in weeks.
- Calibration: After physical installation, perform a manual calibration sequence so the lock learns the exact left and right mechanical limits of your deadbolt.
- Connectivity: Opt for locks that support Thread or HomeKey. Thread-based locks consume significantly less power than Wi-Fi-based locks, often extending battery life from 3 months to over a year.
Step 4: Sensor Placement and Security Integration
Sensors are the eyes and ears of your automation. A smart home cannot react to its environment without accurate data input.
- Door/Window Sensors: Install Aqara or Eve Door & Window sensors with a maximum gap of 0.5 inches between the magnet and the contact point. Place them on the top corner of the door frame to prevent tampering.
- Occupancy vs. Motion: Standard PIR (Passive Infrared) motion sensors fail to detect you when you are sitting still on the couch. Upgrade to mmWave presence sensors (like the Aqara FP2) for bathrooms and home offices to prevent lights from turning off while you are reading.
Step 5: Configuring Automation Workflows
With the hardware installed, the final step is programming the logic. Avoid relying solely on cloud-based routines. Use your local hub to create state-based automations.
The Circadian Lighting Routine
Instead of simple time-based schedules, use the sun's elevation angle to trigger lighting changes. This requires a hub that can calculate local solar positioning.
- Trigger: Sun elevation drops below 5 degrees (Civil Twilight).
- Action: Set main living area lights to 2700K (warm white) at 60% brightness.
- Condition: Only execute if the living room occupancy sensor detects presence.
Geofencing and HVAC Eco-Modes
Geofencing uses the GPS location of your smartphone to trigger home events. By creating a virtual perimeter (usually a 150-meter radius around your home), your system can detect when the last person leaves and when the first person returns.
- Departure Routine: When all tracked phones exit the geofence, the hub triggers the Away state. This turns off all lights, arms the security system, and sets the smart thermostat to an eco-temperature (e.g., 65F in winter, 78F in summer).
- Arrival Routine: When a tracked phone enters the geofence, the system pre-conditions the HVAC, disarms the alarm, and turns on the entryway lighting.
To prevent false triggers, ensure your hub requires a presence delay of at least 3 minutes before executing the departure routine, accommodating brief trips like taking out the trash or checking the mailbox.
Cost Analysis: Starter vs. Whole-Home Installation
Budgeting is a critical part of the installation process. Below is a visual breakdown comparing the costs of a basic apartment setup versus a comprehensive whole-home installation.
Bar chart comparing smart home installation costs between a starter setup and a whole-home setup across five categories.
Troubleshooting Common Installation Roadblocks
Even the most meticulously planned smart home system installation step by step will encounter hurdles. Here is how to resolve the most frequent issues DIY installers face.
Z-Wave and Zigbee Mesh Routing Failures
If a device on the far side of your home is unresponsive, the issue is rarely the device itself; it is the mesh routing. Both Z-Wave and Zigbee rely on mains-powered devices to repeat the signal. If you have a chain of battery-powered sensors, the signal cannot hop through them.
The Fix: Install a few smart plugs (which act as repeaters) in dark corners or behind furniture to bridge the gap between your central hub and the distant sensors. Always pair these repeaters to the hub before installing them in their final locations to ensure they are assigned optimal routing tables.
Ghost Switching and Phantom Triggers
Smart lights turning on by themselves is rarely a paranormal event; it is usually a network loop or a failing physical switch. If you are using smart bulbs in a fixture controlled by a traditional dumb switch, someone turning off the physical switch will sever the smart bulb's power, causing it to default to a power-loss recovery state (usually 100% brightness) when the switch is turned back on.
The Fix: Install smart switches instead of smart bulbs for overhead lighting, or use a smart bulb dimmer (like the Lutron Aurora) that cuts power to the bulb's wireless receiver rather than the bulb itself.
Conclusion: Maintaining Your Smart Infrastructure
A successful smart home system installation step by step does not end when the devices are paired. Regular maintenance is required to ensure longevity and security. Schedule quarterly reboots of your mesh network, update hub firmware during periods when you are home to monitor for compatibility issues, and review device permissions. By investing time in the foundational steps—specifically network segregation and local hub processing—you will build a smart home that is not only impressive to guests but genuinely useful, reliable, and secure for your daily life.