Introduction: Building a Bulletproof Smart Home Foundation
Embarking on a whole-home smart automation project is thrilling, but many DIY enthusiasts make the critical mistake of buying dozens of smart bulbs and plugs before establishing a robust foundation. A smart home is only as reliable as the network and hub infrastructure supporting it. Without a dedicated mesh network and a centralized, Matter-compatible hub, you will inevitably face latency issues, dropped connections, and app fragmentation.
This comprehensive, step-by-step guide will walk you through the physical and digital installation of a modern smart home backbone. We will cover network topology, strategic hub placement, hardwiring considerations, and secure software provisioning. Whether you are retrofitting a century-old home or wiring a new build, these steps will ensure your smart devices communicate seamlessly for years to come.
Pre-Installation Checklist & Tools Required
Before unboxing your new hardware, gather the necessary tools to ensure a smooth installation process. Professional integrators never skip the prep phase, and neither should you.
- Non-Contact Voltage Tester: Essential for safely checking smart switch wiring ($15-$25).
- Wire Strippers & Needle-Nose Pliers: For preparing 14-gauge or 12-gauge copper wiring ($20).
- Ethernet Crimping Tool & Cat6 Cable: If you plan to hardwire mesh nodes or PoE cameras ($40).
- Smartphone/Tablet: Fully updated with the latest iOS or Android OS for Bluetooth and Thread provisioning.
- Wi-Fi Network Analyzer App: To identify 2.4GHz channel interference in your home.
Step 1: Designing the Network Backbone
Your router is the central nervous system of your smart home. Standard ISP-provided router/modem combos are notoriously ill-equipped to handle the dozens of low-bandwidth, persistent connections required by IoT devices. According to the Wi-Fi Alliance, upgrading to a Wi-Fi 6 (802.11ax) or Wi-Fi 6E mesh system is highly recommended for modern smart homes due to their superior capacity and power-saving Target Wake Time (TWT) features.
Sizing Your Mesh Network
For a standard 2,000-square-foot home, a 3-node mesh system (like the Eero Pro 6E or TP-Link Deco XE75) is ideal. Place the primary node near your ISP modem, and position satellite nodes no more than 30 feet apart, avoiding thick masonry walls and large metal appliances. If possible, use a wired Ethernet backhaul (running Cat6 cable between nodes) to reserve your wireless spectrum entirely for your devices.
Creating an IoT VLAN or Guest Network
Security is paramount. IoT devices are notorious for having vulnerable firmware. To protect your personal computers and phones, log into your mesh router's admin panel and create a dedicated 'IoT Network' or Guest SSID. Isolate this network so devices on it cannot communicate with your primary network, effectively creating a firewall between your smart fridge and your personal banking data.
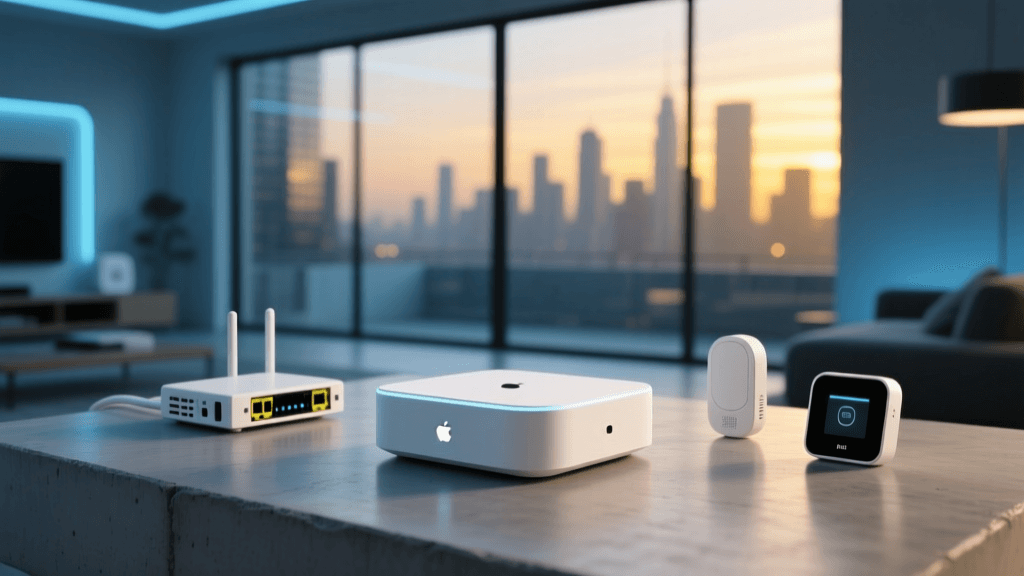
Step 2: Strategic Hub Placement & Selection
The smart home hub acts as the translator between your local network and your wireless devices. With the rise of the Thread protocol, hub placement is more critical than ever because Thread relies on a mesh topology where powered devices act as repeaters.
Elevate and Centralize
Do not hide your hub inside a metal media cabinet or behind a wall-mounted TV. Metal acts as a Faraday cage, severely degrading Zigbee, Z-Wave, and Thread signals. Place your hub in a central, elevated location, such as on a bookshelf in a central hallway or living room. Keep it at least 3 feet away from microwaves, cordless phones, and baby monitors, which can cause severe interference on the 2.4GHz spectrum.
Choosing the Right Hub
Modern hubs are increasingly multifunctional. Below is a comparison of the top multi-protocol hubs available for DIY installation.
| Hub Model | Price Range | Protocols Supported | Best Ecosystem |
|---|---|---|---|
| Apple TV 4K (Ethernet) | $129 - $149 | Wi-Fi, Bluetooth, Thread, Matter | Apple HomeKit |
| Samsung SmartThings Station | $69 - $99 | Wi-Fi, Bluetooth, Thread, Matter, Zigbee | SmartThings |
| Amazon Echo (4th Gen) | $79 - $99 | Wi-Fi, Bluetooth, Zigbee, Matter | Amazon Alexa |
| Home Assistant Connect ZBT-1 | $99 - $129 | Thread, Zigbee, Matter (Local) | Home Assistant |
Visualizing Protocol Performance
Understanding the latency and power consumption of different protocols helps in planning your device layout. Thread and Zigbee operate on the 2.4GHz spectrum but use mesh networking to bypass congestion, resulting in significantly lower latency compared to standard Wi-Fi IoT devices.
Step 3: Hardwiring Smart Switches & PoE Accessories
While smart plugs are easy, hardwired smart switches offer a permanent, elegant solution for lighting control. Before purchasing switches like the Lutron Caseta or GE Cync, you must verify your existing electrical boxes.
The Neutral Wire Requirement
Most modern smart switches require a neutral wire (usually a bundle of white wires capped at the back of the electrical box) to keep the switch's internal radio powered on even when the light is off. Turn off the breaker, remove your existing switch plate, and use your non-contact voltage tester to identify the wires. If you lack a neutral wire, you must opt for specialized no-neutral switches like the Lutron Caseta Clear Connect Type X, which costs slightly more but bypasses this limitation.
Power over Ethernet (PoE) for Reliability
For exterior security cameras and permanent smart home touch panels (like the Brilliant Control or Home Assistant dashboards), rely on Power over Ethernet (PoE). Running a single Cat6 cable to an 802.3af PoE switch (such as the Netgear GS308P) provides both gigabit data and reliable power, eliminating the need for battery changes or Wi-Fi dropouts at the edge of your property.
Step 4: Hub Configuration & Matter Multi-Admin Pairing
With the physical hardware installed, it is time to configure the software. The introduction of the Matter standard, overseen by the Connectivity Standards Alliance (CSA), has revolutionized device pairing by allowing a single device to be controlled by multiple ecosystems simultaneously (e.g., Apple Home and Google Home).
The Pairing Process
- Update Firmware: Before pairing any device, plug it in and use the manufacturer's native app to update its firmware. Matter support is frequently added via post-launch OTA (Over-The-Air) updates.
- Scan the QR Code: Open your primary hub's app (e.g., Apple Home). Select 'Add Accessory' and scan the Matter QR code located on the device or its packaging. This code contains the cryptographic keys necessary for secure, local pairing.
- Assign Rooms and Zones: Immediately assign the device to a specific room (e.g., 'Kitchen') and create logical groups (e.g., 'Downstairs Lights'). This makes voice commands and automation routines much easier to configure later.
- Enable Multi-Admin: If a secondary user (like a spouse or roommate) uses a different ecosystem, use the 'Share' or 'Multi-Admin' feature in the app to grant their account access without resetting the device.
Step 5: Securing the Smart Home Perimeter
A connected home is a potential target for cyber intrusions. The Cybersecurity and Infrastructure Security Agency (CISA) strongly advises homeowners to implement strict security measures for IoT devices.
- Change Default Credentials: Never leave the default admin password on your router, smart hubs, or IP cameras. Use a password manager to generate complex, unique passwords for every device.
- Disable UPnP: Universal Plug and Play (UPnP) allows devices to automatically open ports on your router. Disable this feature in your router settings to prevent malware from exposing your internal network to the open internet.
- Enable WPA3: Ensure your IoT Wi-Fi network is using WPA3 or, at minimum, WPA2-AES encryption. Avoid deprecated WEP or WPA-TKIP protocols, which can be cracked in minutes.
Troubleshooting Common Installation Roadblocks
Even the most meticulously planned installations encounter hiccups. Here is how to resolve the most common smart home setup issues:
Device Fails to Pair via Thread/Matter
Symptom: The app spins endlessly while trying to add a Thread border router or smart plug.
Solution: Thread relies heavily on IPv6 and local network discovery. Ensure that 'Local Network Sharing' and 'Bluetooth' permissions are enabled for your smart home app in your smartphone's privacy settings. Additionally, temporarily disable any active VPNs on your phone, as they can block the local multicast DNS (mDNS) traffic required for Matter discovery.
Zigbee Mesh Dropping Devices
Symptom: Smart bulbs in the bedroom frequently show as 'No Response' in the app.
Solution: Zigbee networks require mains-powered devices to act as routers. If you only have battery-powered sensors and a few smart bulbs, the mesh may be too weak. Add a dedicated Zigbee repeater (like an Aeotec Range Extender or a smart plug) halfway between the hub and the dropping devices to bridge the signal gap.
Voice Assistant Latency
Symptom: Asking Alexa or Siri to turn on the lights results in a 3-to-5-second delay.
Solution: This usually indicates that the command is routing to the cloud and back, rather than executing locally. Verify that your hub supports local execution and that the specific device brand is integrated via a local API (like HomeKit or Matter) rather than a cloud-based IFTTT or generic skill bridge.
Conclusion
Installing a smart home system is a marathon, not a sprint. By prioritizing a robust Wi-Fi 6 mesh network, strategically placing a Matter-compatible hub, verifying your electrical wiring, and enforcing strict network security, you build a foundation that will support hundreds of devices without breaking a sweat. Take your time with the physical installation, document your network topology, and enjoy the seamless automation that a properly engineered smart home provides.