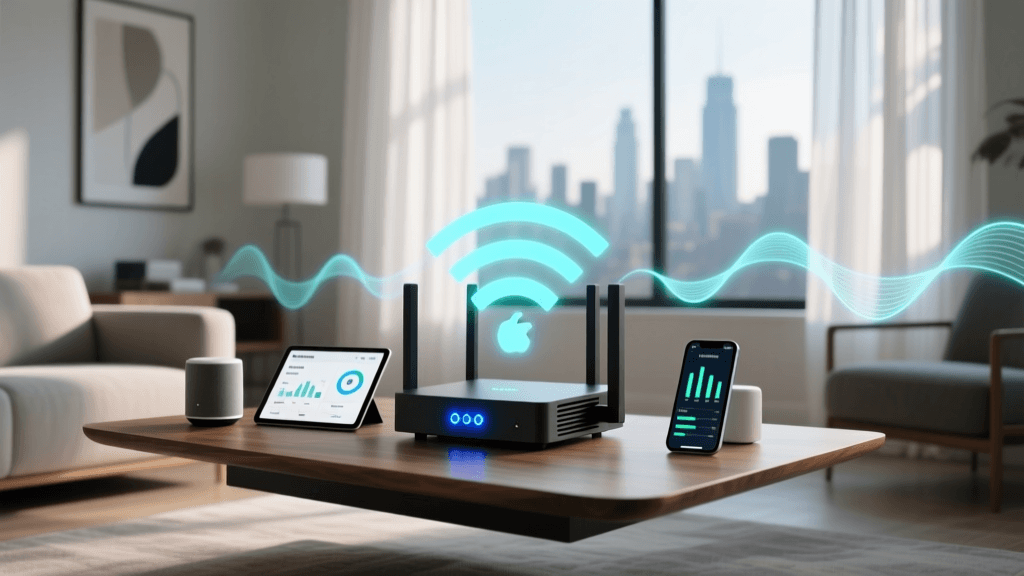
The Hidden Bottleneck in Your Smart Home
When most homeowners begin their smart home journey, they rely on the simplest path: connecting every new smart bulb, plug, and switch directly to their primary Wi-Fi network. While this works for a handful of devices, it inevitably leads to the 'smart home ceiling.' Modern consumer routers are generally optimized for high-bandwidth, low-latency tasks like streaming 4K video or video conferencing, not for managing the persistent, low-bandwidth chatter of fifty different IoT sensors. As your device count climbs past thirty, you will likely experience network congestion, dropped connections, and sluggish automation execution.
The solution to this bottleneck lies in offloading IoT traffic from your main Wi-Fi network and implementing dedicated multi-protocol hubs and bridges. By segmenting your network and utilizing specialized mesh protocols like Zigbee, Z-Wave, and Thread, you can build a robust, enterprise-grade smart home infrastructure that scales to hundreds of devices without compromising your family's internet speed. This comprehensive guide will walk you through the architecture, hardware selection, and configuration required to set up a professional-grade hub and bridge ecosystem.
Protocol Showdown: Wi-Fi vs. Zigbee vs. Z-Wave vs. Thread
Before configuring your hub, it is critical to understand the underlying radio frequencies and mesh capabilities of the protocols your devices use. According to the Wi-Fi Alliance, newer standards like Wi-Fi 6 have introduced Target Wake Time (TWT) and OFDMA to better handle IoT traffic, but Wi-Fi remains fundamentally power-hungry and bandwidth-heavy compared to dedicated smart home protocols.
Zigbee 3.0 and Z-Wave Plus V2 rely on mesh networking, where every mains-powered device (like a smart plug or hardwired light switch) acts as a repeater, extending the network's range without burdening a central router. Thread, the newest IP-based mesh protocol, takes this a step further by eliminating the single point of failure inherent in traditional hub architectures. Below is a comparison of the primary smart home protocols.
| Protocol | Frequency Band | Mesh Support | Power Consumption | Best Use Case |
|---|---|---|---|---|
| Wi-Fi 6 | 2.4 / 5 / 6 GHz | No (Hub & Spoke) | High | Cameras, Thermostats, Displays |
| Zigbee 3.0 | 2.4 GHz | Yes | Ultra-Low | Sensors, Bulbs, Switches |
| Z-Wave Plus V2 | 908.42 MHz (US) | Yes | Ultra-Low | Locks, Garage Doors, Sensors |
| Thread 1.2 | 2.4 GHz | Yes (IPv6 Native) | Ultra-Low | Next-Gen Sensors, Matter Devices |
Step 1: Architecting a Dedicated IoT Network
The first step in a professional smart home setup is network segmentation. Connecting IoT devices to your primary network poses two major risks: security vulnerabilities and broadcast storm congestion. IoT devices are notorious for sending excessive mDNS (multicast DNS) and broadcast packets, which can choke the CPU of a standard consumer router.
Setting Up VLANs and SSID Isolation
To prevent this, you should create a dedicated Virtual Local Area Network (VLAN) specifically for your IoT devices. If you are using a prosumer router like the Ubiquiti UniFi Dream Router or an Asus RT-AX86U Pro, you can create a separate SSID (e.g., 'SmartHome-IoT') and tag it to a distinct VLAN (e.g., VLAN 20).
- Isolate Traffic: Configure your firewall rules to block the IoT VLAN from initiating connections to your primary LAN (where your phones and computers live), while allowing the primary LAN to initiate connections to the IoT VLAN for local control.
- Disable IGMP Snooping / Enable mDNS Repeater: If you plan to cast media or use local discovery across VLANs, you must enable an mDNS repeater on your router so devices on the main network can 'see' smart speakers and displays on the IoT network.
- Force 2.4GHz Band Steering: Most smart home devices only support 2.4GHz Wi-Fi. Create a dedicated 2.4GHz-only SSID for initial device provisioning to prevent the frustration of devices failing to connect to a combined 2.4/5GHz network.
Step 2: Multi-Protocol Hub Selection and Placement
Once your network is segmented, you need a central brain to manage your Zigbee, Z-Wave, and Thread devices. While cloud-dependent hubs are common, local-processing hubs offer superior speed, reliability, and privacy. Top recommendations for DIY installers include the Home Assistant Yellow, Hubitat Elevation, and the Samsung SmartThings Station (for Matter/Thread).
The Physics of Hub Placement
Where you place your hub is just as important as the hardware you buy. Zigbee and Z-Wave radios are highly susceptible to physical obstruction and electromagnetic interference. Follow these placement rules for optimal mesh routing:
- The Umbrella Rule: Place the hub centrally and as high as possible (e.g., on top of a bookshelf or mounted near the ceiling). Radio waves propagate outward and downward like an umbrella.
- Avoid the Rack: Never place your hub inside a metal server rack or directly behind a television. Metal acts as a Faraday cage, severely degrading signal strength.
- Mind the Microwave: Zigbee and Thread operate on the 2.4GHz spectrum, the exact same frequency as microwave ovens and cordless phones. Keep your hub at least ten feet away from kitchen appliances.
Pro Installer Tip: If your home has interior walls made of brick, concrete, or metal studs, a single hub will not suffice. You must strategically place mains-powered smart plugs or hardwired switches to act as mesh repeaters, creating a 'daisy chain' of signals around physical barriers.
Step 3: Bridging Ecosystems with Matter and Software
A common challenge in smart home setup is ecosystem fragmentation. You might have Zigbee sensors, Wi-Fi cameras, and a desire to control them all via Apple HomeKit, Google Home, and physical wall switches. This is where bridges come into play.
Hardware vs. Software Bridges
Hardware bridges, like the Aqara M2 or SwitchBot Hub 2, translate specific proprietary signals into standard protocols. However, the most powerful tool in a DIY installer's arsenal is a software bridge like Homebridge or the native Matter integration found in Home Assistant. The Connectivity Standards Alliance (CSA) developed Matter to serve as a universal bridge layer, allowing devices to communicate across ecosystems natively over IP networks.
By running Homebridge on a Raspberry Pi or a Docker container on a NAS, you can expose non-HomeKit devices (like Ring cameras or Nest thermostats) directly to Apple HomeKit. When configuring your software bridge, ensure it is assigned a static IP address on your IoT VLAN and that your firewall permits outbound HTTPS traffic for API authentication, while restricting unnecessary inbound ports.
Troubleshooting Mesh and Bridge Dropouts
Even with perfect placement and a dedicated VLAN, interference can cause automation dropouts. The most common culprit in Zigbee networks is co-channel interference with Wi-Fi. The 2.4GHz spectrum is crowded, and if your Wi-Fi router and Zigbee hub are broadcasting on overlapping channels, packet loss will occur.
The Zigbee Channel Map Strategy
Wi-Fi networks typically use channels 1, 6, and 11 to avoid overlapping with each other. Zigbee uses channels 11 through 26. To achieve peaceful coexistence, you must manually set your Zigbee hub to a channel that falls in the 'gaps' between standard Wi-Fi channels.
- Set Wi-Fi to Channels 1, 6, and 11.
- Set Zigbee to Channel 15, 20, or 25.
If you are experiencing Z-Wave routing loops (where a signal bounces endlessly between two repeaters), perform a 'Z-Wave Repair' or 'Mesh Heal' from your hub's dashboard. This forces the hub to recalculate the most efficient routing tables based on current signal-to-noise ratios. For Thread networks, ensure you have at least two Thread Border Routers (e.g., an Apple TV 4K and a HomePod Mini) to provide seamless failover if one router loses power or reboots.
Conclusion: Building for the Future
Setting up a dedicated smart home network and configuring multi-protocol hubs requires an upfront investment of time and hardware, but the payoff is immense. By moving low-bandwidth sensors off your Wi-Fi, segmenting your network via VLANs, and strategically placing your hubs and bridges, you eliminate the latency and dropouts that plague amateur setups. Whether you are integrating Matter-compatible devices or bridging legacy hardware via Home Assistant, a solid network foundation ensures your smart home remains responsive, secure, and ready for the next generation of IoT innovation.