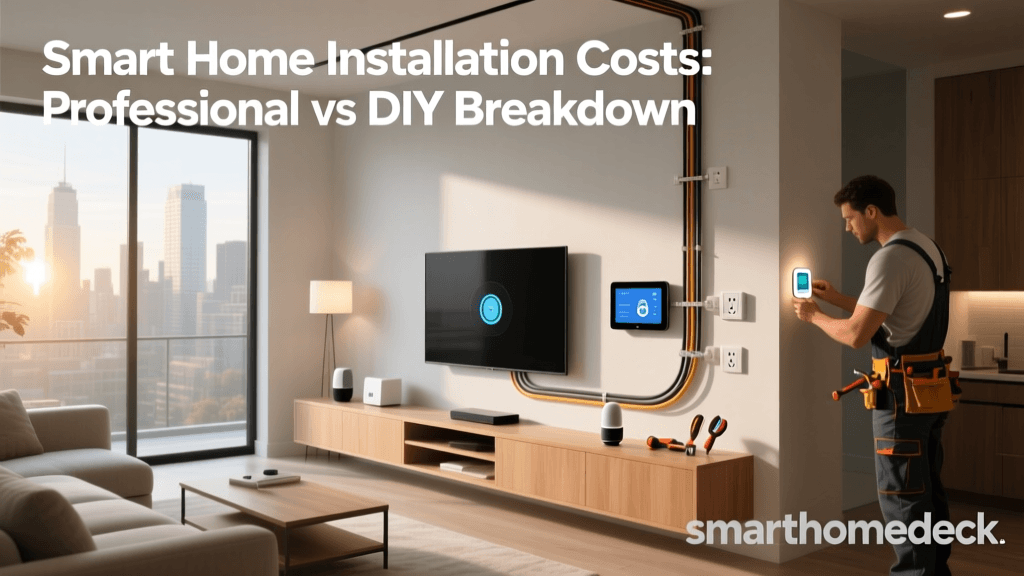
The Foundation of Smart Home Automation: Why Wiring Matters
When envisioning a smart home, most homeowners picture sleek touchscreens, voice-activated assistants, and automated lighting scenes. However, the true backbone of any reliable whole-home automation system is not found in the cloud or a mobile app—it is hidden behind the drywall. While wireless protocols like Zigbee, Z-Wave, and Thread have made DIY smart home setups more accessible, a professionally hardwired infrastructure remains the gold standard for latency, reliability, and scalability.
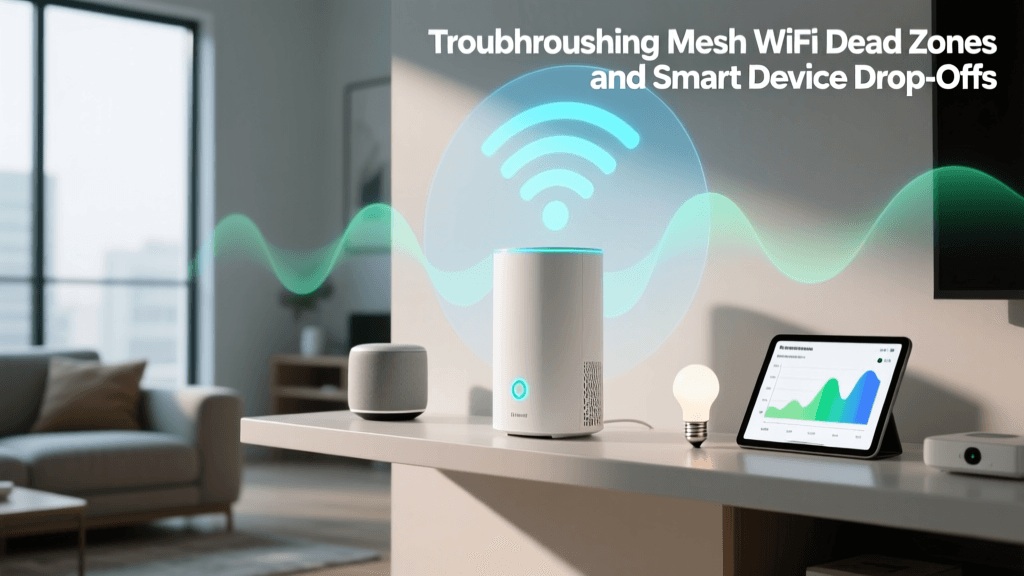
Wireless networks are susceptible to interference from microwaves, baby monitors, and neighboring Wi-Fi networks. In a whole-home automation setup encompassing hundreds of devices, relying entirely on wireless mesh networks can lead to dropped connections, delayed automation routines, and excessive battery drain on sensors. Hardwiring your home's infrastructure ensures that your critical systems—security cameras, access points, lighting controllers, and hubs—operate with zero latency and maximum uptime. This comprehensive guide will walk you through the essential wiring standards, cable types, and setup strategies required to future-proof your smart home.
Essential Electrical Wiring Standards for Smart Homes
The electrical rough-in phase is the most critical step in smart home pre-wiring. Standard electrical codes were written for traditional dumb switches and outlets, not for modern smart home relays and dimmers. To accommodate smart home technology, you must upgrade your electrical specifications.
The Importance of the Neutral Wire
Traditional single-pole switches only break the hot wire, meaning no continuous power flows to the switch box when the light is off. Smart switches, however, contain internal radios (Wi-Fi, Zigbee, or Z-Wave) and microprocessors that require a constant trickle of power to stay connected to your hub. Without a neutral wire, smart switches must rely on power-leaking through the bulb, which causes flickering with LED lights and limits the types of bulbs you can use. Always instruct your electrician to pull a neutral wire to every single switch box in the home, including 3-way and 4-way stairway configurations.
The C-Wire for Smart Thermostats
Smart thermostats like the Ecobee SmartThermostat or the Google Nest Learning Thermostat require continuous 24V AC power to operate their displays, Wi-Fi radios, and advanced sensors. According to the U.S. EPA ENERGY STAR program, ensuring a dedicated C-wire (Common wire) is the most reliable way to power these devices and prevent them from stealing power from your HVAC control board, which can damage sensitive furnace relays. If your current thermostat wiring lacks a C-wire, use the pre-wiring phase to run a new 18/5 or 18/8 thermostat cable from the air handler to every thermostat location.
Deep Backboxes for Smart Relays
Smart dimmers and in-wall relays (such as those from Lutron, Leviton, or Shelly) are significantly deeper than standard toggle switches. A standard 1.5-inch deep electrical box leaves virtually no room for the device and the stiff 12 AWG or 14 AWG solid copper wires. For a whole-home smart setup, specify a minimum 2.5-inch deep backbox for all switch locations, and 3-inch deep boxes for locations housing multiple smart dimmers or smart plugs. This extra volume makes termination easier and prevents overheating.
Network and Data Cabling: The Central Nervous System
A smart home is only as intelligent as the network that connects it. While Wi-Fi 6 and Wi-Fi 7 offer incredible speeds, a hardwired Ethernet backbone is non-negotiable for a robust whole-home automation system.
CAT6 vs. CAT6a: What to Pull
For new construction or major retrofits, CAT6 is the absolute minimum standard, capable of 10 Gbps speeds up to 55 meters. However, CAT6a is highly recommended. CAT6a features tighter twisting and often includes a nylon spline or shielding that completely eliminates crosstalk and supports 10 Gbps up to the full 100 meters. Furthermore, CAT6a is far better suited for Power over Ethernet (PoE) applications because its thicker gauge wire dissipates heat more effectively when bundled tightly inside walls.
Power over Ethernet (PoE) Infrastructure
PoE allows you to transmit both data and electrical power over a single Ethernet cable. This is a game-changer for smart home installations. By utilizing PoE, you can install IP security cameras (like Ubiquiti UniFi Protect or Reolink), wireless access points, and even smart lighting controllers without needing to hire an electrician to install high-voltage outlets near the ceiling or in the attic. When planning your PoE setup, ensure your network switch supports the 802.3at (PoE+) standard for pan-tilt-zoom cameras and high-density Wi-Fi access points, which require up to 30W of power per port.
Low-Voltage, A/V, and Sensor Wiring
Beyond electrical and data, a truly integrated smart home relies on a web of low-voltage cables for audio, video, and environmental sensing.
Whole-Home Audio and Video
For in-ceiling and in-wall speakers, use 14 AWG or 12 AWG oxygen-free copper (OFC) speaker wire. Ensure the cable jacket is CL2 or CL3 rated, which means it meets fire safety standards for in-wall installation. For video distribution, running long HDMI cables inside walls is a recipe for signal degradation. Instead, pull CAT6a to each TV location and use HDBaseT baluns, or pull fiber-optic HDMI cables for runs exceeding 25 feet to support uncompressed 4K/120Hz signals.
Hardwired Environmental Sensors
Battery-operated leak sensors are useful, but hardwired dry-contact sensors are foolproof. By running 22/2 or 22/4 security wire to the baseboards behind washing machines, water heaters, and under-sink dishwashers, you can connect them to a centralized security panel or a smart home hub like Control4 or Savant. When a leak is detected, the system can instantly trigger an automated water shut-off valve on the main water line, preventing catastrophic damage.
Cable Selection Quick-Reference Table
| Cable Type | Specification | Primary Smart Home Use Case | Max Recommended Distance |
|---|---|---|---|
| CAT6a | 23 AWG, Shielded/Unshielded | Wi-Fi Access Points, PoE Cameras, Hubs | 100 Meters (328 ft) |
| 18/5 Thermostat | 18 AWG, 5-Conductor | Smart Thermostats (C-Wire included) | 100 Feet |
| CL2 Speaker Wire | 14 AWG or 12 AWG, 2-Conductor | Whole-Home Distributed Audio | 150 Feet (for 14 AWG) |
| Security/Sensor | 22 AWG, 4-Conductor | Leak Sensors, Door Contacts, Keypads | 300 Feet |
| RG6 Quad Shield | Coaxial, 18 AWG Copper Clad | Over-the-Air Antennas, MoCA Network | 150 Feet |
Cost Breakdown: Hardwired vs. Wireless Smart Home Setup
One of the most common questions homeowners ask is whether the premium for hardwiring is justified. While a wireless setup relies on battery-powered sensors and plug-in mesh nodes, a hardwired setup requires professional rough-in, termination, and structured wiring panels. Below is a cost comparison for a typical 2,500-square-foot home.
Cost Comparison Chart
As the data illustrates, the upfront cost of a hardwired system is significantly higher, primarily driven by the labor required to pull cables through studs and the cost of centralized enterprise-grade network gear. However, the long-term return on investment is substantial. Hardwired systems eliminate the recurring cost of replacing hundreds of CR2032 batteries, reduce the need for Wi-Fi range extenders, and significantly increase the resale value of the home.
Step-by-Step Pre-Wiring Checklist for New Builds and Retrofits
Whether you are building from the ground up or undertaking a major renovation, following a structured pre-wiring checklist ensures no critical infrastructure is missed.
- Phase 1: Blueprint & Load Calculation. Map out every device location on your floor plan. Identify where security cameras will have the best field of view, where wireless access points will provide overlapping coverage, and where smart switches will be located.
- Phase 2: Rough-In & Separation. Pull all low-voltage cables before the drywall goes up. The National Electrical Code (NFPA 70) mandates strict separation between high-voltage electrical wires and low-voltage data cables to prevent electromagnetic interference (EMI). Maintain at least a 2-inch gap between parallel runs of CAT6a and 120V electrical lines.
- Phase 3: Termination & Labeling. Terminate all CAT6a cables into a central structured media enclosure using a patch panel. Label every single cable at both ends with a professional cable printer. A cable labeled 'Master BR AP' saves hours of troubleshooting later.
- Phase 4: Testing & Certification. Use a Fluke network tester to certify every Ethernet drop. This ensures there are no broken pins, crossed wires, or excessive return loss before the walls are closed up.
Hub Placement and Network Topology
In a whole-home automation system, the physical location of your hubs and controllers dictates system performance. Avoid the temptation to hide your smart home hub (such as a Samsung SmartThings Station, Hubitat Elevation, or Control4 EA-5) inside a metal structured wiring cabinet. Metal acts as a Faraday cage, completely blocking the low-power RF signals of Zigbee and Z-Wave radios.
Instead, utilize a Star Topology for your network. All hardwired devices should connect back to a central PoE switch located in a ventilated, non-metallic AV rack. For RF-based smart home protocols, place your primary hub in a centralized, elevated location on the main floor, and use hardwired Ethernet to connect remote RF repeaters or access points in the basement and attic. As noted by the Federal Communications Commission (FCC), segregating IoT devices onto a dedicated VLAN (Virtual Local Area Network) via your central router is also a critical step for securing your home network against external cyber threats.
Common Wiring Mistakes to Avoid
Even experienced DIYers and general contractors can make costly errors when dealing with smart home infrastructure. Avoid these common pitfalls:
- Using CCA (Copper Clad Aluminum) Cable: CCA Ethernet cables are cheaper but highly dangerous for PoE applications. Aluminum has higher electrical resistance than copper, causing the cable to heat up and potentially melt or start a fire when subjected to continuous PoE power. Always buy 100% bare solid copper cables.
- Daisy-Chaining Data Cables: Ethernet networks require a star topology. Never wire Ethernet outlets in a daisy-chain loop like you would with old-school telephone wire; this will result in complete network failure.
- Forgetting Conduit: Technology evolves faster than building materials. Run empty 1-inch or 1.5-inch flexible conduit (smurf tube) from your central AV rack to the attic, and to major TV locations. This allows you to pull new fiber-optic cables in the future without tearing open your drywall.
- Ignoring PoE Budget: If you install 12 security cameras that each draw 15W, you need a switch with a PoE budget of at least 180W. Buying a cheap 8-port switch with a 60W total budget will result in cameras randomly rebooting or failing to power on at night when IR illuminators activate.
Conclusion
Building a whole-home smart automation system is a significant investment in your property's comfort, security, and efficiency. While wireless gadgets offer a low barrier to entry, they cannot match the rock-solid reliability of a properly planned and executed hardwired infrastructure. By prioritizing deep backboxes, neutral wires, CAT6a data cabling, and a centralized PoE network topology, you create a foundation that will support not just today's smart devices, but the advanced AI-driven home technologies of the next decade. Plan meticulously, adhere to electrical and fire codes, and never compromise on cable quality.