The Evolution of Smart Home Automation
Setting up a smart home is no longer just about screwing in a Wi-Fi bulb and connecting it to a smartphone app. For DIY installers and advanced homeowners, the true power of a connected home lies in smart home automation workflow configuration. Moving beyond simple 'if this, then that' routines requires a deep understanding of logic gates, network topology, and execution latency. Whether you are managing a multi-room audio setup, configuring whole-home HVAC climate control, or building a complex security perimeter, mastering the architecture of automation workflows is essential for a reliable, frictionless smart home.
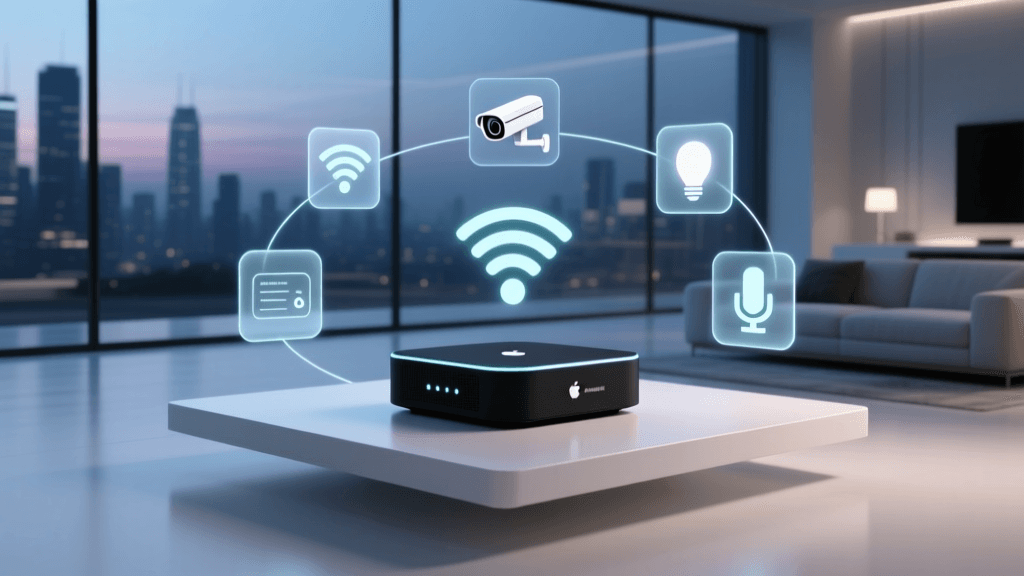
In this comprehensive guide, we will dissect the anatomy of advanced automation workflows, compare leading platforms, and provide actionable configuration strategies using industry-standard hardware like the Home Assistant Green, Sonoff Zigbee 3.0 USB Dongle Plus, and Shelly Plus relays.
The Core Triad: Triggers, Conditions, and Actions
Every robust automation workflow is built upon a foundational triad. Understanding the distinction between these elements is the first step toward eliminating false triggers and race conditions.
- Triggers (The 'When'): The specific event or state change that initiates the workflow evaluation. Examples include a door sensor changing from 'closed' to 'open', a specific time of day, or a webhook payload received from an external API.
- Conditions (The 'Only If'): The logical filters applied after the trigger fires but before the action executes. For instance, a motion sensor trigger might only execute the action if the condition 'Sun is below horizon' AND 'Home Mode is set to Occupied' are both true.
- Actions (The 'Do This'): The physical or digital execution steps. This includes toggling relays, sending push notifications, adjusting thermostat setpoints, or introducing time delays to allow physical processes to complete.
According to the Home Assistant Automation Documentation, separating state evaluation from event triggers is critical for preventing infinite loops in complex YAML-based configurations.
Platform Ecosystem Comparison
Choosing the right hub or server is the most critical hardware decision in your setup. Below is a comparison of the top platforms for advanced workflow configuration.
| Platform | Local Execution | Logic Complexity | Est. Hub Cost | Best Use Case |
|---|---|---|---|---|
| Home Assistant (Green/Yellow) | Yes (100% Local) | Extreme (YAML/Node-RED) | $99 - $250 | Power users, mixed-brand ecosystems |
| Apple HomeKit (via HomePod) | Yes (Partial) | Low (Matter/Home App) | $129 - $299 | Strict Apple ecosystem, privacy-focused |
| Samsung SmartThings | No (Cloud-dependent) | Medium (Rules API) | $70 - $150 | Samsung appliance integration |
| Hubitat Elevation | Yes (100% Local) | High (Rule Machine) | $150 - $200 | Local processing without YAML coding |
Deep Dive: State vs. Event Triggers
One of the most common configuration errors made by DIY installers is confusing state triggers with event triggers. This distinction heavily impacts workflow reliability.
State Triggers
A state trigger monitors the persistent status of a device. If you configure a workflow to trigger when a living room light 'is on', the automation will evaluate every time the system polls or receives a state update confirming the light is on. If the hub loses connection and reconnects, it may re-trigger the automation because the state remains 'on'.
Event Triggers
An event trigger fires only on the transition or the specific moment a command is received. Triggering on 'light turned on' ensures the workflow executes exactly once per physical toggle. For battery-operated Zigbee sensors like the Aqara P2 Motion Sensor, utilizing event triggers for motion detection and state triggers for battery level monitoring is the optimal configuration strategy.
Advanced Logic: Hysteresis and Debouncing
When configuring workflows for HVAC systems or security alarms, raw sensor data can cause 'flapping'—rapid, repeated triggering that damages hardware and creates notification spam.
Implementing Hysteresis
Hysteresis introduces a buffer zone to prevent rapid toggling. If you configure a smart plug to turn on a space heater when the room drops below 68°F, a temperature fluctuation between 67.9°F and 68.1°F will cause the heater to turn on and off every few seconds.
The Fix: Configure a dual-threshold workflow. Turn the heater ON when the temperature drops below 67°F, but do not turn it OFF until the temperature rises above 70°F. This 3-degree deadband protects the relay and stabilizes the room climate.
Debouncing Motion Sensors
Pet-immune PIR sensors often register a single animal movement as multiple rapid events. By implementing a 'debounce' delay in your workflow (e.g., ignoring subsequent triggers for 15 seconds after the initial event), you prevent smart bulbs from flickering and save battery life on the end devices.
Average Automation Execution Latency by Platform
Network Topology and Execution Latency
As visualized in the chart above, local execution is paramount for workflows requiring instant feedback, such as lighting automation or security sirens. Cloud-dependent platforms like SmartThings or IFTTT introduce latency ranging from 800ms to over 2 seconds, depending on internet routing and API rate limits.
For optimal workflow configuration, installers should prioritize a local mesh network. Utilizing a Sonoff Zigbee 3.0 USB Dongle Plus ($35) paired with Home Assistant allows for local processing. Furthermore, hardwiring high-traffic devices like the Shelly Plus 1 ($20) via Wi-Fi or Ethernet ensures the Zigbee mesh is not flooded with repetitive state updates, preserving bandwidth for low-power battery sensors.
Webhooks and External API Integration
Advanced workflows often require bridging the gap between the local smart home and external digital services. Webhooks act as the universal translator for these integrations.
For example, configuring a workflow that adjusts your home's climate based on your vehicle's GPS proximity requires an external API. By utilizing services like Make.com or Zapier, you can send an HTTP POST request to your local hub's webhook endpoint.
Configuration Tip: Always secure your webhook endpoints with a unique, randomly generated token in the URL string, and configure your router's NAT loopback (hairpinning) if you are testing external API calls from within your own local network. The SmartThings Automations Developer Guide provides excellent schemas for structuring JSON payloads when integrating third-party webhooks into hub-based routines.
Troubleshooting Common Workflow Errors
Even meticulously planned automations can fail. Here is how to troubleshoot the most common configuration errors:
- Race Conditions: Occurs when two automations attempt to control the same device simultaneously. Solution: Implement a 'choose' or 'if/else' logic block within a single automation rather than relying on two separate, competing automations.
- Ghost Triggers: Devices triggering without physical interaction. Solution: Check for Zigbee channel interference. Wi-Fi routers operating on channel 6 or 11 can overlap with Zigbee channels 15, 20, and 25. Use a Wi-Fi analyzer app and separate the protocols by at least 25 MHz.
- Orphaned Timers: Automations that rely on a 10-minute delay will fail if the hub reboots during that window. Solution: Use persistent 'Timer' helper entities or schedule explicit time-based triggers rather than relying on volatile 'sleep' or 'delay' commands within the action sequence.
Conclusion
Mastering smart home automation workflow configuration transforms a collection of disparate gadgets into a cohesive, intelligent environment. By prioritizing local execution, understanding the nuances of state versus event triggers, and implementing advanced logic like hysteresis, DIY installers can achieve commercial-grade reliability. Whether you are coding complex YAML scripts in Home Assistant or optimizing Matter routines in Apple HomeKit, the principles of robust workflow design remain the foundation of a truly smart home.