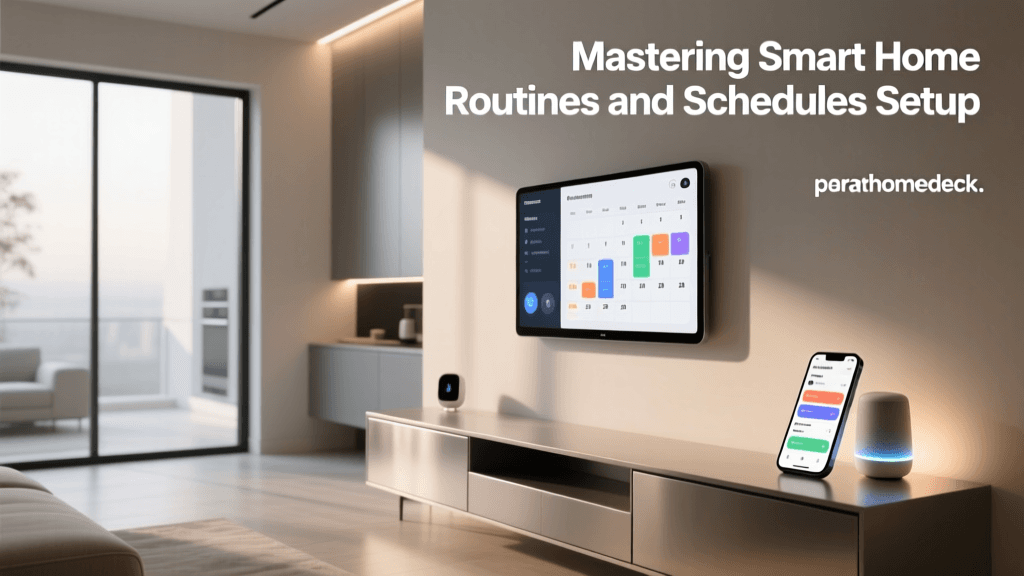
The Anatomy of a Smart Home Workflow
Configuring a smart home goes far beyond simply connecting devices to Wi-Fi and asking a voice assistant to turn on the lights. True home automation relies on robust, invisible workflows that anticipate your needs based on environmental data, occupancy, and time. A workflow configuration is the logical bridge between a physical event (a trigger) and a digital response (an action), filtered through a set of rules (conditions). For DIY installers and advanced homeowners, mastering this architecture is the difference between a gimmicky gadget collection and a truly intelligent living space.
At its core, every automation workflow consists of three pillars:
- Triggers: The catalyst. This could be a Zigbee motion sensor detecting movement, a geofence crossing a virtual boundary, or a specific time of day.
- Conditions: The filters. These prevent actions from firing inappropriately. For example, 'Only turn on the lights if the sun is below the horizon AND the living room TV is off.'
- Actions: The execution. This involves sending commands to devices, adjusting scenes, or triggering secondary workflows.
According to the official Home Assistant Automation Documentation, structuring these elements logically is critical for preventing infinite loops and ensuring system stability. When workflows are poorly configured, you experience 'ghost' activations, delayed responses, and network congestion.
Local vs. Cloud Processing: The Latency Factor
One of the most critical decisions in workflow configuration is choosing where the logic resides. Cloud-dependent ecosystems (like basic IFTTT applets or older SmartThings cloud routines) send sensor data to an external server, process the logic, and send a command back to your device. This round-trip can take anywhere from 800ms to over 2 seconds. In a lighting workflow, a 2-second delay between walking into a room and the lights turning on is jarring and unacceptable.
Local processing hubs execute workflows directly on your internal network. By utilizing protocols like Zigbee 3.0, Z-Wave Plus V2, and the emerging Matter protocol championed by the Connectivity Standards Alliance, local hubs eliminate internet dependency. If your ISP goes down, your motion-triggered hallway lights will still function perfectly.
Hub Comparison for Advanced Workflow Configuration
Selecting the right brain for your home is paramount. Below is a comparison of the top local processing hubs favored by DIY installers for complex workflow configurations.
| Hub Platform | Estimated Cost | Protocol Support | Configuration Interface | Learning Curve |
|---|---|---|---|---|
| Home Assistant Green | $99 | Zigbee, Z-Wave, Matter, Wi-Fi, Thread | YAML / Visual Studio Editor | Steep |
| Hubitat Elevation | $150 | Zigbee 3.0, Z-Wave Plus | Rule Machine (Web UI) | Moderate |
| SmartThings Station | $60 | Zigbee, Matter, Thread (Cloud-dependent logic) | Mobile App UI | Low |
For users willing to invest the time, Home Assistant offers unparalleled granularity. As noted in the Hubitat Rule Machine Documentation, visual logic builders are excellent for rapid deployment, but YAML-based configurations allow for complex state tracking and mathematical evaluations that visual builders struggle to replicate.
Practical Build: Multi-Zone Presence Lighting Routine
Let us build a practical, high-reliability workflow using millimeter-wave (mmWave) presence detection. Traditional PIR (Passive Infrared) motion sensors fail when you are sitting still on the couch, causing the lights to turn off while you are reading. The Aqara FP2 Presence Sensor ($70) solves this by detecting micro-movements like breathing.
Hardware Required:
- Home Assistant Green ($99)
- Aqara FP2 Presence Sensor ($70)
- Philips Hue Bridge and Color Ambiance Bulbs ($60 + $50/bulb)
The Workflow Logic:
- Trigger: Aqara FP2 Zone 1 (Sofa area) state changes to 'Occupied'.
- Condition 1: Illuminance sensor (built into FP2) is below 40 lux.
- Condition 2: Time is between 30 minutes before sunset and 11:30 PM.
- Condition 3: Media Player (Living Room TV) state is NOT 'Playing'.
- Action: Turn on Philips Hue Sofa Lamps to 40% brightness, color temperature 2700K (Warm White).
In Home Assistant, this workflow configuration is defined in YAML. By utilizing the numeric_state and state triggers, we ensure the automation only evaluates when necessary, reducing CPU load on the hub.
alias: Living Room Sofa Presence Lighting
trigger:
  - platform: state
    entity_id: binary_sensor.aqara_fp2_zone_1_occupancy
    to: 'on'
condition:
  - condition: numeric_state
    entity_id: sensor.aqara_fp2_illuminance
    below: 40
  - condition: sun
    after: sunset
    after_offset: '-00:30:00'
  - condition: time
    before: '23:30:00'
  - condition: not
    conditions:
      - condition: state
        entity_id: media_player.living_room_tv
        state: 'playing'
action:
  - service: light.turn_on
    target:
      entity_id: light.hue_sofa_lamps
    data:
      brightness_pct: 40
      color_temp_kelvin: 2700
Managing State and Preventing Infinite Loops
A common pitfall in workflow configuration is the 'infinite loop' or 'race condition.' This occurs when an action inadvertently re-triggers its own condition. For example, if you have a workflow that turns on a smart plug when a room is occupied, and a second workflow that turns off the room lights when the smart plug turns on, you can create a rapid toggle loop that will crash your Zigbee mesh network.
To prevent this, advanced installers use Input Booleans (virtual switches) to track the 'state' of an automation. If a user manually overrides a light switch via a physical smart switch (like the Lutron Aurora or Hue Dimmer), the workflow should detect this manual intervention and pause automated actions for a set 'cooldown' period.
Debounce and Cooldown Settings:
- Debounce: Ignoring rapid, successive state changes. If a door sensor flaps in the wind, a 500ms debounce prevents the hub from processing 50 'open/close' events in two seconds.
- Cooldown: A forced waiting period after an action fires. Setting a 5-minute cooldown on a hallway motion light ensures the hub does not repeatedly send 'turn on' commands every time the sensor resets.
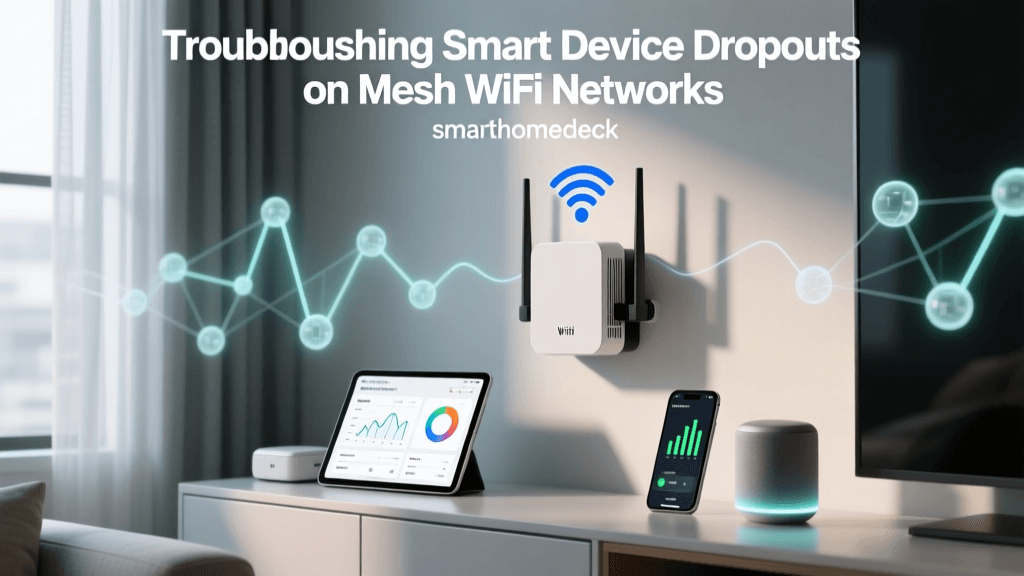
Troubleshooting Network and Polling Bottlenecks
Even the most perfectly written workflow will fail if the underlying network is unstable. Zigbee and Z-Wave rely on mesh networking, where mains-powered devices act as 'routers' to extend the signal to battery-powered sensors.
If your workflow triggers are delayed or dropping entirely, investigate the following:
1. Link Quality Indicator (LQI)
LQI measures the strength and stability of the connection between a sensor and its nearest router. An LQI below 50 often results in dropped packets. If your Aqara door sensor is reporting an LQI of 30, the 'open' trigger may never reach the hub. Solution: Install a Zigbee smart plug (e.g., Sonoff S26R2ZB, ~$15) halfway between the hub and the sensor to act as a signal repeater.
2. Z-Wave Polling vs. Instant Status
Older Z-Wave devices do not report their state instantly when manually toggled; they must be 'polled' by the hub. If your workflow relies on a Z-Wave switch state to trigger a scene, polling latency can ruin the experience. Solution: Upgrade to Z-Wave Plus V2 devices that support 'Instant Status' (Central Scene notification), or configure your hub to poll the device every 5 seconds (though this increases network traffic).
3. Thread and Matter Border Routers
As the industry shifts toward Matter over Thread, ensuring you have adequate Thread Border Routers (like the Apple TV 4K or Nest Hub Pro) is vital. Thread devices do not use a central hub in the same way Zigbee does; they route peer-to-peer. A poorly placed border router can cause Thread-based workflow triggers to time out.
Advanced Workflow Integrations: Webhooks and APIs
True workflow mastery involves connecting your local smart home to external digital services via Webhooks. For instance, you can configure a workflow where a local leak sensor (e.g., Moen Flo or YoLink Water Leak Sensor) triggers an action that sends a POST request to a third-party API, shutting off your home's main water valve via a smart relay and simultaneously sending an SMS alert via Twilio.
This requires configuring your hub to allow external API access securely, often utilizing Nabu Casa (for Home Assistant) or a secure reverse proxy. By combining local sensor reliability with cloud-based notification APIs, you create a safety workflow that operates flawlessly even if you are miles away from home.
Conclusion
Smart home automation workflow configuration is an exercise in logic, network engineering, and user experience design. By prioritizing local processing, understanding the nuances of mesh networking, and utilizing advanced state-tracking conditions, you can build a home that operates with zero friction. Whether you are deploying mmWave sensors for granular presence detection or writing complex YAML routines to manage whole-home climate, the key to success lies in rigorous testing, proper debounce settings, and a robust hardware foundation. Invest in the right hub, map out your logic before you code, and your smart home will truly work for you.