The End of App Fatigue: Why Unify Your Smart Home?
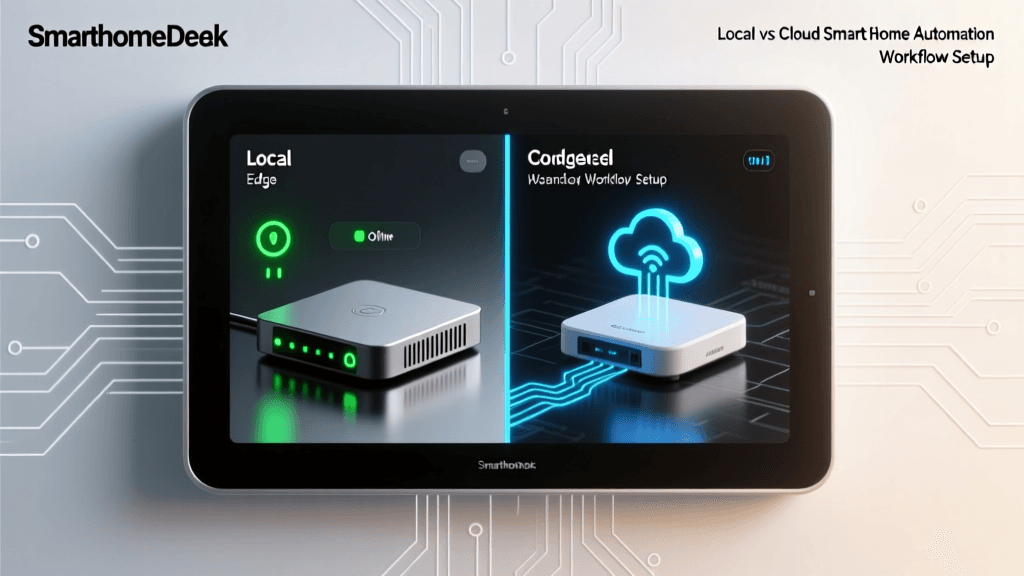
If you have spent any time building a smart home, you are likely familiar with "app fatigue." Managing a Philips Hue app for lighting, an Ecobee app for climate, a Ring app for security, and a Sonos app for audio quickly becomes a fragmented and frustrating experience. True smart home automation requires a centralized brain that communicates with all devices locally, eliminating cloud dependencies and latency. This is where a dedicated local controller, specifically Home Assistant, transforms your setup from a collection of disjointed gadgets into a cohesive, intelligent ecosystem.
Configuring the Home Assistant Companion App is the critical bridge between your local server infrastructure and your daily life. The app serves as your primary interface for dashboards, a hub for background location tracking, and a trigger mechanism for complex automations via NFC tags and webhooks. In this comprehensive guide, we will walk through the exact steps to configure your local controller, pair the companion app, design a unified Lovelace dashboard, and secure remote access without exposing your network to the public internet.
Hardware Prerequisites for Local Control
Before configuring the app, you need a reliable local server running the Home Assistant Operating System (HAOS). While you can run Home Assistant on a virtual machine or a Docker container, the most stable and beginner-friendly method is dedicated hardware. Here are the top three recommendations for a dedicated controller:
- Home Assistant Green ($99): The official plug-and-play hub. It requires zero technical setup, features a built-in Zigbee radio (via SkyConnect), and is optimized specifically for HAOS.
- Raspberry Pi 4 or 5 ($75 - $100): The community favorite. While highly capable, you must ensure you use a high-endurance microSD card or, preferably, boot from an external SSD to prevent database corruption over time.
- Intel NUC / Mini PC ($150+): Ideal for power users running multiple add-ons like Frigate NVR or Plex. An Intel N100 mini PC offers immense processing power for local AI object detection while drawing minimal electricity.
For a complete walkthrough on flashing the OS and booting your server, refer to the official Home Assistant Getting Started documentation. Once your server is online and connected to your router via Ethernet, you can access the web interface by navigating to http://homeassistant.local:8123 from a computer on the same network.
Initial Controller Network Configuration
Proper network configuration is paramount before pairing your mobile app. Smart home devices generate a significant amount of local multicast traffic (mDNS) to discover one another. To prevent network congestion and ensure the companion app can reliably find your server, follow these best practices:
- Assign a Static IP: Access your router's DHCP reservation settings and assign a permanent local IP address (e.g., 192.168.1.50) to your Home Assistant server.
- Create an IoT VLAN or SSID: Isolate your smart bulbs, plugs, and sensors on a separate 2.4GHz Wi-Fi network or VLAN. This enhances security and reduces broadcast noise on your primary network where your phone and server reside.
- Enable mDNS / Avahi: Ensure your router or firewall allows multicast DNS traffic across VLANs if you are using a segmented network, otherwise the app will fail to auto-discover the server.
Configuring the Companion App for Local Access
With the server online, download the Home Assistant Companion App from the Apple App Store or Google Play Store. The onboarding process is designed to establish a secure, local connection.
Step 1: Discovery and Authentication
Open the app and tap "Connect to Home Assistant." If your phone is on the same Wi-Fi network as your server, the app should automatically discover the instance via mDNS. If it does not, manually enter your local IP address (e.g., http://192.168.1.50:8123). Log in using your local administrator credentials.
Step 2: Sensor Permissions
The app will request access to various phone sensors. Granting these permissions unlocks powerful automation capabilities:
- Location: Enables presence detection, allowing your home to turn on lights and adjust the thermostat when you enter a geofenced zone.
- Notifications: Allows the server to send push alerts directly to your phone via local push (iOS) or Firebase (Android), completely bypassing third-party cloud servers.
- Background Refresh: Crucial for updating sensor states (like battery level or Wi-Fi connection status) while the app is closed.
Designing a Unified Dashboard via Lovelace
The default auto-generated dashboard is useful for testing, but a true unified smart home requires a custom Lovelace UI. Lovelace uses a card-based system that you can arrange into different "Views" (e.g., Lighting, Climate, Security, Media).
To edit your dashboard, tap the three-dot menu in the app, select "Edit Dashboard," and disable the auto-generate toggle. From here, you can add manual cards. Below is a comparison of the most essential dashboard cards used in professional app configurations:
| Card Type | Best Use Case | Configuration Complexity |
|---|---|---|
| Entities Card | Grouping simple toggles (e.g., all living room lights) | Low |
| Glance Card | Quick status overview of sensors (temperature, humidity, doors) | Low |
| Picture Elements | Interactive floor plans with icon overlays for rooms | High (Requires YAML) |
| Mushroom Cards | Modern, uniform UI elements (requires HACS installation) | Medium |
| Custom Button Card | Highly customized, multi-state buttons with CSS styling | High (Requires YAML) |
For mobile app optimization, prioritize large tap targets and vertical scrolling. Avoid wide data tables or complex graphs on your primary mobile views; reserve those for a tablet or desktop dashboard.
Securing Remote Access and Cloud Integration
While local control is fast and private, you will inevitably need to access your dashboard or trigger automations when away from home. Exposing your server via port forwarding is a severe security risk. Instead, choose one of the following secure remote access methods.
Remote Access Setup Time Comparison
1. Nabu Casa (Official Cloud)
Nabu Casa is the official cloud service provided by the founders of Home Assistant. For a monthly subscription (approx. $6.50/month), it provides instant, zero-configuration remote access, secure voice assistant integration (Alexa/Google), and supports the core development of the platform. Learn more about their infrastructure at Nabu Casa.
2. Tailscale (WireGuard VPN)
Tailscale creates a secure, peer-to-peer mesh VPN. By installing the Tailscale add-on on your Home Assistant server and the Tailscale app on your phone, you can access your local IP address from anywhere in the world as if you were sitting on your home couch. It is free for personal use but requires managing multiple apps.
3. Cloudflare Tunnels
Cloudflare Tunnels route your local traffic through Cloudflare's global edge network without opening any ports on your router. It is free and highly secure but requires purchasing a custom domain name and configuring DNS records, making it the most technically demanding option.
Advanced App Features: NFC and Actionable Notifications
The true power of the companion app lies in its ability to act as an input device for your home automations.
NFC Tag Integration
Home Assistant has a built-in NFC tag reader. You can purchase inexpensive NTAG215 NFC stickers and place them around your home. Using the companion app, you can write a tag to trigger a specific automation. For example, tapping your phone on an NFC tag on your nightstand can trigger a "Goodnight" routine that locks the doors, arms the security system, and turns off all lights.
Actionable Notifications
Standard push notifications are passive. Actionable notifications allow you to embed buttons directly into the push alert. If your security camera detects motion, the app can send a notification with two buttons: "Turn on Floodlights" and "Ignore." This transforms your phone from a simple display into a remote command center.
App-Triggered Automations and Webhooks
Your mobile device is packed with sensors that can trigger local automations. By navigating to the "Companion App" settings in the Home Assistant sidebar, you can enable dozens of data points. Useful sensors include:
- Bluetooth BLE Transmitter: Turns your phone into a Bluetooth beacon for precise indoor room-level tracking when paired with ESPHome Bluetooth proxies.
- Network Sensor: Triggers automations based on which Wi-Fi SSID your phone is connected to, or if it switches to cellular data.
- Charging State: Automatically turns on a bedside lamp and sets the phone to "Do Not Disturb" mode when plugged in at night.
Furthermore, the app supports sending local webhooks. You can use third-party automation apps like Tasker (Android) or Shortcuts (iOS) to send HTTP POST requests to your Home Assistant server, bridging the gap between mobile OS-level events and your smart home ecosystem.
Troubleshooting Connectivity and Sensor Drops
Even with a perfect configuration, mobile operating systems are aggressive about killing background processes to save battery life. If your app fails to update your location or sensor states, the issue is almost always related to OS-level battery optimization.
Android users must navigate to their phone's battery settings and set the Home Assistant app to "Unrestricted" or "No Battery Optimization." The open-source project Don't Kill My App provides an excellent, device-specific database on how to disable these aggressive background killers for every major Android manufacturer, from Samsung to Xiaomi.
iOS users face fewer background kill issues due to Apple's native location services API, but you must ensure that "Location Access" is set to "Always" and that "Precise Location" is enabled if you are using geofencing for arrival triggers. Additionally, ensure that "Background App Refresh" is toggled on within the iOS settings for the companion app.
Conclusion
Transitioning to a unified smart home controller and properly configuring the companion app is a paradigm shift. It moves you away from the walled gardens of individual manufacturers and places you in complete control of your data, latency, and automation logic. By investing the time to set up local hardware, design a mobile-optimized Lovelace dashboard, and leverage advanced app sensors like NFC and webhooks, you elevate your smart home from a novelty to a truly invisible, intuitive assistant.