Mastering Smart Home Automation Workflows
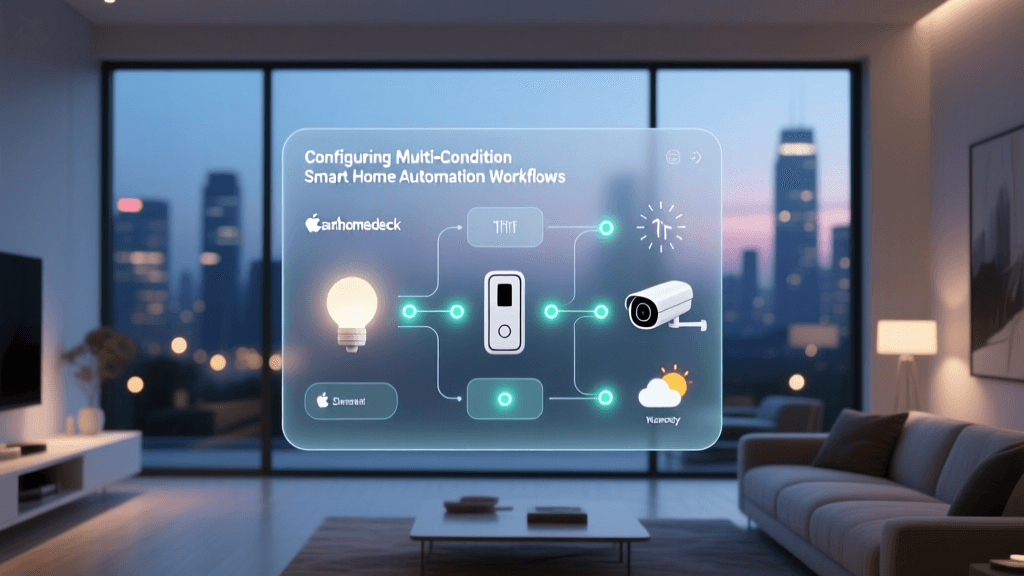
Transitioning from simple voice commands to fully autonomous smart home routines requires a deep understanding of automation workflows. At its core, every smart home automation consists of three fundamental components: the trigger (what initiates the action), the condition (the criteria that must be met), and the action (the physical or digital result). While consumer-grade cloud platforms like Amazon Alexa and Google Home offer accessible entry points, serious DIY installers and homeowners quickly discover the limitations of cloud-dependent workflows. In this comprehensive guide, we will explore how to configure robust, low-latency automation workflows, compare local versus cloud architectures, and provide actionable steps to build a resilient smart home ecosystem.
The Architecture of Automation: Cloud vs. Local Processing
When you configure a workflow in a cloud-based ecosystem, the execution path is inherently convoluted. A sensor detects motion, sends a signal to your local router, transmits the data to an external server farm, processes the logic, and sends a command back through the internet to your smart bulb. This round-trip introduces latency, relies heavily on your ISP's uptime, and raises valid privacy concerns.
Conversely, local automation workflows process logic entirely within your home's Local Area Network (LAN). According to the official documentation from Home Assistant, prioritizing local control ensures that your automations execute in milliseconds, remain functional during internet outages, and keep your household telemetry strictly behind your own firewall. For installers configuring high-end residential systems, local processing is not just a luxury; it is the gold standard for reliability.
Cost and Hardware Implications
Setting up a local workflow requires dedicated hub hardware. Here is a breakdown of popular local processing hubs and their associated costs:
- Home Assistant Green: Priced around $99, this plug-and-play hub is ideal for users who want a pure local experience with massive integration capabilities via Python-based add-ons.
- Hubitat Elevation: Costing approximately $150, this hub excels in local Zigbee and Z-Wave processing and offers a highly visual rule-machine interface for complex logic.
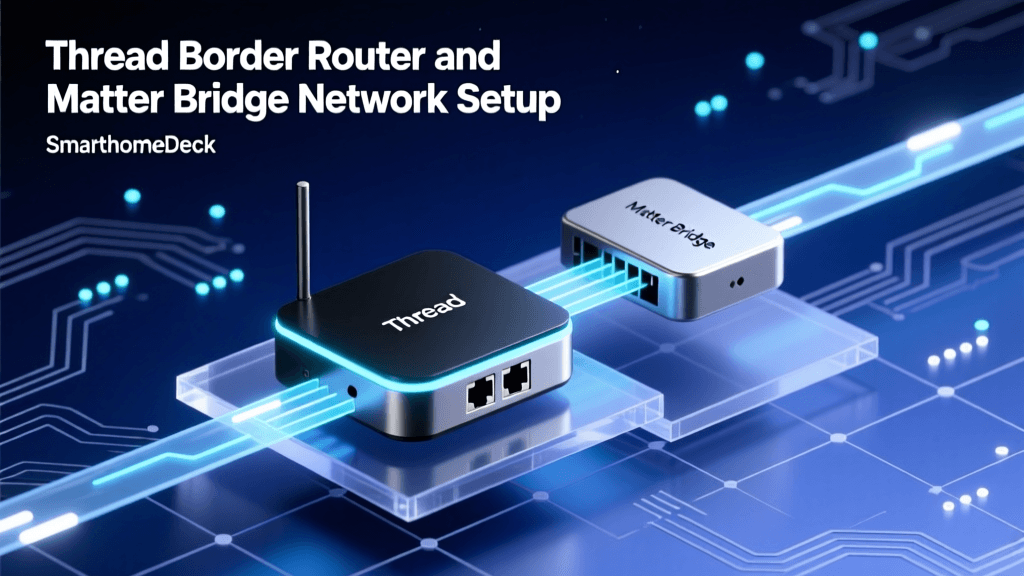
- Apple TV 4K (128GB): At $149, it serves as a premium Thread border router and HomeKit hub, though its workflow configuration is limited to the Apple Home app's native capabilities.
Step-by-Step: Configuring a Hybrid Morning Workflow
Let us walk through a practical, advanced workflow configuration that leverages both local reliability and necessary cloud integrations. We will build a 'Dynamic Morning Wake-Up' routine. This workflow will adjust lighting based on the sun's elevation, start a smart coffee maker, and provide a localized weather briefing, but only if the home security system is disarmed.
1. Defining the Triggers
Instead of relying on a static time, we will use an astronomical trigger. In Home Assistant, you can set the trigger to fire when the Sun Elevation crosses -5 degrees (dawn), OR when a localized presence sensor detects the homeowner's smartphone connecting to the Wi-Fi access point after 6:00 AM.
2. Establishing Conditions
To prevent the lights from turning on if you are away on vacation, we add state conditions. The workflow will check the state of your smart security panel (e.g., Ring Alarm or Abode). The condition reads: security_system.state == 'disarmed'. Furthermore, we add a numeric state condition to ensure the bedroom smart blinds are currently closed before attempting to open them.
3. Executing the Actions
Actions are executed in parallel to reduce total workflow execution time.
Action A: Send a Zigbee command to the Philips Hue Bridge to fade the bedroom lights from 0% to 40% brightness over 10 minutes, utilizing a warm 2000K color temperature.
Action B: Trigger a local webhook to a Shelly Plus 1 smart relay wired to the coffee maker's circuit.
Action C: Use a local Text-to-Speech (TTS) engine like Piper to broadcast the daily calendar and local weather through the nearest smart speaker, bypassing cloud-based TTS services to ensure zero latency and total privacy.
Protocol Selection for Workflow Reliability
The physical communication protocol your devices use heavily dictates the speed and reliability of your automation workflows. When planning a whole-home setup, mixing protocols strategically is essential. The Connectivity Standards Alliance (CSA) has introduced the Matter protocol to unify local IP-based communications, but legacy protocols still hold significant value in specific use cases.
| Protocol | Max Range (Indoor) | Bandwidth | Power Consumption | Best Use Case in Workflows |
|---|---|---|---|---|
| Z-Wave (800 Series) | 30-40 meters | Low (100 kbps) | Ultra-Low (Battery) | Door/window sensors, security locks |
| Zigbee 3.0 | 20-30 meters | Low (250 kbps) | Low (Battery/Mains) | Lighting networks, motion sensors |
| Thread (Matter) | 15-20 meters | Medium (250 kbps) | Low (Battery/Mains) | IP-based local routing, fast mesh |
| Wi-Fi 6 | 40-50 meters | High (Gbps) | High (Mains only) | Cameras, smart displays, heavy data |
Visualizing Workflow Latency: Cloud vs. Local
One of the primary reasons DIY installers migrate to local hubs is the drastic reduction in latency. When a workflow involves multiple sequential actions, cloud latency compounds, leading to the infamous 'popcorn effect' where lights turn on one by one over several seconds. Local processing executes near-instantaneously. Below is a visualization of average execution latency based on protocol and processing location.
As the data illustrates, local LAN-based Wi-Fi devices (like Shelly relays or LIFX bulbs communicating via local APIs) offer the absolute lowest latency, followed closely by Thread and Zigbee meshes. Cloud-dependent Wi-Fi devices suffer from external server processing times and DNS resolution delays.
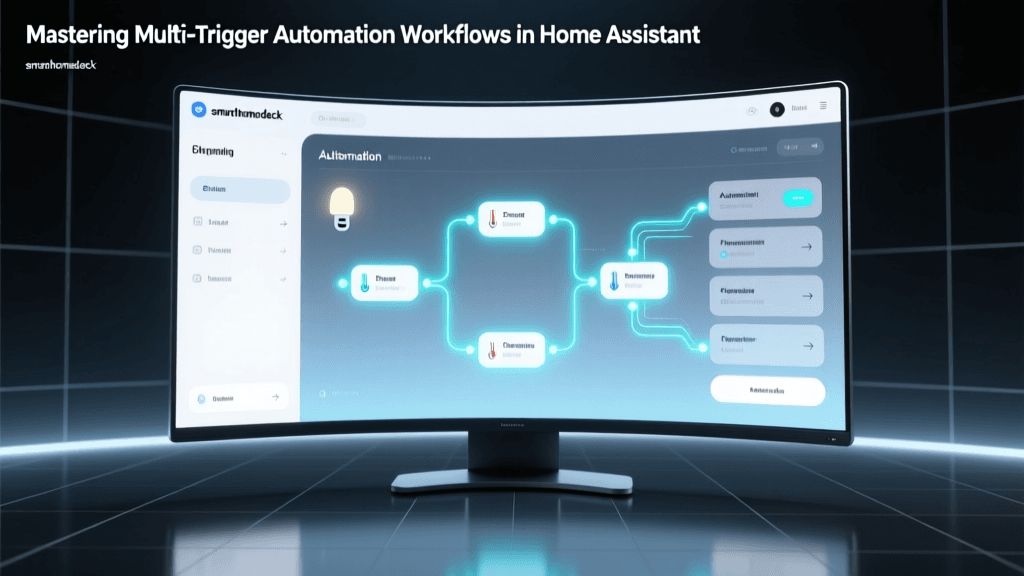
Advanced Workflow Configuration: State Machines and Node-RED
For complex, multi-room automation, simple 'If This Then That' logic falls short. Advanced installers often turn to visual programming tools like Node-RED, which integrates seamlessly with local hubs. Node-RED allows you to build state machines, which track the history of a device's behavior rather than just its current state.
Pro Tip: When configuring HVAC workflows, do not rely solely on the current temperature. Use a state machine to track the rate of change. If the temperature drops 2 degrees in 10 minutes, the workflow can infer that a window has been left open in winter and automatically shut off the smart thermostat to prevent energy waste.
Furthermore, utilizing local webhooks allows your smart home to interact with external, self-hosted services. For example, a local Frigate NVR (Network Video Recorder) can send an MQTT payload to your hub when it detects a human on the driveway camera. The hub then evaluates the condition (is it past sunset?) and triggers the action (floodlights on, send a localized push notification to your phone via the Home Assistant companion app, bypassing SMS gateways).
Security and Privacy in Workflow Design
As you connect more devices and create complex workflows, the attack surface of your home network expands. The National Institute of Standards and Technology (NIST) emphasizes the importance of securing IoT devices by segmenting networks and limiting external dependencies. When configuring your workflows, adhere to these security best practices:
- VLAN Segmentation: Place all IoT devices on a dedicated Virtual Local Area Network (VLAN). Your automation hub should be permitted to route traffic to this VLAN, but IoT devices should be blocked from accessing your primary network where personal computers and NAS drives reside.
- Disable Cloud Polling: Many manufacturers enable cloud polling by default. In your hub's integration settings, explicitly disable cloud polling and force local push updates via protocols like Matter or local MQTT brokers (e.g., Mosquitto).
- Encrypted Local Traffic: While local processing is inherently more private, ensure your hub is configured with a local SSL certificate (using tools like Let's Encrypt and a local DNS server like Pi-hole or AdGuard Home) so that workflow configurations and camera feeds are encrypted even on your LAN.
Troubleshooting Common Workflow Bottlenecks
Even perfectly coded workflows will fail if the underlying hardware mesh is congested. Here are the most common issues encountered during workflow configuration and how to resolve them:
Zigbee and Wi-Fi Channel Interference
Zigbee operates on the 2.4 GHz spectrum, directly competing with Wi-Fi. If your Wi-Fi router is set to channel 6, it will obliterate Zigbee channels 15 through 20, causing sensor triggers to drop and workflows to fail silently. Fix: Set your 2.4 GHz Wi-Fi to channel 1 or 11, and lock your Zigbee coordinator (like the Sonoff Zigbee 3.0 USB Dongle Plus) to channel 15, 20, or 25.
Hub Overload and Polling Storms
If you have configured dozens of devices that rely on 'polling' (the hub repeatedly asking the device for its status) rather than 'pushing' (the device reporting state changes immediately), your hub's CPU will bottleneck, delaying workflow executions. Fix: Replace polling-heavy Wi-Fi smart plugs with local MQTT or Matter-compatible alternatives. Increase the polling interval for non-critical devices (like smart plant sensors) to once per hour.
The 'Popcorn Effect' in Lighting Groups
When a workflow commands a group of 10 Zigbee bulbs to turn on, sending 10 individual commands sequentially causes a visible delay. Fix: Use Zigbee Group Binding. This allows the hub to send a single multicast command to the group address, and the bulbs handle the synchronization internally, resulting in instantaneous, unified illumination.
Conclusion
Configuring smart home automation workflows is a delicate balance of hardware selection, protocol management, and logical programming. While cloud-based systems offer a frictionless setup for beginners, they fundamentally lack the speed, privacy, and resilience required for a true smart home. By investing in local processing hubs, strategically deploying Zigbee, Z-Wave, and Thread networks, and utilizing advanced logic tools like state machines, DIY installers can create a living space that anticipates needs flawlessly. Remember to prioritize local APIs, segment your network for security, and continuously optimize your mesh to ensure your automations execute perfectly, every single time.