Introduction to Smart Home Controllers
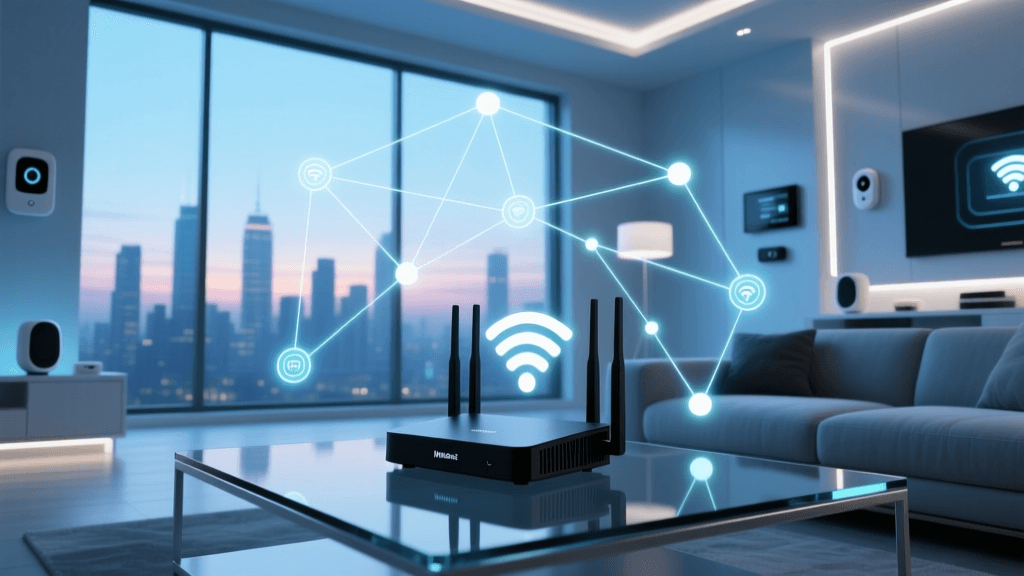
The modern smart home is a complex web of interconnected devices, ranging from Zigbee light bulbs and Z-Wave door locks to Wi-Fi-enabled thermostats and Bluetooth mesh sensors. Without a central brain, managing these devices requires juggling dozens of disparate mobile applications, leading to a fragmented and frustrating user experience. This is where a dedicated smart home controller steps in. By acting as the central nervous system of your home automation ecosystem, a hub translates various wireless protocols into a unified language, enabling cross-device automations, centralized dashboards, and reliable voice assistant integration.
In this comprehensive setup and configuration guide, we will walk you through the critical decisions and technical steps required to deploy a robust smart home controller. We will focus specifically on comparing the enthusiast-favorite Home Assistant against the consumer-friendly Samsung SmartThings ecosystem, detailing everything from VLAN network segmentation to physical antenna placement and advanced dashboard configuration.
Choosing Your Controller: Local vs. Cloud Ecosystems
Selecting the right hub dictates the ceiling of your home's automation capabilities. The market is broadly divided into local-processing hubs and cloud-dependent hubs. Local hubs process automation logic on the physical device inside your home, ensuring that your lights still turn on when the internet goes down. Cloud hubs rely on remote servers, offering easier setup but introducing latency and privacy concerns.
| Feature | Home Assistant Green | Samsung SmartThings Station | Hubitat Elevation |
|---|---|---|---|
| Approximate Cost | $99.00 | $69.99 | $149.95 |
| Processing Type | 100% Local | Cloud-Dependent | 100% Local |
| Protocol Support | Zigbee, Matter, Thread (via dongles) | Zigbee, Z-Wave, Matter, Thread | Zigbee, Z-Wave |
| Setup Difficulty | Moderate | Very Easy | Moderate |
| Privacy & Security | Maximum (No cloud required) | Low (Data stored on Samsung servers) | Maximum (Local execution) |
Home Assistant Green ($99) has emerged as the premier choice for DIY installers who demand total local control, privacy, and compatibility with over 1,000 integrations. According to the official Home Assistant documentation, the Green hub is designed for plug-and-play local setup, eliminating the need for complex Linux command-line installations while retaining the full power of the HA ecosystem. Conversely, the Samsung SmartThings Station ($69.99) appeals to users deeply embedded in the Samsung or Amazon ecosystems, offering Matter support and cloud-based ease of use, though it requires an active internet connection for most advanced automations.
Network Preparation: VLANs and Wi-Fi Optimization
Before unboxing your hub, you must prepare your home network. Smart home devices are notoriously vulnerable to cyber threats, making network segmentation a critical first step. The National Institute of Standards and Technology (NIST) strongly recommends isolating IoT devices on a separate Virtual Local Area Network (VLAN) or a dedicated guest network to prevent compromised smart bulbs from accessing your personal computers and NAS drives.
Configure your router to create an 'IoT_VLAN' with a distinct subnet (e.g., 192.168.20.x). Ensure that this VLAN has internet access but is blocked from communicating with your primary trusted VLAN (192.168.1.x) via local firewall rules. However, you must enable mDNS (Multicast DNS) reflection or repeater services on your router. Protocols like Apple AirPlay, Google Cast, and Home Assistant's local discovery rely on mDNS to find devices across subnets. Without mDNS reflection, your hub will not be able to discover and integrate local Wi-Fi devices residing on the isolated IoT network.
Furthermore, dedicate a 2.4GHz Wi-Fi SSID specifically for IoT. Many budget smart plugs and switches only support 2.4GHz and often fail to connect to modern WPA3 security protocols. Configure your IoT SSID to use WPA2-AES and disable band steering to prevent connection timeouts during the initial device provisioning phase. Finally, assign DHCP reservations (static IPs) for all local Wi-Fi devices like Shelly relays or ESPHome nodes so your hub never loses connection when the router reboots.
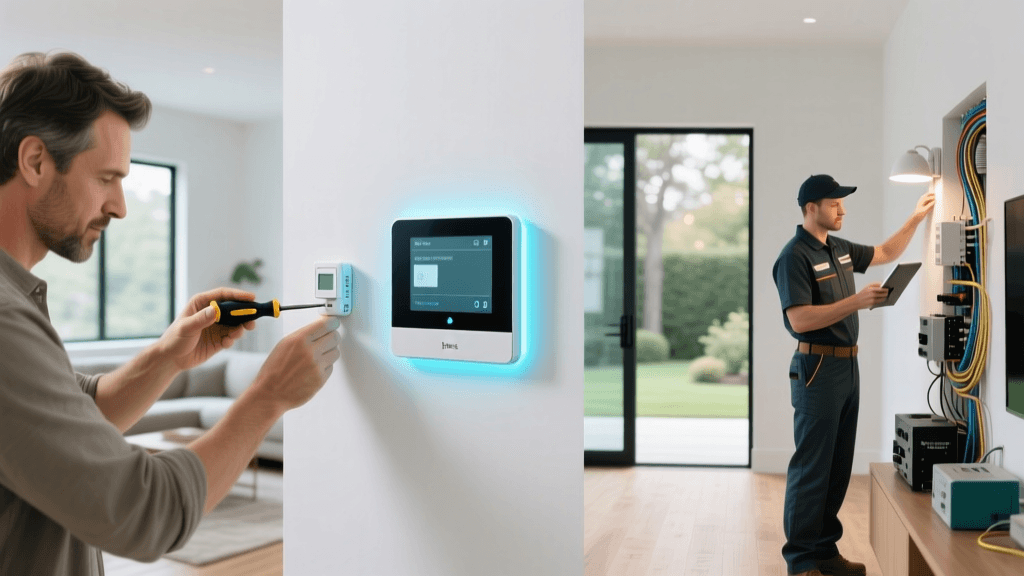
Physical Hub Installation and Interference Mitigation
Physical placement of your smart home controller dramatically impacts the reliability of your mesh networks. Both Zigbee and Z-Wave rely on a mesh topology, where mains-powered devices act as routers to extend the signal range. The Connectivity Standards Alliance (CSA) notes that Zigbee operates on the 2.4GHz spectrum, making it highly susceptible to interference from Wi-Fi routers, microwaves, and surprisingly, USB 3.0 ports.
If you are setting up Home Assistant with a USB Zigbee coordinator (such as the Sonoff Zigbee 3.0 USB Dongle Plus or the Home Assistant Connect ZBT-1), you must use a 1-meter to 2-meter USB 2.0 extension cable. Plugging the Zigbee dongle directly into the Raspberry Pi or Intel NUC's USB 3.0 port will cause severe signal degradation, resulting in dropped devices and failed automations. The extension cable moves the antenna away from the electromagnetic interference generated by high-speed data ports.
Position your hub in a central, elevated location within your home. Avoid placing it inside metal enclosures, AV racks, or near large appliances. For Z-Wave networks, which operate on sub-GHz frequencies (908.42 MHz in the US), physical obstructions like brick walls and metal lathing have a more pronounced impact, making central placement even more critical for a healthy mesh.
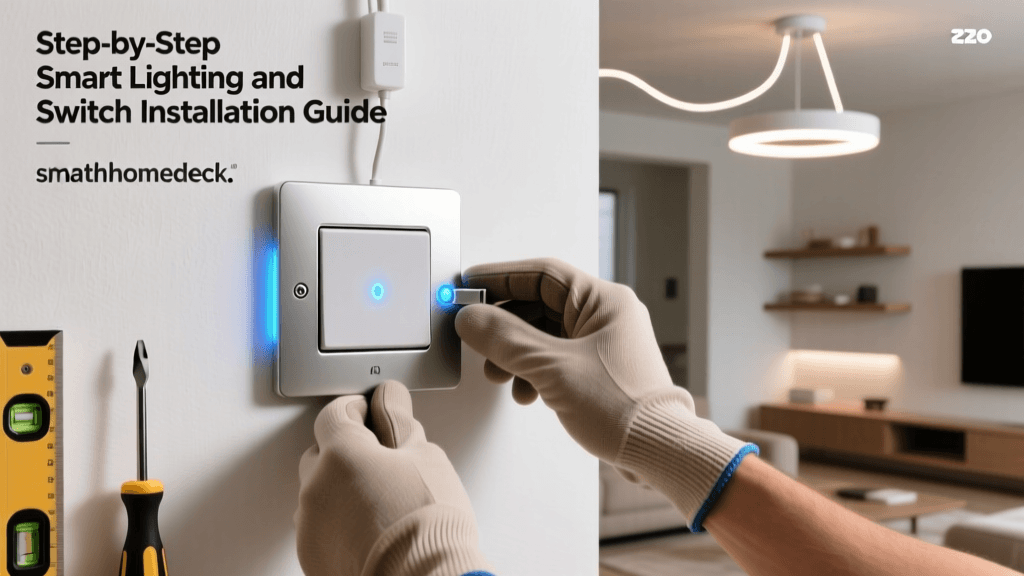
App Configuration and Dashboard Design
Once the hardware is online, the real work begins in the app configuration. A well-structured naming convention is the backbone of a scalable smart home. Avoid using spaces or generic names like 'Living Room Lamp'. Instead, adopt a structured syntax such as [room]_[device_type]_[identifier]. For example, light.living_room_main, sensor.kitchen_motion, or switch.garage_door_opener. This standardized approach ensures that when you write automation scripts or use voice assistants, the entity IDs are predictable and easy to query.
In Home Assistant, the dashboard configuration has evolved from complex YAML coding to a highly customizable drag-and-drop UI. Utilize the 'Sections' view to create responsive, mobile-friendly dashboards that automatically adapt to your phone or wall-mounted tablet. Group your controls by functional areas: Lighting, Climate, Security, and Media. Use conditional cards to hide elements that are irrelevant (e.g., hiding the garage door toggle when you are not within 500 meters of your home geofence).
To integrate voice assistants like Alexa or Google Home securely without opening router ports, consider subscribing to Home Assistant Cloud (Nabu Casa) for $6.50 per month. This official service provides a secure, encrypted tunnel for remote access and voice assistant syncing, while directly funding the open-source development of the platform.
SmartThings users should leverage the 'Favorites' tab and create custom 'Scenes' rather than relying solely on individual device toggles. A 'Goodnight' scene should simultaneously lock all Z-Wave deadbolts, arm the security panel, set the thermostat to 68°F, and turn off all non-essential lighting with a single tap.
Visualizing Protocol Adoption and Hub Latency
Understanding the latency differences between local and cloud processing is vital for designing user-friendly automations. When a motion sensor triggers a hallway light, a delay of more than 200 milliseconds feels sluggish and unnatural to the human brain.
Average Automation Latency by Hub Type
As visualized in the chart above, local controllers like Home Assistant and Hubitat process these state changes in under 60 milliseconds, providing an instantaneous, native-switch feel. Cloud-dependent systems like SmartThings can experience latency spikes exceeding 300 milliseconds during peak server loads or internet congestion, leading to the dreaded 'popcorn effect' where bulbs turn on sequentially rather than simultaneously.
Advanced Automation Workflows
Moving beyond basic 'if this, then that' routines requires mastering state triggers and numeric conditions. In your controller's automation engine, always prefer 'State' triggers over 'Device' triggers. A state trigger monitors the underlying database entity (e.g., state: 'on'), making your automations resilient to hardware swaps. If you replace a physical Zigbee switch, the automation remains intact as long as the new switch is mapped to the same entity ID.
Incorporate time-based and sun-based conditions to refine your workflows. For instance, a motion-activated hallway light should have different brightness parameters based on the time of day. Use a 'Choose' action block: IF the sun is below the horizon AND the time is between 11:00 PM and 6:00 AM, set brightness to 10% and color temperature to 2000K (warm amber). ELSE, set brightness to 100% and color temperature to 4000K (daylight). This level of granular app configuration transforms a basic smart home into an intuitive, ambient living space.
Troubleshooting Common Controller Issues
Even the most meticulously configured setups encounter mesh network issues. If your Zigbee devices are dropping off the network, the first step is to analyze your Zigbee channel. Wi-Fi channels 1, 6, and 11 overlap heavily with standard Zigbee channels. Log into your router and ensure your 2.4GHz Wi-Fi is locked to Channel 1 or 6, and configure your Zigbee coordinator to use Channel 15, 20, or 25. This frequency separation eliminates the packet loss that causes devices to appear 'unavailable' in your app.
For Z-Wave networks, 'healing' the mesh is a common troubleshooting step. When you add or move a Z-Wave device, the controller's routing table may become outdated. Initiate a Z-Wave Heal from your controller's app interface. This forces the controller to recalculate the most efficient routing paths through the mesh. Note that healing should only be done when the network is fully stable and all devices are powered; running a heal on a fluctuating network can corrupt the routing tables and require a factory reset.
Conclusion
Configuring a smart home controller is a rewarding endeavor that bridges the gap between off-the-shelf consumer gadgets and a truly integrated, automated living environment. Whether you choose the granular, privacy-first approach of Home Assistant or the accessible, ecosystem-driven Samsung SmartThings platform, success hinges on deliberate network segmentation, strategic physical placement, and meticulous app configuration. By following the wiring basics, VLAN setups, and dashboard design principles outlined in this guide, you will build a resilient smart home foundation capable of scaling with your needs for years to come.