Introduction to Smart Home Controller Configuration
Setting up a smart home goes far beyond simply plugging in a device and connecting it to your Wi-Fi. For DIY installers and homeowners looking to build a robust, reliable, and secure whole-home automation system, the core of the operation lies in the smart home controller and its underlying network architecture. Whether you are deploying a local powerhouse like Home Assistant, a dedicated Zigbee/Z-Wave hub like Hubitat Elevation, or a consumer-friendly ecosystem like Samsung SmartThings, proper installation and app configuration are critical. A poorly configured hub can lead to delayed automations, dropped connections, and severe network congestion. This comprehensive guide walks you through the physical installation, network isolation, and step-by-step app configuration required to optimize your smart home controller for peak performance.
Network Preparation: The Foundation of Smart Home Setup
Before unboxing your smart home hub, you must prepare your local network. Most smart home devices, particularly Wi-Fi-based smart plugs, bulbs, and cameras, operate exclusively on the 2.4GHz band. This frequency is notoriously congested and susceptible to interference from neighboring networks, microwaves, and Bluetooth devices. Furthermore, connecting dozens of IoT devices to your primary Wi-Fi network creates a massive security vulnerability and can overwhelm consumer-grade routers, leading to DHCP lease exhaustion and network drops.
Creating an Isolated IoT VLAN
The industry best practice for smart home installation is to create a dedicated Virtual Local Area Network (VLAN) or a separate IoT SSID specifically for smart devices. According to the NIST IoT Cybersecurity guidelines, network segmentation is a foundational step in securing connected devices. By isolating your IoT devices, you prevent a compromised smart bulb from acting as a gateway for hackers to access your personal computers or network-attached storage (NAS).
- SSID Naming: Avoid special characters or spaces in your IoT SSID name. Many budget IoT chips use outdated Wi-Fi stacks that fail to parse complex network names. Stick to alphanumeric characters (e.g., 'HomeIoT2G').
- Security Protocol: While WPA3 is the modern standard, many legacy IoT devices only support WPA2-PSK (AES). Configure your IoT VLAN to use WPA2 to ensure maximum compatibility.
- Firewall Rules: Block local IoT devices from accessing your primary LAN, but allow them to reach the internet (unless they are strictly local devices like Zigbee sensors). Block inbound traffic from the WAN to the IoT VLAN.
Wireless Spectrum Management and Zigbee Interference
If your smart home controller utilizes a Zigbee or Thread radio, you must manage the wireless spectrum to prevent signal collision. Wi-Fi and Zigbee both operate on the 2.4GHz band. To prevent your smart home hub from dropping signals, you must align your Wi-Fi and Zigbee channels so they do not overlap.
- Wi-Fi Channels: Set your 2.4GHz Wi-Fi router to use only channels 1, 6, or 11. These are the only non-overlapping channels in the 2.4GHz spectrum.
- Zigbee Channels: Configure your smart home controller's Zigbee radio to use channel 11, 15, 20, or 25. For example, if your Wi-Fi is on channel 1 and channel 6, setting your Zigbee network to channel 25 ensures zero interference.
- USB 3.0 Interference: If you are using a USB Zigbee dongle with a Raspberry Pi or mini-PC, be aware that USB 3.0 ports emit massive amounts of 2.4GHz radio frequency noise. Always use a shielded USB 2.0 extension cable (at least 3 feet long) to move the dongle away from the computer chassis and external SSDs.
Physical Installation and Hub Placement
The physical location of your smart home controller dictates the reliability of your mesh network. Hubs like the Hubitat Elevation C-8 or the Home Assistant SkyConnect rely on internal or external antennas to communicate with battery-powered sensors throughout the home.
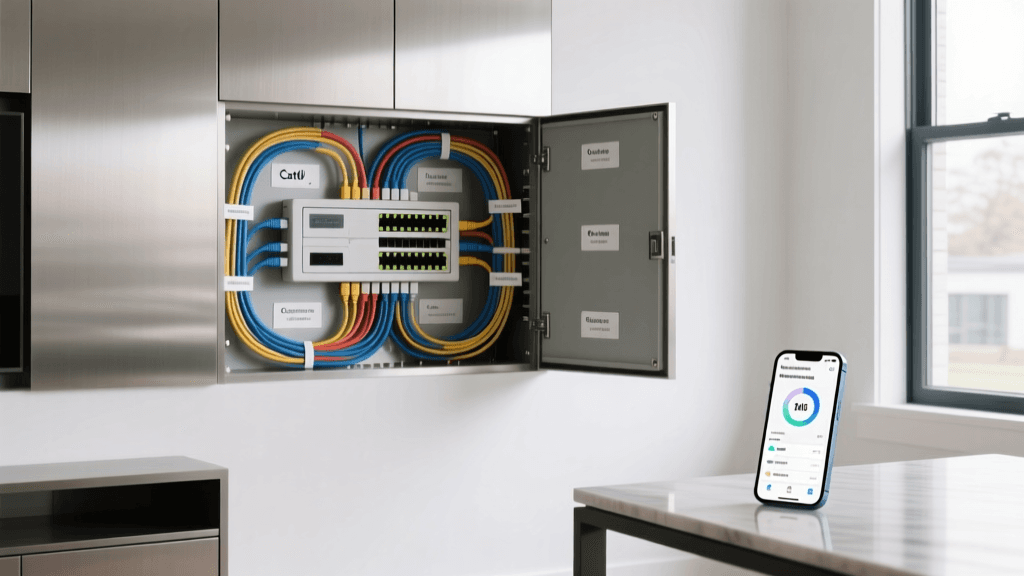
Centralized Placement: Install the hub in a central, elevated location, such as on top of a bookshelf in the middle of the house. Avoid placing the hub inside metal media enclosures, AV racks, or near large appliances like refrigerators, which act as Faraday cages and block RF signals.
Wired Backhaul: Always connect your smart home controller to your router or network switch via an Ethernet cable. Relying on Wi-Fi for the hub itself introduces unnecessary latency and points of failure. If your central location lacks an Ethernet drop, consider using a Powerline Ethernet adapter or a MoCA (Multimedia over Coax Alliance) adapter to provide a stable, hardwired connection to the hub.
Comparing Popular Smart Home Controllers
Choosing the right hardware is the first step in the setup-config process. Below is a comparison of the top local and hybrid smart home controllers available on the market, detailing their cost, supported protocols, and app configuration complexity.
| Controller Model | Approx. Cost | Supported Protocols | Local Execution | App Config Complexity |
|---|---|---|---|---|
| Home Assistant Green | $99 | Wi-Fi, Zigbee/Thread (via dongle), Matter | 100% Local | High (YAML/Visual Editor) |
| Hubitat Elevation C-8 | $149 | Zigbee 3.0, Z-Wave Plus v2, Wi-Fi, LAN | 100% Local | Medium (Web-based UI) |
| Samsung SmartThings Station | $79 | Wi-Fi, Thread, Matter, Zigbee (via hub) | Hybrid (Cloud dependent) | Low (Mobile App focused) |
| Homey Pro | $399 | Zigbee, Z-Wave, Matter, Thread, 433MHz, IR | 100% Local | Medium (Visual Flow Editor) |
Visualizing Local vs. Cloud Execution Latency
One of the primary reasons DIY installers opt for local smart home controllers like Home Assistant or Hubitat is execution speed. When an automation relies on a cloud server, the signal must travel from your sensor, to your router, to an external server, back to your router, and finally to your smart bulb. Local controllers process this logic on your LAN, drastically reducing latency. The chart below illustrates the average execution latency across different automation triggers.
Step-by-Step App Configuration and Onboarding
Once the hardware is physically installed and connected to your network, the next phase is app configuration. While interfaces vary between platforms, the fundamental principles of organizing your smart home remain consistent. For this section, we will reference the workflows common to the Home Assistant Getting Started Guide and similar local ecosystems.
1. Establishing the Semantic Model (Areas and Zones)
Before adding a single device, configure your home's structural layout within the app. Create 'Floors' (e.g., First Floor, Second Floor) and 'Rooms' (e.g., Living Room, Kitchen, Master Bedroom). This semantic model is crucial because modern smart home apps use these areas to automatically generate dashboards and group devices for voice commands. If you skip this step, you will be left with a chaotic list of 50+ unassigned devices.
2. Device Pairing and Naming Conventions
When pairing devices via the app, adopt a strict naming convention. Avoid using the manufacturer's default names (e.g., 'TP-Link Plug 88392'). Instead, use a structured format: [room]_[device_type]_[specific_location]. For example, living_room_light_ceiling or front_door_sensor_contact. This backend naming convention ensures that when you write automation scripts or use text-to-speech notifications, the system references devices logically.
3. Configuring Device-Specific Parameters
Many Z-Wave and Zigbee devices have hidden configuration parameters that are not exposed in basic consumer apps but are accessible via advanced controllers. For example, a Zooz Z-Wave motion sensor allows you to adjust the lux (light level) threshold that dictates whether the motion sensor will trigger a light during the day. Access the 'Z-Wave JS' or 'Zigbee2MQTT' configuration panel in your app to fine-tune these parameters, reducing unnecessary network traffic and saving sensor battery life.
Advanced App Configuration: Presence Detection and Geofencing
A truly automated home reacts to your presence without requiring manual app input. Configuring reliable presence detection is one of the most challenging but rewarding aspects of smart home setup.
Geofencing: Most smart home apps utilize the GPS on your smartphone to create a virtual perimeter around your home. When your phone crosses this boundary, the app triggers 'Arrival' or 'Departure' automations. However, GPS geofencing can be battery-intensive and prone to 'ghost' departures if you live near the edge of the geofence radius. Set your geofence radius to at least 150 meters to account for GPS drift.
Network-Based Tracking: For a more reliable local presence detection method, configure your smart home controller to ping your smartphone's IP address or monitor your device's connection to the Wi-Fi access point. If your router supports it, integrate it directly with your hub via API so the hub knows exactly when your phone connects to the local network.
Bluetooth Proxies and Beacons: For room-level presence detection, deploy ESP32 Bluetooth proxy modules throughout the house. These modules scan for your smartwatch or phone's Bluetooth MAC address and report the signal strength (RSSI) back to the controller, allowing the app to determine exactly which room you are standing in and adjust lighting and climate accordingly.
Troubleshooting Common Configuration Issues
Even with meticulous planning, smart home installers frequently encounter configuration hurdles. According to the Hubitat Documentation and community forums, mesh network instability and app sync delays are the most common complaints. Here is how to resolve them.
Zigbee and Z-Wave Mesh Network Healing
If battery-powered sensors are dropping offline or experiencing severe lag, your mesh network may be routing signals inefficiently. This often happens after moving furniture or adding new mains-powered devices (like smart plugs or switches) which act as mesh repeaters. Access your controller's app settings and initiate a 'Z-Wave Network Repair' or 'Zigbee Mesh Heal'. This process forces the hub to recalculate the most efficient routing paths between devices. Note that a mesh heal can take several hours and should only be performed when the network is stable, not as a daily troubleshooting step.
DNS Rebinding Protection and Local Access
If you cannot access your local smart home controller's app interface from your phone while connected to your home Wi-Fi, your router's DNS Rebinding protection might be blocking the local IP address resolution. To fix this, log into your router's admin panel and add an exception for your hub's local IP address, or set up a local DNS server (like Pi-hole or AdGuard Home) to resolve your hub's custom domain name directly to its local IP.
DHCP Lease Exhaustion
Consumer routers typically have a default DHCP pool of 50 to 100 IP addresses. A modern smart home with smart bulbs, switches, sensors, and cameras can easily exceed 100 devices. If new devices fail to connect to the app, log into your router and expand the DHCP range (e.g., from 192.168.1.100 to 192.168.1.250) or reduce the DHCP lease time from 24 hours to 4 hours, ensuring that offline devices quickly release their IP addresses back to the pool.
Conclusion
Configuring a smart home controller is a multi-layered process that bridges physical hardware installation, network engineering, and software logic design. By segmenting your IoT traffic onto a dedicated VLAN, carefully managing the 2.4GHz wireless spectrum, and utilizing a structured approach to app configuration and naming conventions, you can build a smart home that is not only incredibly powerful but also resilient and secure. Whether you choose the granular control of Home Assistant or the plug-and-play local processing of Hubitat, mastering the setup-config phase is the key to unlocking true, frictionless home automation.