The Evolution of Smart Home Controllers
The modern smart home has evolved far beyond the era of single-purpose bridges and fragmented mobile applications. Today, homeowners and DIY installers demand unified control over a diverse ecosystem of devices. This is where the multi-protocol smart hub becomes the central nervous system of your home automation setup. Whether you are integrating legacy Zigbee sensors, Z-Wave security locks, or the newest Matter-over-Thread lighting systems, proper hub configuration and mobile app setup are critical for a seamless, low-latency experience.
In this comprehensive guide, we will walk through the physical installation, network configuration, and advanced mobile app setup required to build a robust, multi-protocol smart home ecosystem. By focusing on local execution and optimized mesh networking, you can eliminate cloud dependencies and ensure your automations run reliably, even when your internet connection drops.
Selecting the Right Hub Architecture
Before diving into the mobile app configuration, it is essential to understand the architectural differences between popular smart home hubs. The market is generally divided into cloud-dependent, hybrid, and strictly local processing hubs. Your choice will dictate how your mobile app communicates with your devices and how quickly your automations execute.
| Hub Platform | Processing Location | Protocol Support | Ideal User |
|---|---|---|---|
| Samsung SmartThings | Cloud (Hybrid) | Zigbee, Z-Wave, Matter, Wi-Fi | Mainstream consumers |
| Hubitat Elevation | Local (LAN) | Zigbee, Z-Wave, Matter, LAN | Privacy-focused DIYers |
| Home Assistant Yellow | Local (SBC) | Thread, Zigbee, Matter, Wi-Fi | Advanced tinkerers |
For users prioritizing privacy and speed, local hubs like Hubitat Elevation or Home Assistant are superior. They process automations directly on the local network, meaning your mobile app sends commands to the hub via your local router rather than routing them through an external cloud server.
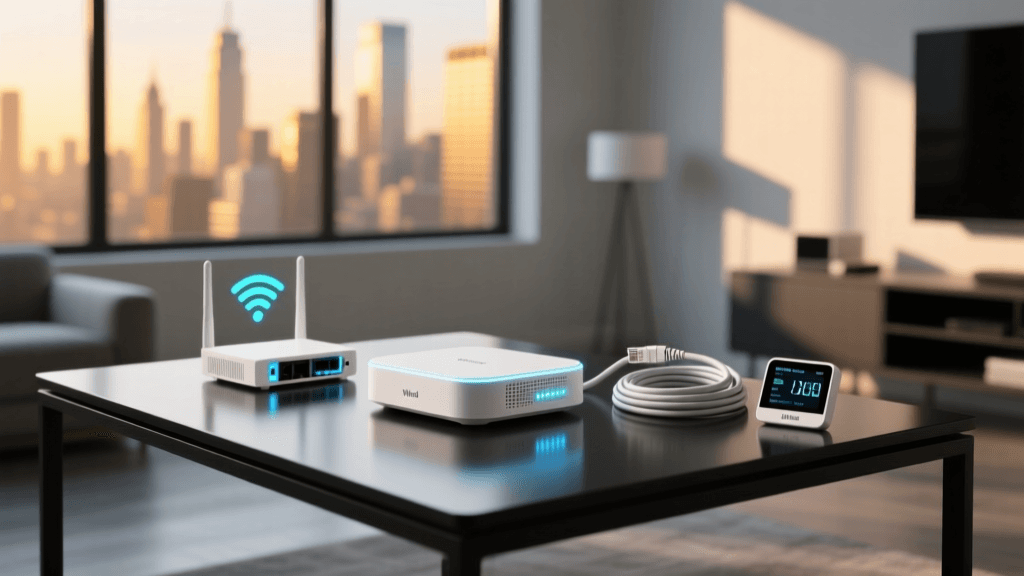
Physical Installation and Optimal Placement
The physical placement of your smart home controller is the most frequently overlooked aspect of installation. A poorly placed hub will result in dropped Zigbee signals, delayed Z-Wave routing, and a frustrating mobile app experience characterized by "device offline" errors.
Avoiding USB 3.0 Interference
If your hub utilizes a USB dongle for Zigbee or Thread (such as the Home Assistant SkyConnect), you must be aware of USB 3.0 radio frequency interference. USB 3.0 ports and cables emit broadband noise in the 2.4 GHz spectrum, which directly overlaps with Zigbee and Thread frequencies. To mitigate this, always use a shielded USB 2.0 extension cable (at least 3 feet long) to move the dongle away from the hub's mainboard and any SSD enclosures.
Centralized Elevation
Place your hub in a central, elevated location within your home. Avoid metal enclosures, AV racks, and proximity to large appliances like refrigerators or microwaves, which act as Faraday cages and signal reflectors. For multi-story homes, placing the hub on the ceiling of the first floor or the floor of the second story ensures the most even distribution of the mesh network signal.
Hardwired Ethernet Backhaul
Whenever possible, connect your hub to your router via a Cat6 Ethernet cable. Relying on Wi-Fi for the hub's backhaul introduces unnecessary latency and packet loss, which will manifest as delayed responses in your mobile app.
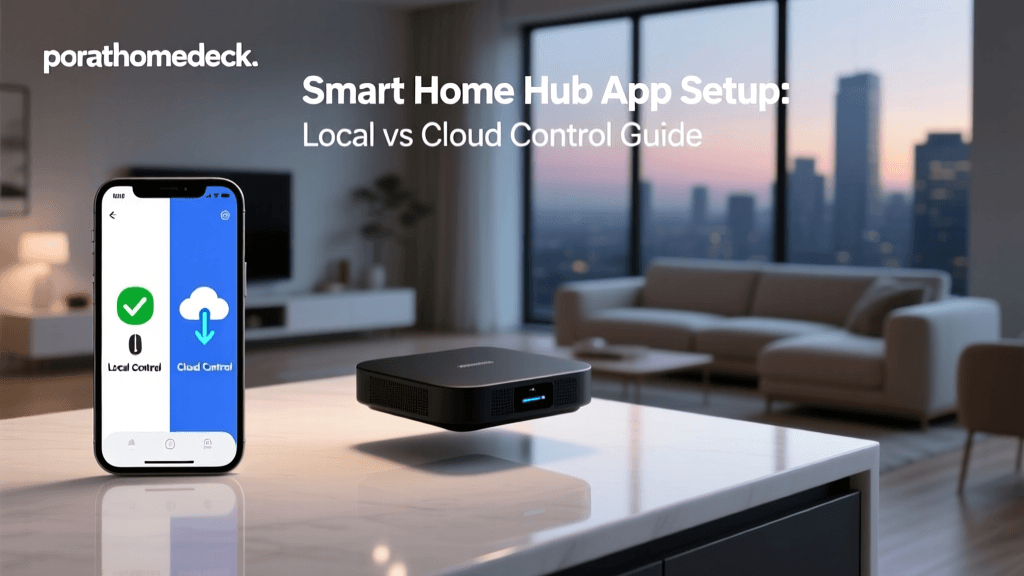
Network Configuration and Mobile App Setup
Once the hardware is installed, the next step is configuring your local network and the companion mobile application. A well-structured network ensures that your hub can reliably communicate with both Wi-Fi-based devices and your smartphone.
VLANs and 2.4 GHz Isolation
Many smart home devices, particularly budget-friendly Wi-Fi smart plugs and bulbs, only support the 2.4 GHz Wi-Fi band. Furthermore, they often struggle with modern WPA3 security or mesh Wi-Fi systems that combine 2.4 GHz and 5 GHz bands under a single SSID. To solve this, create a dedicated IoT VLAN or a separate 2.4 GHz-only SSID specifically for your smart devices. This not only improves pairing success rates but also enhances network security by isolating vulnerable IoT devices from your primary computers and smartphones.
Initial App Onboarding
When setting up the mobile app (whether it is the SmartThings app, Hubitat dashboard, or Home Assistant companion app), ensure your smartphone is connected to the same primary network as the hub during the initial discovery phase. The app will use mDNS (Multicast DNS) or UDP broadcast packets to locate the hub on your local network. If your phone is on a guest network or a different VLAN with client isolation enabled, the app will fail to discover the hub automatically, requiring you to manually input the hub's static IP address.
Understanding Command Latency
The architecture of your hub directly impacts how fast your mobile app commands reach your physical devices. Local processing significantly reduces the "round-trip" time of a command.
Bar chart comparing command execution latency between cloud-dependent, hybrid, and strictly local smart home hubs.
As the data illustrates, strictly local hubs execute commands in roughly 35 milliseconds, providing an instantaneous feel when using the mobile app. Cloud-dependent hubs, conversely, must send the signal to an external server and back, resulting in nearly half a second of latency, which can be noticeable when toggling lights or triggering smart locks.
Commissioning Zigbee, Z-Wave, and Matter Devices
With the hub and app configured, you can begin adding devices. Multi-protocol hubs allow you to manage different wireless standards simultaneously, but each protocol requires a specific pairing strategy to ensure long-term mesh stability.
Building a Zigbee Mesh
Zigbee operates on the 2.4 GHz band and relies on a mesh topology where mains-powered devices (like smart plugs and light switches) act as routers to extend the network. When pairing Zigbee devices via your mobile app, start by pairing devices closest to the hub, then work your way outward. This ensures that the newly added devices immediately have a strong router to latch onto, rather than trying to stretch a weak signal directly back to the central hub. Additionally, ensure your Zigbee channel (11, 15, 20, or 25) does not overlap with your primary 2.4 GHz Wi-Fi channels (1, 6, or 11).
Z-Wave Network Routing
Z-Wave operates on sub-GHz frequencies (908.42 MHz in the US), which provides superior wall penetration compared to Zigbee. When adding Z-Wave devices through the app, perform a "network repair" or "rebuild mesh" after every few additions. This forces the hub to recalculate the most efficient routing tables, ensuring that battery-operated Z-Wave sensors can communicate with the hub via the shortest possible path, thereby preserving battery life.
Matter over Thread Commissioning
The introduction of the Matter standard, championed by the Connectivity Standards Alliance (CSA), has revolutionized device onboarding. Matter devices utilizing the Thread protocol require a Thread Border Router (which is often built into modern multi-protocol hubs or smart speakers). To commission a Matter device, simply scan the QR code on the device packaging using your mobile app. The app will securely transfer the network credentials to the device via Bluetooth Low Energy (BLE), after which the device joins the Thread mesh network seamlessly.
Designing Robust Automations in the Mobile App
The true power of a smart home controller lies in its automation engine. When configuring routines via the mobile app, it is vital to differentiate between local and cloud-based triggers.
Local vs. Cloud Triggers
If you create an automation that states, "When the Zigbee motion sensor detects movement, turn on the Zigbee smart bulb," and both devices are connected to a local hub, this automation will execute locally. However, if your trigger relies on a cloud-based service (e.g., "When the weather API reports rain"), the entire automation chain is pushed to the cloud. To maintain local execution speeds, rely heavily on local sensors, physical switches, and geofencing.
Optimizing Geofencing
Geofencing uses your smartphone's GPS to trigger automations based on your location. In the mobile app, configure your home radius carefully. A radius that is too small (e.g., 50 meters) may cause false triggers if you are simply walking around your yard or if GPS drift occurs. A radius of 150 to 200 meters is generally the sweet spot for reliable "Arrive" and "Depart" routines, ensuring the hub has enough time to adjust the thermostat and lighting before you walk through the door.
State Conditions and Delays
To prevent automation loops or redundant actions, utilize state conditions within the app. For example, instead of just "Turn on lights at sunset," use "Turn on lights at sunset ONLY IF the living room TV is off." Furthermore, incorporate built-in delays for motion-activated lighting. Setting a "Wait 5 minutes, then check motion sensor again" condition prevents the lights from abruptly turning off while you are sitting still and reading.
Troubleshooting Common Hub and App Issues
Even with meticulous setup, you may encounter synchronization issues between the physical devices, the hub, and the mobile app. Here is how to troubleshoot the most common problems.
Ghost Nodes and Z-Wave Ghosts
A "ghost node" occurs when a Z-Wave device is removed from power or physically moved before being properly excluded from the hub via the app. The hub continues to attempt routing signals through the missing device, causing network-wide latency and app sync delays. To fix this, access the hub's Z-Wave settings in the app, identify nodes with missing routing data, and force a network cleanup or manually remove the phantom node IDs.
App Sync Delays
If a device changes state physically (e.g., someone manually flips a smart switch), but the mobile app takes several seconds to reflect the new state, the issue is likely related to mesh congestion or a lack of "binding." Ensure that your hub is configured to request status updates efficiently, and verify that your mesh network has enough mains-powered routing nodes to relay the status change back to the hub quickly.
Firmware Mismatches
Multi-protocol hubs frequently receive over-the-air (OTA) firmware updates to improve protocol stacks. If a specific Zigbee or Matter device suddenly drops off the network after a hub update, check the manufacturer's support page for device-specific firmware patches. In some cases, you may need to exclude and re-pair the device to force the hub to rebuild the device's capability profile in the mobile app.
Conclusion
Configuring a multi-protocol smart home hub and its companion mobile app is a deeply rewarding process that transforms a collection of disparate gadgets into a cohesive, intelligent ecosystem. By prioritizing local processing, optimizing physical placement, carefully managing your wireless mesh networks, and designing intelligent automation workflows, you ensure that your smart home is not only functional but truly autonomous. Whether you are managing a small apartment or a sprawling multi-story residence, mastering your controller's setup is the foundational step toward a reliable, future-proof smart home.