The Evolution of Smart Home Controllers
The modern smart home relies heavily on a central brain to coordinate dozens, if not hundreds, of interconnected devices. While early smart home setups depended entirely on cloud-based servers—leading to latency, privacy concerns, and outages when the internet dropped—today's DIY installers and homeowners are pivoting toward local smart home controllers. Configuring these local hubs and their companion apps correctly is the difference between a frustrating, unreliable gadget collection and a seamless, automated living environment.
A smart home controller acts as the central translator and logic engine for your devices. Whether you are managing Zigbee sensors, Z-Wave locks, Thread-based lighting, or Wi-Fi cameras, the controller's app configuration dictates how quickly your automations execute and how securely your data is handled. In this comprehensive guide, we will dive deep into the setup, network preparation, and app configuration of the three dominant local controllers: Home Assistant, Hubitat Elevation, and Samsung SmartThings.
Selecting the Right Hub for Your Ecosystem
Before diving into app configuration, you must select the hardware that aligns with your technical expertise and automation goals. Each platform offers a unique approach to device integration, local execution, and dashboard customization.
| Feature | Home Assistant (Green/Yellow) | Hubitat Elevation | Samsung SmartThings Station |
|---|---|---|---|
| Local Execution | Yes (100% Native) | Yes (100% Native) | Partial (via Edge Drivers) |
| Primary Interface | Web UI & Companion App | Web UI & Mobile App | SmartThings Mobile App |
| Protocols Supported | Zigbee, Z-Wave, Thread, Matter, Wi-Fi | Zigbee, Z-Wave, LAN | Zigbee, Z-Wave, Thread, Matter |
| Difficulty Level | Advanced (Steep Learning Curve) | Intermediate (Logic-focused) | Beginner (Plug-and-Play) |
| Estimated Hardware Cost | $99 - $250+ | $129 - $159 | $69 - $99 |
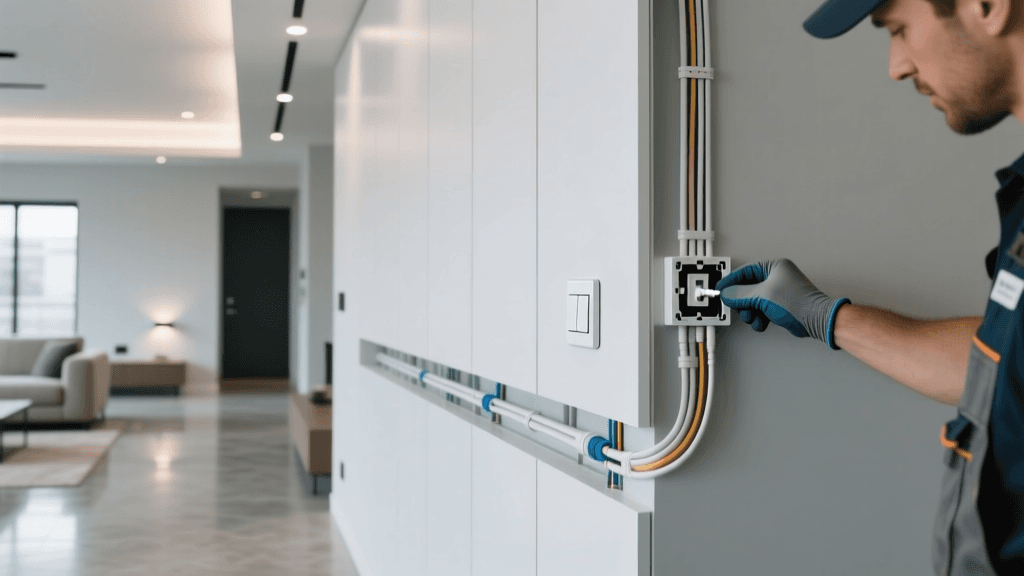
Network Preparation and VLAN Configuration
Successful smart home controller configuration begins long before you plug in the hub. It starts with your network architecture. IoT devices are notoriously vulnerable and can clutter your main network with broadcast traffic. According to the Cybersecurity and Infrastructure Security Agency (CISA), segmenting IoT devices is a critical step in securing your home network.
Setting Up an IoT VLAN
If you are using a prosumer router system like Ubiquiti UniFi, TP-Link Omada, or pfSense, create a dedicated Virtual Local Area Network (VLAN) specifically for your smart home devices.
- SSID Isolation: Create a 2.4GHz-only SSID linked to your IoT VLAN. Most Zigbee and Wi-Fi IoT devices do not support 5GHz networks, and forcing a dual-band SSID often causes app configuration failures during initial device pairing.
- mDNS Reflectors: Local controllers rely heavily on multicast DNS (mDNS) to discover devices. If your controller sits on your main VLAN and your smart speakers sit on the IoT VLAN, you must enable an mDNS reflector or repeater in your router settings to allow cross-VLAN discovery.
- Static IP Assignment: Always assign a static IP address (or a DHCP reservation) to your smart home controller. If the hub's IP changes after a router reboot, your app configurations, local API endpoints, and voice assistant integrations will break.
Home Assistant: The Power User's Canvas
Home Assistant (HA) has become the gold standard for local smart home control. According to the official Home Assistant documentation, the platform supports over 2,500 integrations, making it the most versatile controller on the market. However, its app and dashboard configuration requires deliberate planning.
Initial Onboarding and App Setup
Whether you are using the plug-and-play Home Assistant Green or a DIY ODROID build, the initial setup is handled via a web browser at homeassistant.local:8123. Once the core is running, you will configure the Home Assistant Companion App on your iOS or Android device.
- Location and Elevation: During setup, input your precise GPS coordinates and elevation. HA uses this data for sun-based automations (e.g., turning on porch lights exactly at dusk).
- Remote Access Configuration: To use the mobile app outside your home network without exposing ports, subscribe to Nabu Casa (the official cloud relay) or configure a Cloudflare Tunnel. This ensures your app configuration remains secure while providing remote access to your dashboard.
- Sensor Permissions: The Companion App turns your smartphone into a powerful sensor. Grant permissions for location, battery state, and Wi-Fi connection status to trigger presence-based automations.
Zigbee and Thread Integration Configuration
For local RF protocols, HA users must choose between ZHA (Zigbee Home Automation) and Zigbee2MQTT. ZHA is built directly into the core and is easier to configure via the UI. Zigbee2MQTT requires setting up an MQTT broker (like Mosquitto) but supports a vastly larger database of obscure Zigbee devices. When configuring your Zigbee dongle (such as the Sonoff Zigbee 3.0 USB Dongle Plus), ensure it is placed on a USB 2.0 extension cable away from the router to prevent USB 3.0 interference, which can severely degrade Zigbee mesh performance.
Hubitat Elevation: Local Automation Mastery
Hubitat Elevation bridges the gap between the extreme customization of Home Assistant and the simplicity of SmartThings. It is built from the ground up for local processing, meaning your automations execute in milliseconds, even if your internet connection is severed.
Hub Setup and Firmware Management
Unlike SmartThings, Hubitat's primary configuration interface is its local web dashboard, accessed via the hub's IP address. The mobile app is primarily used for remote access, push notifications, and basic device control.
- Firmware Updates: Upon first boot, navigate to the Settings menu and apply the latest firmware. Hubitat frequently releases updates that improve Zigbee and Z-Wave radio stack stability.
- Radio Configuration: In the settings menu, you can configure the Zigbee and Z-Wave channels. It is highly recommended to set your Zigbee channel to 15, 20, or 25 to avoid overlapping with Wi-Fi channels 1, 6, and 11.
Rule Machine Configuration
The crown jewel of the Hubitat app and web configuration is Rule Machine. This visual logic builder allows you to create complex conditional automations without writing code. When configuring a rule, you define Triggers (e.g., motion sensor active), Conditions (e.g., lux sensor below 50), and Actions (e.g., turn on lights, wait 5 minutes, turn off). Mastering Rule Machine requires understanding the difference between a "trigger" (an event that happens in a moment) and a "condition" (a state that is true over time).
Samsung SmartThings: Mainstream App Configuration
Samsung SmartThings remains the most popular hub for mainstream consumers due to its polished mobile app and broad retail availability. With the introduction of the SmartThings Station and Hub v3, the platform has made significant strides in local execution via Edge Drivers.
App Dashboard and Room Configuration
The SmartThings app is highly visual. Configuring your dashboard involves creating "Rooms" and "Favorites."
- Room Mapping: Group devices logically by physical rooms. This not only organizes the app UI but also enables voice assistants to understand contextual commands like "Turn off the lights in here" when using a smart speaker in that specific room.
- Favorite Routines: Configure your most-used automations as Routines and pin them to the top of the app dashboard for one-tap execution.
Configuring Edge Drivers for Local Execution
Historically, SmartThings relied on cloud-based Groovy IDE integrations. Today, the platform uses Lua-based Edge Drivers that run locally on the hub. To configure advanced devices, you may need to use the SmartThings CLI or community-built driver channels to force a device to use a local Edge Driver rather than a cloud-based DTH (Device Type Handler). This ensures that your smart switches and sensors respond instantly without making a round-trip to Samsung's cloud servers.
Visualizing Protocol Support Across Controllers
Understanding how different controllers handle various wireless protocols is crucial for app configuration and device pairing. The chart below illustrates the relative capability and native support scores (1-10) for major smart home protocols across the three leading platforms.
Protocol Support Capability Score Across Smart Home Controllers
As the Thread Group continues to push the Thread networking protocol into mainstream devices, controllers like Home Assistant and SmartThings are rapidly updating their border router configurations to support Thread natively, reducing reliance on traditional Zigbee meshes.
Dashboard Customization and Voice Integration
A controller is only as good as its user interface. Configuring dashboards for wall-mounted tablets and mobile devices ensures that all household members can interact with the smart home intuitively.
Designing Tablet and Mobile Dashboards
In Home Assistant, the Lovelace UI allows for granular dashboard configuration. You can create conditional cards that only appear when specific criteria are met (e.g., a media player card that only shows up when the TV is turned on). For wall-mounted tablets, configure a fully kiosk browser app to load the dashboard URL, disable screen sleep, and enable the camera for presence detection.
Hubitat's Hub Mesh feature allows you to link multiple hubs together, aggregating devices from different physical locations into a single, unified dashboard configuration. This is ideal for large properties or multi-building setups.
Voice Assistant Linking
Integrating your local controller with Amazon Alexa or Google Home requires configuring cloud skills or local bridges.
- Home Assistant: Configure the Home Assistant Cloud (Nabu Casa) link in the settings menu to securely expose selected entities to Alexa and Google Home without opening router ports.
- Hubitat: Use the built-in Alexa/Google Home integration apps within the Hubitat web interface. You can selectively choose which devices are exposed to the cloud, keeping your private sensors (like bedroom occupancy or security cameras) off cloud servers entirely.
Troubleshooting Mesh Networks and App Sync Issues
Even with perfect app configuration, physical environment factors can disrupt your smart home. Here is how to troubleshoot common setup issues.
Zigbee and Z-Wave Mesh Routing Failures
If devices are dropping off the network or showing as "unavailable" in your app, the issue is usually mesh routing. Unlike Wi-Fi, Zigbee and Z-Wave rely on mains-powered devices (like smart plugs and wall switches) to act as repeaters.
Pro Tip: When configuring a new Zigbee mesh, always pair repeaters first, starting from the hub and working outward. Battery-powered sensors should be paired last, directly next to the router, and then moved to their final physical location to ensure they lock onto the strongest mesh route.
App State Desynchronization
Sometimes, a physical switch is toggled, but the app fails to update the state. This is often caused by a lack of local polling or misconfigured device bindings. In Hubitat and Home Assistant, ensure that your Zigbee bindings are configured so that the wall switch reports its state change directly to the hub, rather than relying solely on the cloud integration to push the update.
Matter Device Pairing Failures
Matter is the newest protocol, and configuring Matter devices requires a robust Thread Border Router or Wi-Fi network. If a Matter device fails to pair via the app's QR code scanner, verify that your mobile phone is on the exact same 2.4GHz Wi-Fi network as the target device, and ensure that IPv6 is enabled on your router, as Matter relies heavily on IPv6 for local device discovery and commissioning.
Conclusion
Configuring a smart home controller and its companion app is a deeply rewarding process that transforms a house into an intelligent, responsive environment. Whether you choose the limitless customization of Home Assistant, the bulletproof local logic of Hubitat, or the polished ecosystem of Samsung SmartThings, the principles remain the same: prioritize local execution, segment your network for security, and meticulously design your dashboards for daily usability. By following the network preparation steps, protocol configurations, and troubleshooting guidelines outlined in this guide, you are well-equipped to build a resilient, high-performance smart home that operates exactly how you want it to, 24/7.