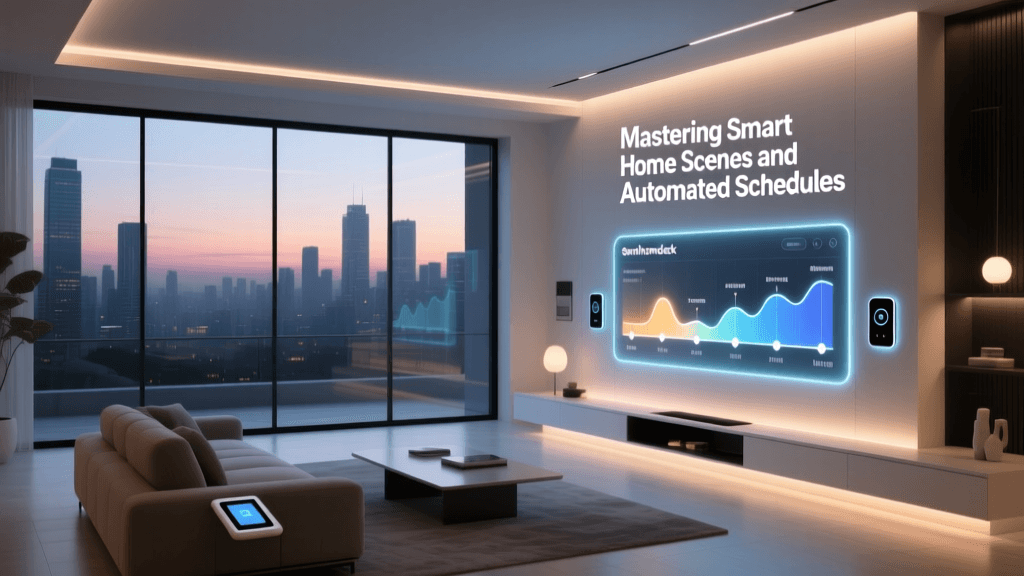
Introduction to Smart Home Automation Configuration
Transitioning from manually controlling individual smart devices to orchestrating a fully automated home requires a deep understanding of scenes, routines, and schedules. While purchasing the right hardware is the first step, the true magic of a smart home lies in the software configuration. According to the Consumer Reports Smart Home Guide, user frustration predominantly stems from poorly configured automations that suffer from latency, conflicting triggers, or cloud-dependency failures. This comprehensive setup guide will walk you through the technical nuances of configuring robust smart home routines across major ecosystems, ensuring your devices react seamlessly to your lifestyle.
Defining the Core Concepts: Scenes vs. Routines vs. Schedules
Before diving into hub configuration, it is critical to distinguish between the three pillars of smart home automation. Mixing these up often leads to bloated logic trees and unresponsive devices.
- Scenes: A scene is a static snapshot of device states. For example, a 'Movie Night' scene might dim your Philips Hue White Ambiance bulbs to 20%, close your Lutron Serena shades, and set your Ecobee SmartThermostat to 71°F. Scenes do not have triggers; they are executed on demand via voice, app, or physical smart switch.
- Routines (Automations): A routine is a dynamic sequence of actions triggered by a specific event. This event could be a motion sensor detecting movement, a door contact sensor opening, or a geofence boundary being crossed. Routines utilize 'If This, Then That' (IFTTT) logic.
- Schedules: Schedules are time-based routines. They rely on an internal clock or astronomical data (sunrise/sunset) to execute scenes or toggle devices. Schedules are highly reliable but lack the contextual awareness of sensor-driven routines.
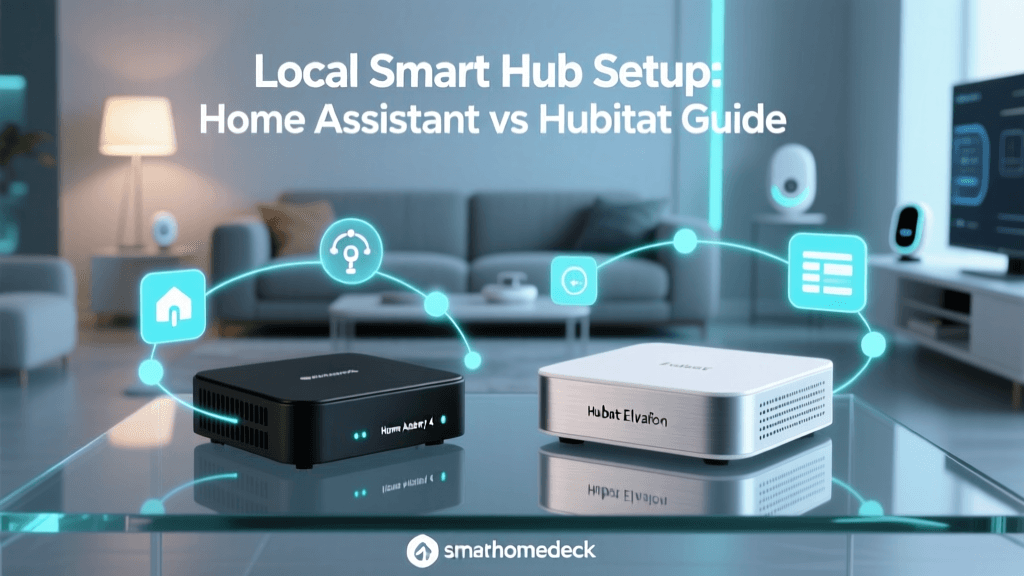
Ecosystem Capabilities and Hub Selection
The ecosystem you choose dictates the complexity and reliability of your routines. While cloud-based systems like Amazon Alexa and Google Home offer broad compatibility, local hubs provide superior speed and reliability. Below is a comparison of routine capabilities across the top platforms.
| Ecosystem | Max Actions per Routine | Local Execution Support | Geofencing Radius | Estimated Hub Cost |
|---|---|---|---|---|
| Apple HomeKit | Unlimited | Yes (via HomePod/Apple TV) | 100m - 250m | $99 - $199 |
| Hubitat Elevation | Unlimited (Rule Machine) | Yes (Native Local) | Custom (via App) | $150 |
| Amazon Alexa | ~15 (Varies by device) | Limited (Matter/Zigbee) | 150m (Fixed) | $30 - $150 |
| Google Home | ~10 (Varies by device) | Limited (Matter/Thread) | 150m (Fixed) | $50 - $130 |
| Home Assistant | Unlimited (YAML/UI) | Yes (Native Local) | Custom (via Zones) | $60 - $150 |
Step-by-Step Scene Configuration Best Practices
When setting up scenes, particularly in ecosystems like Apple HomeKit or Hubitat, naming conventions and state definitions are paramount. Voice assistants rely on natural language processing (NLP) to parse your commands. If your scene names conflict with device names, the assistant will fail to execute the routine.
1. Standardize Your Naming Convention
Use action-oriented or atmospheric names for scenes, and location-oriented names for devices. For instance, name your scene 'Good Morning' and your device 'Kitchen Lights'. Never name a scene 'Kitchen', as saying 'Turn on Kitchen' will confuse the NLP engine regarding whether to toggle the room's main relay or trigger a multi-device scene.
2. Define Explicit Fallback States
A common mistake in scene creation is only defining the 'On' state. If you have a 'Goodnight' scene, ensure it explicitly commands smart plugs to turn off, rather than relying on their current state. In the Home Assistant Automation Documentation, experts recommend explicitly defining the state of every entity in a scene payload to prevent 'ghost states' where a device fails to receive an 'off' command due to a momentary mesh network dropout.
Advanced Triggers: Calibrating Sensors and Geofencing
Routines are only as smart as the triggers that initiate them. Configuring physical sensors and virtual geofences requires precise calibration to avoid false positives, such as your 'Arrive Home' routine triggering while you are merely driving past your street.
Motion and Lux Sensor Calibration
When configuring a routine to turn on lights based on motion, relying solely on a PIR (Passive Infrared) motion sensor is insufficient. You must incorporate a Lux (illuminance) sensor to prevent lights from turning on during a bright sunny day.
Setup Tip: Mount your Aeotec MultiSensor 7 or Philips Hue Motion Sensor at a height of 6 to 8 feet, angled slightly downward. In your routine logic, set the condition: 'If motion is detected AND lux level is below 40 lux, then turn on lights.' This 40-lux threshold mimics the ambient light level of dusk, ensuring natural automation.
Optimizing Geofencing Boundaries
Geofencing uses your smartphone's GPS and Wi-Fi radios to trigger routines when you enter or leave a virtual perimeter. Apple HomeKit and Hubitat allow for more granular control over these boundaries than Alexa.
Setup Tip: Set your 'Leave Home' geofence radius to at least 150 meters (roughly 500 feet). This prevents the routine from triggering if you are simply walking your dog or taking out the trash. For the 'Arrive Home' routine, pair the geofence with a secondary trigger, such as your car connecting to your home Wi-Fi network or a license plate recognition camera (like the Reolink Lumus), to achieve near-zero latency upon pulling into the driveway.
Cloud vs. Local Execution: The Latency Factor
One of the most critical aspects of routine configuration is understanding where the logic is processed. Cloud-dependent routines (common with Wi-Fi devices like TP-Link Kasa or Wyze) send the trigger signal to an external server, which then sends the command back to your device. This introduces latency and a single point of failure if your internet goes down.
Local execution, facilitated by hubs like the Hubitat Elevation, Apple TV 4K, or a Raspberry Pi running Home Assistant, processes the logic entirely within your home's LAN. The Connectivity Standards Alliance (CSA) emphasizes that local protocols like Thread and Matter over Ethernet/Wi-Fi are designed specifically to eliminate cloud latency and improve mesh reliability.
As visualized above, local protocols like Thread and Zigbee execute routines in under 150 milliseconds, providing an instant, tactile response that mimics traditional wired switches. When configuring your hub, always prioritize local execution for high-traffic routines like bathroom lighting or hallway motion sensors.
Network Infrastructure for Reliable Schedules
Your smart home routines will inevitably fail if your underlying network infrastructure is poorly configured. Smart devices, particularly those using Wi-Fi, are highly sensitive to IP conflicts and router reboots.
1. Implement Static IP Addresses or DHCP Reservations
Every smart plug, bulb, and hub on your network must have a reserved IP address in your router's DHCP settings. If a router reboots and assigns a new IP to your smart hub, the local API endpoints used by Home Assistant or Hubitat will break, causing all associated routines to fail silently.
2. Separate Your IoT Traffic via VLANs
Wi-Fi smart devices (like Shelly relays or Sonoff switches) often generate excessive broadcast traffic, which can congest your main network and delay routine execution. Configure a dedicated 2.4GHz SSID or a separate VLAN (Virtual Local Area Network) exclusively for IoT devices. Ensure that your smart hub (e.g., Samsung SmartThings Station or Apple HomePod) has routing access to this VLAN to maintain communication with the devices.
Troubleshooting Common Routine Failures
Even with meticulous setup, routines can degrade over time. Here is a structured troubleshooting checklist for when your automations stop firing:
- Check Device Polling Intervals: Battery-powered Z-Wave or Zigbee sensors sleep to conserve energy. If a door sensor routine is failing, check the device's 'wake interval' in your hub's advanced settings. Forcing a shorter polling interval will increase reliability but decrease battery life.
- Verify Firmware Updates: A background firmware update on a smart bulb can temporarily drop it from the mesh network, causing a scene to partially execute. Schedule hub and device firmware updates for 3:00 AM via your hub's maintenance settings to avoid disrupting daytime routines.
- Resolve Conflicting Automations: If a light turns on via motion but immediately turns off, you likely have a conflicting schedule or a secondary 'turn off' routine with a timer that is overriding the motion sensor. Use your hub's 'Event Log' or 'History' tab to trace the exact command that altered the device state.
- Test Mesh Network Health: In Zigbee and Z-Wave networks, mains-powered devices act as routers. If you unplug a smart lamp that was acting as a repeater, battery-powered sensors at the edge of your home may lose connection, causing their triggers to fail. Map your mesh network using tools like Z-Wave JS UI or Zigbee2MQTT to ensure adequate repeater coverage.
Expert Tips for Seamless Whole-Home Automation
To elevate your setup from a collection of gadgets to a cohesive smart home, consider implementing 'Adaptive Lighting' and 'Presence Simulation'.
Pro Tip: Instead of creating static schedules for your lights, configure an Adaptive Lighting routine. Using platforms like Home Assistant or the Hue app, this routine dynamically adjusts the color temperature of your bulbs from a cool 5000K in the morning to a warm 2200K in the evening, aligning with your circadian rhythm without requiring manual schedule adjustments throughout the year.
Furthermore, when setting up 'Away' or 'Vacation' routines, avoid using fixed schedules to toggle lights, as this creates predictable patterns that are easily identifiable from the street. Instead, use 'Presence Simulation' features available in Hubitat and Alexa, which record your actual lighting usage over a week and replay it with randomized offsets while you are on vacation.
Summary and Next Steps
Mastering scene routine and schedule creation is an iterative process. Begin by migrating your most critical, high-traffic automations (like entryway lighting and thermostat schedules) to a local hub to eliminate cloud latency. Standardize your naming conventions, calibrate your sensor thresholds, and fortify your network infrastructure with static IPs. By understanding the distinct roles of scenes, routines, and schedules, and by leveraging the advanced logic capabilities of platforms like HomeKit and Hubitat, you can build a smart home that is not just connected, but truly intelligent and responsive to your daily life.