The Era of App Fatigue in Smart Home Setup
When you first dip your toes into home automation, the experience is usually thrilling. You buy a smart bulb, download the manufacturer's app, and marvel at the ability to change its color from your phone. Then you add a smart plug, a thermostat, a video doorbell, and a robotic vacuum. Before you know it, you are juggling eight different applications just to turn off the lights and lock the front door. This phenomenon, widely known as 'app fatigue,' is the single biggest barrier to achieving a truly seamless smart home experience. Fragmentation leads to slow load times, inconsistent user interfaces, and a heavy reliance on cloud servers that can fail or shut down without warning.
To solve this, advanced DIY installers and homeowners are migrating away from native cloud apps and consolidating their devices under a single, local smart home controller. By utilizing platforms like Home Assistant, Hubitat, or Apple Home, paired with modern app configuration techniques, you can unify Zigbee, Z-Wave, Wi-Fi, and Matter devices into one cohesive dashboard. This guide will walk you through the hardware selection, installation, app configuration, and network troubleshooting required to build a robust, unified smart home controller setup.
Why Local Control and Unified Apps Matter
The primary argument for moving to a unified local controller is reliability and speed. Cloud-dependent apps must send your command from your phone to a remote server, which then relays the signal back to your home router and finally to the device. This introduces significant latency and creates a single point of failure: if your internet goes down, or if the manufacturer's cloud servers experience an outage, your home automation is rendered useless.
Beyond convenience, security and privacy are paramount. According to the National Institute of Standards and Technology (NIST), IoT devices that rely heavily on cloud communication increase the attack surface of a home network. By keeping command execution local, you minimize data exposure and ensure that your home's security systems, smart locks, and lighting routines function independently of external internet connectivity. A unified app connected to a local hub acts as the single pane of glass for your entire home, drastically reducing the number of third-party accounts and cloud endpoints you must manage.
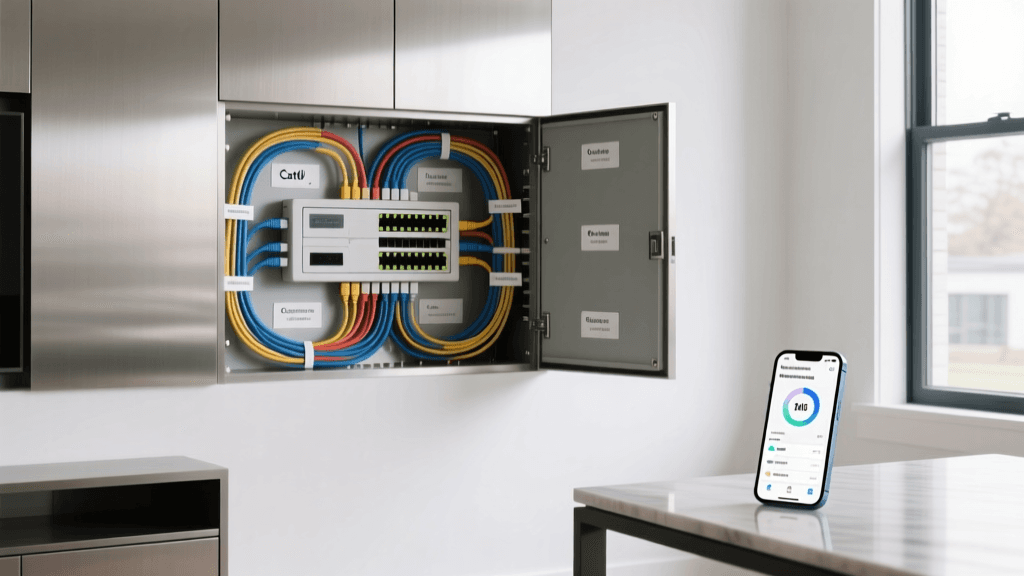
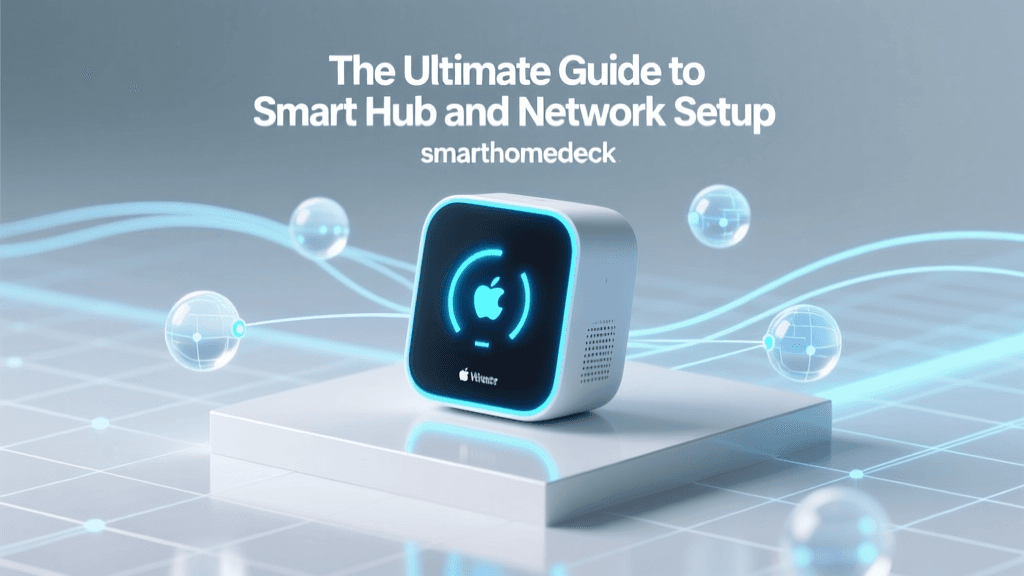
Choosing the Right Unified Controller Hardware
Before you can configure your unified app, you need the right hardware brain to run the automation engine. The market offers several excellent options, ranging from plug-and-play consumer hubs to highly customizable mini-PCs. Below is a comparison of the most popular local controllers for app consolidation.
| Controller Platform | Estimated Cost | Protocol Support | Best For |
|---|---|---|---|
| Home Assistant Green | $99 - $120 | Wi-Fi, Zigbee, Thread, Matter | Plug-and-play local control |
| Home Assistant (Intel NUC/Mini PC) | $150 - $250 | Universal (via USB dongles) | Power users, heavy Docker use |
| Hubitat Elevation Hub | $150 - $180 | Zigbee, Z-Wave, LAN, Matter | Rule machine automation, Z-Wave |
| Apple HomePod (3rd Gen) | $299 | Thread, Matter, Wi-Fi, HomeKit | Strict Apple ecosystem users |
For the purpose of this guide, we will focus on the Home Assistant ecosystem, as it offers the most robust app configuration options, the widest device compatibility, and the most active development community. Whether you choose the dedicated Home Assistant Green appliance or repurpose an old Dell Micro PC, the software experience remains identical.
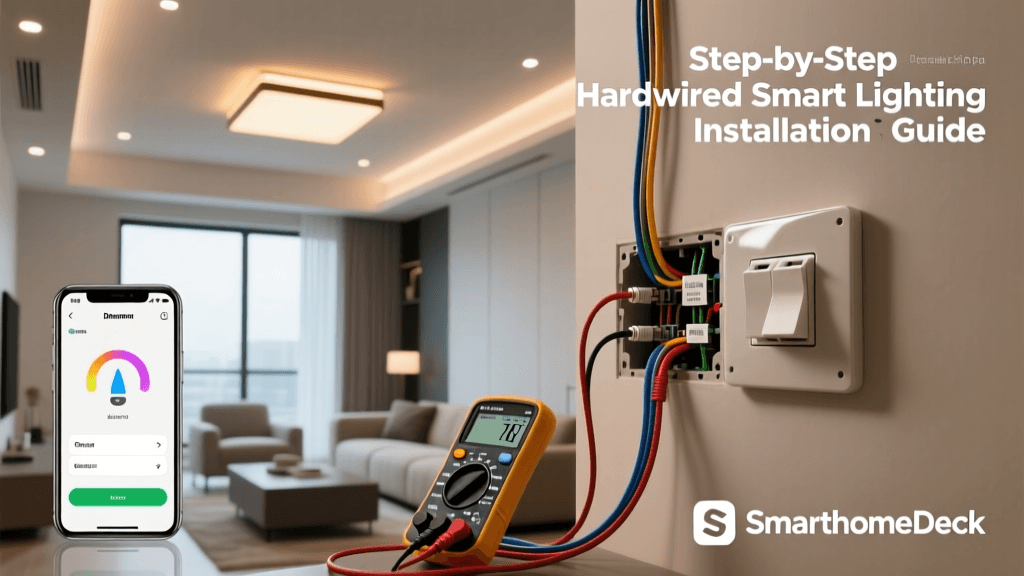
Step-by-Step Controller Installation
Setting up the controller is the foundational step before any app configuration can begin. If you are using a dedicated appliance like the Home Assistant Green, the process is nearly effortless. However, if you are installing it on a generic Mini PC or a Raspberry Pi 4/5, you will need to flash the operating system manually.
1. Flashing the OS and Initial Boot
According to the Home Assistant Official Installation Guide, the recommended method for generic x86-64 hardware is to use the Home Assistant OS (HAOS). Download the appropriate image from the official site and use a tool like BalenaEtcher to flash it to an internal SSD or a high-endurance microSD card. Insert the drive into your hardware, connect an Ethernet cable directly to your primary router, and power it on.
2. Network Discovery and Onboarding
Within two to five minutes, the controller will boot and broadcast its presence on your local network using mDNS (Multicast DNS). On your computer or smartphone, open a web browser and navigate to http://homeassistant.local:8123. You will be greeted by the onboarding wizard. Create your primary administrator account, set your home location (crucial for sun-based automations and presence tracking), and select your preferred currency and unit system.
3. Adding Integrations
Once inside the web UI, navigate to Settings > Devices & Services. Here, the controller will automatically discover hundreds of devices on your network, from Philips Hue bridges to Sonos speakers and smart TVs. Click 'Configure' on each discovered integration to link them to your local hub. For devices that require cloud polling (like Ecobee thermostats or Roborock vacuums), you will be prompted to authenticate via OAuth, but all subsequent commands will be routed locally whenever possible.
Visualizing Local vs. Cloud Latency
One of the most immediate benefits you will notice after migrating to a unified local controller is the elimination of input lag. The chart below illustrates the average execution latency (the time between tapping a button in the app and the physical device responding) across different smart home architectures.
Smart Home Command Latency Comparison
As the data shows, direct LAN control and local Matter/Thread execution provide near-instantaneous feedback, making the app feel like a native extension of your home's physical wiring rather than a remote control bouncing signals off a satellite.
Companion App Configuration and Remote Access
With the server running, the next phase is configuring the mobile application. The Home Assistant Companion App (available on iOS and Android) is a masterclass in unified app configuration, offering deep integration with your phone's native sensors.
Local vs. Remote Connectivity
When you are connected to your home Wi-Fi, the app connects directly to the local IP address of your controller. However, to control your home while away, you need a secure remote connection method. You have two primary options:
- Nabu Casa (Official Cloud): For a monthly subscription (around $6.50/month), Nabu Casa provides a secure, zero-configuration remote tunnel. It also directly funds the development of the open-source project.
- Cloudflare Tunnels: For advanced users willing to manage DNS records, Cloudflare Tunnels offer a free, highly secure way to expose your local instance to the web without opening ports on your router.
Exposing Phone Sensors to the Controller
The true power of the companion app lies in its sensor integration. During app setup, grant permissions for location, motion, battery state, and network connection. This turns your smartphone into a universal presence sensor. You can configure automations that trigger when your phone connects to your car's Bluetooth, or when your battery drops below 20%, automatically turning on the home office lights and sending a notification to your smart speaker.
Designing the Unified Dashboard
The default auto-generated dashboard is functional but cluttered. To achieve a premium, unified app experience, you must configure a custom Lovelace dashboard. The modern approach to dashboard design utilizes custom frontend repositories like HACS (Home Assistant Community Store).
Mushroom Cards and Layouts
Install the 'Mushroom' custom card repository via HACS. Mushroom cards provide a clean, Apple HomeKit-inspired aesthetic with rounded corners, intuitive sliders, and color-coded icons. Group your devices by logical zones rather than device types. For example, create a 'Living Room' view containing the media player, lighting, and climate controls, rather than separating them into 'Lights' and 'Media' tabs.
Use the 'Grid' and 'Horizontal Stack' cards to organize controls. For lighting, utilize the custom:light-popup-card to allow users to adjust brightness and color temperature via a sleek radial slider directly from the main dashboard view, reducing the number of taps required to execute common commands.
Integrating Matter and Thread Devices
The introduction of the Matter standard has revolutionized how unified controllers interact with modern hardware. According to the Connectivity Standards Alliance (CSA), Matter provides a universal language for smart home devices, ensuring that a smart plug purchased from one brand will seamlessly integrate with a controller from another, provided both support the standard.
Setting Up a Thread Border Router
Matter devices frequently rely on Thread, a low-power, mesh networking protocol. To configure Thread devices in your app, your controller must act as a Thread Border Router. If you are using a Home Assistant SkyConnect or Connect ZBT-1 USB dongle, enable the 'Thread' integration in the settings. This allows the controller to manage the Thread mesh network, bridging the low-power device signals directly onto your home's Ethernet/Wi-Fi network for the app to process.
Commissioning Matter Devices
To add a Matter device, open your unified mobile app, navigate to 'Add Device', and select 'Scan QR Code'. Point your phone's camera at the Matter setup code on the device or its packaging. The app will securely commission the device onto your local Thread or Wi-Fi network, bypassing the need to download the manufacturer's proprietary app entirely.
Troubleshooting Network and Sync Issues
Consolidating dozens of devices into a single app controller places a heavy burden on your home network. If your app shows devices as 'unavailable' or automations fail to trigger, the issue is almost always network-related.
mDNS and Network Isolation
Local controllers rely heavily on mDNS (Multicast DNS) to discover devices like Chromecasts, Sonos speakers, and Apple TVs. If you have placed your IoT devices on a separate VLAN (Virtual Local Area Network) for security, mDNS broadcasts will be blocked by default. You must configure an mDNS reflector (such as Avahi or the mDNS repeater in pfSense/OPNsense) to allow discovery packets to cross from the IoT VLAN to the controller's VLAN.
IGMP Snooping and Wi-Fi Congestion
Smart home hubs and controllers constantly poll devices and listen for state changes. If your Wi-Fi router does not have IGMP Snooping properly configured, multicast traffic from devices like Hue Bridges or smart displays will flood the wireless spectrum, causing severe congestion and app timeouts. Access your router's admin panel and ensure IGMP Snooping is enabled, and consider setting the multicast rate to 24Mbps to optimize wireless airtime for IoT telemetry.
Conclusion
Transitioning from a chaotic web of native applications to a unified smart home controller is one of the most rewarding upgrades a DIY installer can undertake. By investing in local hardware like the Home Assistant Green, carefully configuring the companion app, designing an intuitive dashboard, and optimizing your network for Matter and Thread, you reclaim ownership of your home's automation. The result is a blazing-fast, highly secure, and beautifully unified app experience that finally makes your home feel truly intelligent.