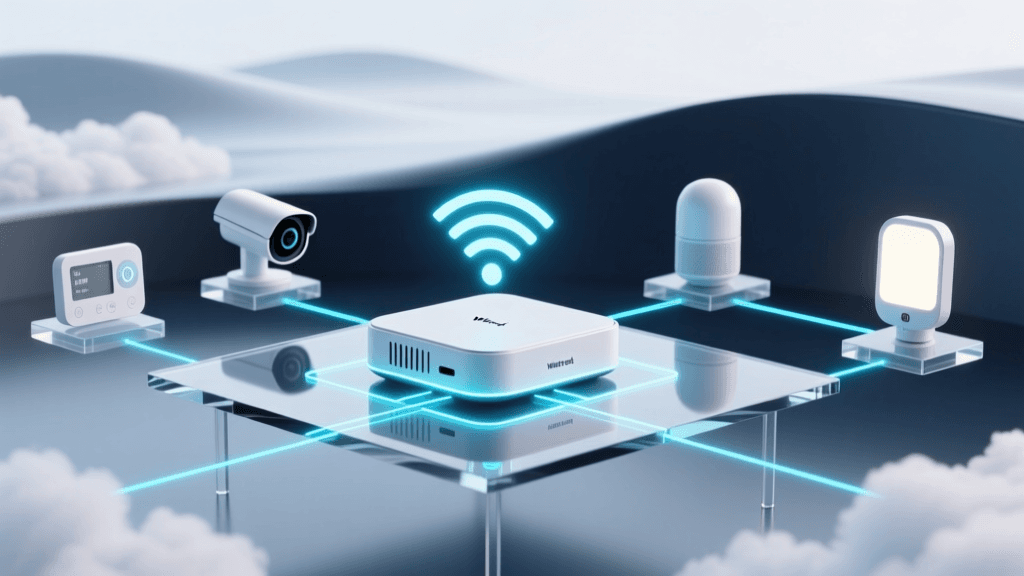
Introduction to Universal Hub Bridging
The modern smart home is a complex ecosystem of disparate protocols. While Wi-Fi and Bluetooth dominate consumer electronics, the backbone of reliable, low-latency home automation relies on mesh networking protocols like Zigbee, Z-Wave, and the emerging Thread standard (which powers Matter). Relying on individual manufacturer hubs for each protocol creates a fragmented, slow, and unreliable network. This is where a universal smart home hub bridge becomes essential.
A universal hub consolidates these radios into a single point of control, allowing for local processing, complex cross-protocol automations, and reduced cloud dependency. According to the Connectivity Standards Alliance, the transition toward Matter over Thread aims to unify these ecosystems, but legacy Zigbee and Z-Wave devices will remain in our homes for decades. Bridging these networks effectively requires careful hardware selection, strategic physical placement, and rigorous network segmentation.
In this comprehensive guide, we will walk through the exact steps to configure a universal hub bridge, optimize your local network architecture for IoT traffic, and eliminate the most common radio frequency bottlenecks that plague DIY smart home installers.
Choosing the Right Universal Hub Hardware
Before configuring your network, you must select the right bridge hardware. The market offers several powerful options, each catering to different levels of technical expertise and automation complexity.
| Hub Model | Protocols Supported | Local Processing | Approx. Cost | Best For |
|---|---|---|---|---|
| Hubitat Elevation C-8 | Zigbee 3.0, Z-Wave 800, Thread | 100% Local | $160 | Advanced rule-based automation without cloud reliance. |
| Home Assistant Green + Connect ZBT-1 | Zigbee, Thread (Matter via addons) | 100% Local | $130 (Bundle) | Open-source enthusiasts and deep API integrations. |
| Samsung SmartThings Station | Zigbee, Thread, Matter, Wi-Fi | Hybrid (Cloud/Edge) | $70 | Beginners wanting native Matter support and easy setup. |
| Homey Pro | Zigbee, Z-Wave, Matter, 433MHz, IR | Local Edge | $399 | Multi-protocol homes requiring infrared and RF bridging. |
For a robust, bridge-focused setup that handles heavy Zigbee and Z-Wave meshes while maintaining local API access for bridging to secondary systems, the Hubitat Elevation C-8 or a Home Assistant instance with dedicated USB coordinators are the industry standards.
Network Architecture: Segregating Your IoT Traffic
One of the most critical mistakes in smart home setup is placing IoT devices on the same primary Wi-Fi network as your personal computers, smartphones, and NAS drives. IoT devices are notoriously vulnerable to firmware exploits and often lack robust encryption. The Cybersecurity and Infrastructure Security Agency (CISA) strongly recommends isolating IoT devices to prevent lateral movement in the event of a compromised smart bulb or plug.
Setting Up an IoT VLAN or Dedicated SSID
If your router supports Virtual Local Area Networks (VLANs), create a dedicated 'IoT VLAN'. This restricts IoT devices from initiating connections to your main network. However, this introduces a discovery challenge: protocols like Apple HomeKit, Chromecast, and local Matter discovery rely on mDNS (Multicast DNS), which does not cross VLAN boundaries by default.
- Step 1: Create an IoT VLAN and assign it a dedicated 2.4GHz-only SSID (e.g., 'SmartHome-IoT').
- Step 2: Configure firewall rules to block the IoT VLAN from accessing the 'LAN' (your primary network) and the WAN (the internet), except for specific whitelisted IP addresses required for cloud-based devices.
- Step 3: Enable an mDNS reflector or repeater on your router (available in pfSense, OPNsense, and Ubiquiti UniFi gateways) so your primary network devices can still discover and control IoT devices across the VLAN boundary.
By segregating your network, your universal hub (which should reside on your primary, secure LAN) will communicate with Wi-Fi-based IoT devices via the cloud or local API, while your Zigbee, Z-Wave, and Thread radios operate entirely independently of your Wi-Fi congestion.
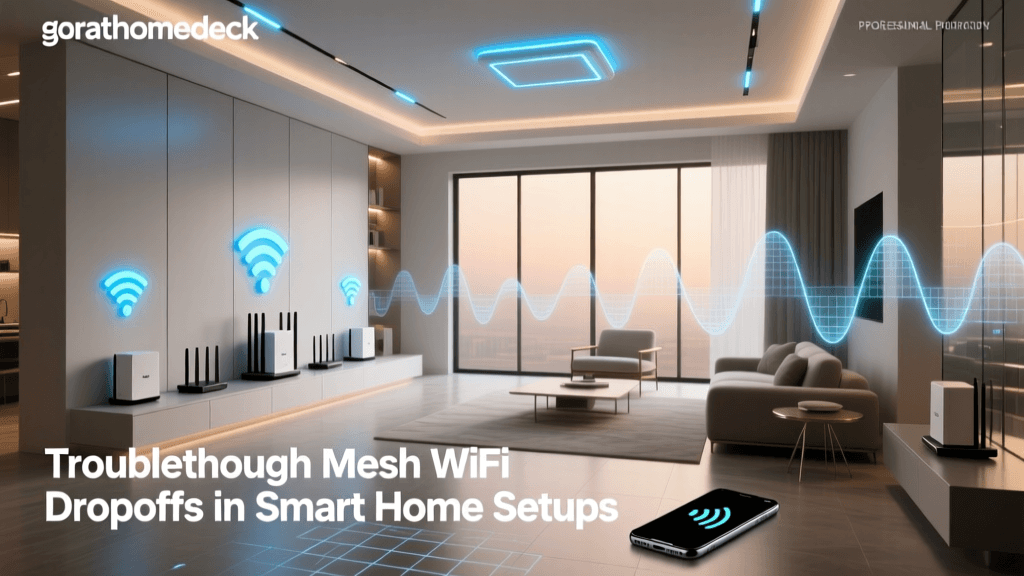
The 2.4GHz Spectrum War: Wi-Fi vs. Zigbee Channels
Both Wi-Fi and Zigbee operate in the crowded 2.4GHz spectrum. If your Wi-Fi router and your Zigbee hub are broadcasting on overlapping frequencies, your smart home mesh will experience severe packet loss, resulting in delayed automations and 'ghost' device drop-offs.
Wi-Fi typically uses channels 1, 6, and 11, which are 22MHz wide. Zigbee uses 5MHz wide channels. To achieve a harmonious network setup, you must manually assign your channels to avoid overlap.
Pro-Tip: Lock your primary Wi-Fi router to Channel 1 or Channel 6. Then, configure your Zigbee hub to use Channel 15, 20, or 25. This ensures the Zigbee mesh operates in the 'dead space' between Wi-Fi channels, virtually eliminating radio interference.
Furthermore, the National Institute of Standards and Technology (NIST) emphasizes that securing and managing the physical layer of IoT communications is just as vital as network segmentation, as localized RF jamming or interference can mimic denial-of-service conditions in automated security systems.
Step-by-Step Hub Bridge Configuration
With your network segmented and channels planned, it is time to physically configure the hub and bridge your devices.
1. Physical Placement and the USB 3.0 Interference Rule
If you are using a Home Assistant setup with a USB Zigbee/Thread coordinator (like the Sonoff ZBDongle-E or Home Assistant Connect ZBT-1), never plug the dongle directly into the server or Raspberry Pi. USB 3.0 ports and data cables emit massive amounts of 2.4GHz radio frequency noise, which will effectively deafen your Zigbee coordinator. Always use a shielded, 6-foot USB 2.0 extension cable to place the coordinator away from the server chassis and at an elevated position in the center of your home.
2. Building the Mesh: Pairing Strategy
When pairing devices to your new universal hub, the order of operations dictates the health of your mesh network. Zigbee and Z-Wave rely on 'router' devices (mains-powered plugs, switches, and bulbs) to repeat the signal for 'end devices' (battery-powered sensors).
- Phase 1: Pair all mains-powered router devices first, starting from the hub and working outward to the edges of your home.
- Phase 2: Allow 24 hours for the mesh routing tables to stabilize and optimize.
- Phase 3: Pair battery-powered end devices in their final physical locations, ensuring they connect through the nearest router rather than attempting a weak, direct connection to the main hub.
3. Bridging Matter over Thread
Thread devices require a 'Border Router' to bridge the 802.15.4 Thread mesh to your IP network (Wi-Fi/Ethernet). Devices like the Apple TV 4K, Nest Hub Max, and newer SmartThings stations act as Thread Border Routers. If you are using Home Assistant, you can install the 'Open Thread Border Router' add-on, provided your coordinator supports Thread (like the ZBT-1). Once the border router is active, Matter devices can be commissioned via the hub's companion app and bridged locally without relying on external cloud servers.
Advanced Bridging: Connecting Multiple Hubs via API
In large or complex installations, a single hub may not suffice. You might use a Hubitat for ultra-fast, local Zigbee lighting automations, while using Home Assistant for complex dashboards, media control, and AI integrations. Bridging these two hubs allows them to act as a single, unified brain.
Using HubConnect or Maker API
To bridge a Hubitat to Home Assistant:
- On the Hubitat, install the 'HubConnect' server application or enable the 'Maker API' app.
- Generate a secure API token and note the local IP address of the Hubitat.
- In Home Assistant, use the HACS (Home Assistant Community Store) to install the Hubitat integration.
- Input the IP and API token. Home Assistant will now pull all Zigbee and Z-Wave devices connected to the Hubitat into its own entity registry.
This bridge ensures that if your primary dashboard server reboots, the underlying Zigbee mesh and local automations on the secondary hub remain completely uninterrupted.
Troubleshooting Common Hub and Network Bottlenecks
Even with perfect configuration, environmental factors can degrade your smart home mesh. Here is how to diagnose and fix common issues:
Analyzing LQI and RSSI
Most universal hubs provide a 'Zigbee Map' or 'Z-Wave Mesh' diagnostic tool. Pay attention to two metrics:
- RSSI (Received Signal Strength Indicator): Measured in dBm. A reading between -40 dBm and -60 dBm is excellent. Anything worse than -80 dBm indicates the device is too far from a router and will likely drop offline.
- LQI (Link Quality Indicator): A scale from 0 to 255. An LQI below 50 means the mesh is experiencing heavy interference or packet loss, even if the RSSI looks strong. This usually points back to Wi-Fi channel overlap or USB 3.0 interference.
Resolving 'Ghost' Devices
If a device shows as 'offline' in your hub but is physically functioning, the mesh routing table may be corrupted. Do not immediately delete and re-pair the device. Instead, power cycle the nearest mains-powered Zigbee router. This forces the mesh network to recalculate its routing paths and often instantly reconnects the 'ghost' device to the hub bridge.
Conclusion
Setting up a universal smart home hub bridge is the definitive step in transitioning from a collection of gimmicky smart gadgets to a robust, reliable, and automated home. By carefully selecting your hub hardware, segregating your IoT traffic via VLANs, eliminating 2.4GHz spectrum overlap, and respecting the physical limitations of RF interference, you build a foundation that can support hundreds of devices. Whether you are integrating legacy Z-Wave locks or the newest Matter-over-Thread sensors, a properly configured hub bridge ensures your smart home remains fast, secure, and entirely under your local control.