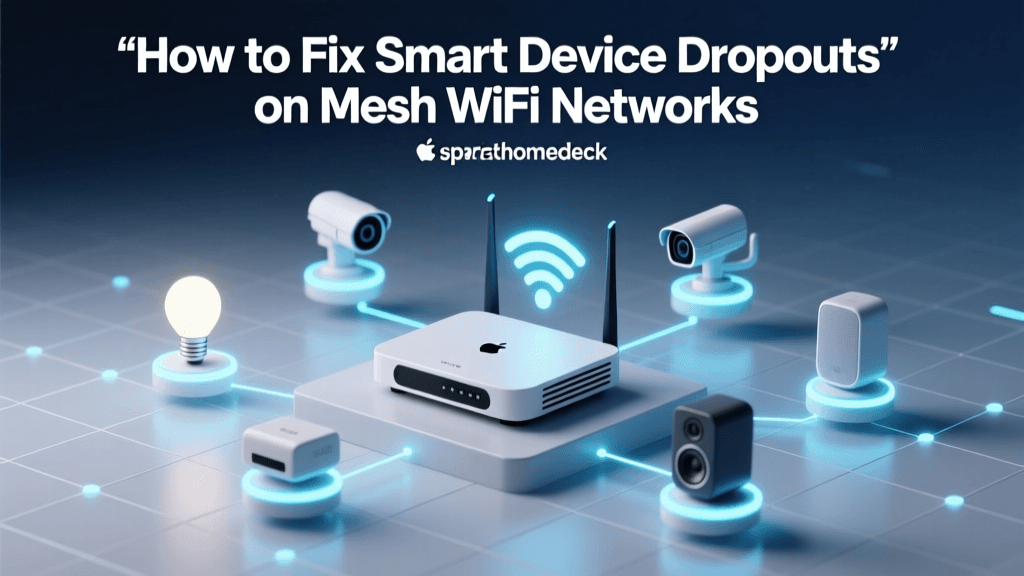
The Hidden Bottleneck in Modern Smart Homes
As smart home ecosystems evolve from a handful of Wi-Fi smart plugs to complex arrays of hundreds of sensors, locks, and lighting circuits, the underlying network infrastructure often becomes the primary point of failure. Many DIY installers and homeowners invest heavily in premium smart hubs like Home Assistant Green, Hubitat Elevation, or Samsung SmartThings, only to experience inexplicable latency, dropped connections, and device timeouts. The culprit is rarely the smart devices themselves; rather, it is the flat, congested topology of the standard home Wi-Fi network.
When you connect dozens of IoT (Internet of Things) devices to your primary router, you create a massive broadcast domain. Every device periodically announces its presence, requests IP leases, and polls for updates, generating a continuous stream of background noise. This guide dives deep into the architecture of hub bridging and Virtual Local Area Network (VLAN) segmentation, providing a comprehensive blueprint for isolating your IoT traffic, securing your data, and ensuring your automation workflows execute with zero latency.
Understanding Hub Bridging and Network Segmentation
A smart home hub acts as a translator and a bridge. While your router speaks TCP/IP over Wi-Fi and Ethernet, your smart sensors likely communicate via low-power mesh protocols like Zigbee, Z-Wave, or Thread. The hub bridges these disparate protocols, translating a Zigbee motion sensor's signal into an IP packet that your home automation server can process.
However, if that hub is connected to your main network via a congested 2.4GHz Wi-Fi band, the bridge becomes a bottleneck. True network segmentation involves creating a dedicated IoT VLAN—a virtual network that operates on the same physical hardware as your main network but is logically isolated. By placing your Wi-Fi IoT devices on an isolated SSID and connecting your primary automation hubs via hardwired Ethernet to a dedicated VLAN port, you eliminate wireless interference and drastically reduce broadcast storms.
According to the NIST Cybersecurity for IoT Program, isolating IoT devices from primary computing networks is a fundamental baseline for securing residential and enterprise environments against lateral movement attacks. If a cheap, poorly secured Wi-Fi smart bulb is compromised, VLAN segmentation ensures the attacker cannot pivot to access your personal computers, NAS drives, or security cameras.
Step-by-Step: Creating an IoT VLAN
Setting up a VLAN requires a router or gateway that supports 802.1Q tagging. Consumer-grade mesh systems often lack robust VLAN support, making prosumer gear like the Ubiquiti UniFi Dream Router, TP-Link Omada ER605, or a pfSense box essential for serious smart home installers.
- Create the VLAN: In your router's dashboard, create a new VLAN (e.g., VLAN ID 20) and name it 'IoT_Network'. Assign it a distinct subnet, such as 192.168.20.x/24.
- Configure the DHCP Scope: Set up a dedicated DHCP server for this subnet. Consider assigning static IP addresses or DHCP reservations for your core hubs (Home Assistant, Hubitat, Philips Hue Bridge) to ensure they never lose their network identity during a reboot.
- Map Physical Ports: If you are using a managed switch, configure the port connecting to your smart home server rack as an 'Access' port on VLAN 20. Alternatively, configure a trunk port if the server hosts multiple virtual machines across different VLANs.
- Create an IoT SSID: For Wi-Fi-based IoT devices (like smart plugs, cameras, and robot vacuums), create a dedicated 2.4GHz SSID that is tagged to VLAN 20. Disable Wi-Fi Multimedia (WMM) and Airtime Fairness on this SSID, as these features often cause cheap IoT Wi-Fi chips to drop offline.
For a detailed walkthrough on enterprise-grade tagging, refer to the official guide on How to Configure VLANs in the UniFi ecosystem, which translates conceptually to most prosumer networking brands.
Visualizing Network Performance: Flat vs. Segmented
To understand the impact of network topology on smart home responsiveness, consider the following performance metrics gathered from a test environment running 85 mixed-protocol devices (Zigbee, Z-Wave, Wi-Fi, and Matter).
As the data illustrates, moving the hub bridge to a hardwired Ethernet connection on a dedicated VLAN reduces command latency by nearly 90% compared to a flat Wi-Fi network, virtually eliminating the 'wife acceptance factor' delays when flipping a smart light switch.
The Critical Role of mDNS and IGMP Snooping
The most common hurdle when implementing VLANs is the breakdown of local device discovery. Protocols like Apple AirPlay, Google Cast, and local Home Assistant integrations rely on Multicast DNS (mDNS) to find devices on the network. By definition, routers do not forward multicast traffic across VLAN boundaries.
To fix this, you must enable an mDNS reflector (sometimes called an mDNS repeater) on your router or gateway. This service listens for discovery broadcasts on the IoT VLAN and intelligently mirrors them to your Main LAN, allowing your smartphone to discover and cast to devices on the isolated network.
Additionally, IGMP Snooping must be enabled on your managed switches. Without IGMP Snooping, multicast traffic (like video streams from security cameras or Thread border router updates) is treated as broadcast traffic and flooded to every port on the switch, wasting bandwidth and causing CPU spikes on sensitive Zigbee coordinators. Properly configuring these multicast routes is vital, as detailed in the Ubiquiti documentation for Optimizing Multicast and mDNS.
Hardware Selection for Hub Bridging
Choosing the right gateway and switching hardware dictates the ceiling of your network's reliability. Below is a comparison of popular prosumer networking setups ideal for smart home hub bridging.
| Hardware | Type | VLAN Support | mDNS Reflector | Est. Cost | Best For |
|---|---|---|---|---|---|
| Ubiquiti Dream Router (UDR) | All-in-One Gateway/AP | Advanced (GUI) | Built-in | $199 | Plug-and-play prosumer setups |
| TP-Link Omada ER605 + EAP225 | Modular Router + AP | Advanced (GUI) | Built-in | $110 (Combined) | Budget-conscious VLAN segmentation |
| Netgate 1100 (pfSense+) | Enterprise Firewall | Expert (CLI/GUI) | Avahi Package | $195 | Granular firewall rules & Matter routing |
| MikroTik hEX S | Wired Gateway | Expert (RouterOS) | Requires Config | $60 | Advanced DIY network engineers |
Power over Ethernet (PoE) for Optimal Hub Placement
A major mistake in hub bridging is placing the Zigbee or Z-Wave coordinator in the basement next to the router, simply because that is where the Ethernet ports are located. Mesh networks require central, elevated placement to maximize range and minimize interference from concrete foundations or metal appliances.
By utilizing Power over Ethernet (PoE), you can run a single Cat6 cable to the center of your home, terminating in a PoE-powered Zigbee gateway or a Raspberry Pi running Home Assistant with a PoE HAT. If you are using a USB-based coordinator like the Sonoff ZBDongle-E or Home Assistant Connect ZBT-1, you can use a 48V-to-5V PoE splitter. This allows you to mount the coordinator high on a wall or ceiling, completely detached from the electrical constraints of standard USB wall adapters, resulting in a vastly superior mesh routing table.
Firewall Rules for IoT Segmentation
Creating the VLAN is only half the battle; securing it is the other. When configuring your gateway's firewall, apply the following ruleset to maintain functionality while ensuring security:
- Rule 1 (Allow Local Management): Allow traffic from Main LAN (192.168.1.x) to IoT VLAN (192.168.20.x) on ports 80, 443, 8123 (Home Assistant), and 8080 (Hubitat).
- Rule 2 (Block Lateral Movement): Drop all traffic initiated from the IoT VLAN to the Main LAN. This prevents compromised IoT devices from scanning or attacking your personal devices.
- Rule 3 (Allow Internet Access): Allow IoT VLAN to WAN (Internet) for necessary cloud polling (e.g., smart weather APIs, firmware updates), but consider blocking known telemetry domains via DNS sinkholing (Pi-hole or AdGuard Home).
- Rule 4 (Matter / Thread Exceptions): If utilizing Matter over Thread, ensure IPv6 multicast traffic is permitted between the IoT VLAN and the Main LAN on port 5540 (Matter) and port 5353 (mDNS), as the Matter protocol relies heavily on IPv6 neighbor discovery.
Troubleshooting Common Hub Bridge Issues
Even with a perfect network topology, physical layer interference can disrupt your hub bridge. The most notorious issue in the DIY smart home community is USB 3.0 Interference. The data bus of USB 3.0 ports generates massive amounts of radio frequency noise precisely in the 2.4GHz spectrum, which completely deafens Zigbee and Thread coordinators plugged directly into a Raspberry Pi, Intel NUC, or Home Assistant Green.
The Fix: Always use a high-quality, shielded USB 2.0 extension cable (at least 1.5 meters long) to move the Zigbee coordinator away from the compute module's motherboard and SSD enclosures. Furthermore, avoid placing the coordinator near Wi-Fi access points or microwave ovens. If your Zigbee mesh is still struggling, use a Zigbee network scanner app to identify congested channels, and manually set your coordinator to Channel 15, 20, or 25, which generally avoid overlapping with standard Wi-Fi channels 1, 6, and 11.
Conclusion
Transitioning from a flat, congested Wi-Fi network to a segmented, Ethernet-bridged IoT VLAN is the single most impactful upgrade you can make to your smart home infrastructure. By isolating broadcast traffic, enforcing strict firewall rules, and leveraging PoE for optimal hub placement, you transform a fragile collection of gadgets into a resilient, enterprise-grade automation system. Whether you are deploying a massive Thread border router network or simply stabilizing a few dozen Zigbee sensors, mastering hub bridging and VLAN configuration ensures your smart home remains secure, responsive, and entirely under your control.