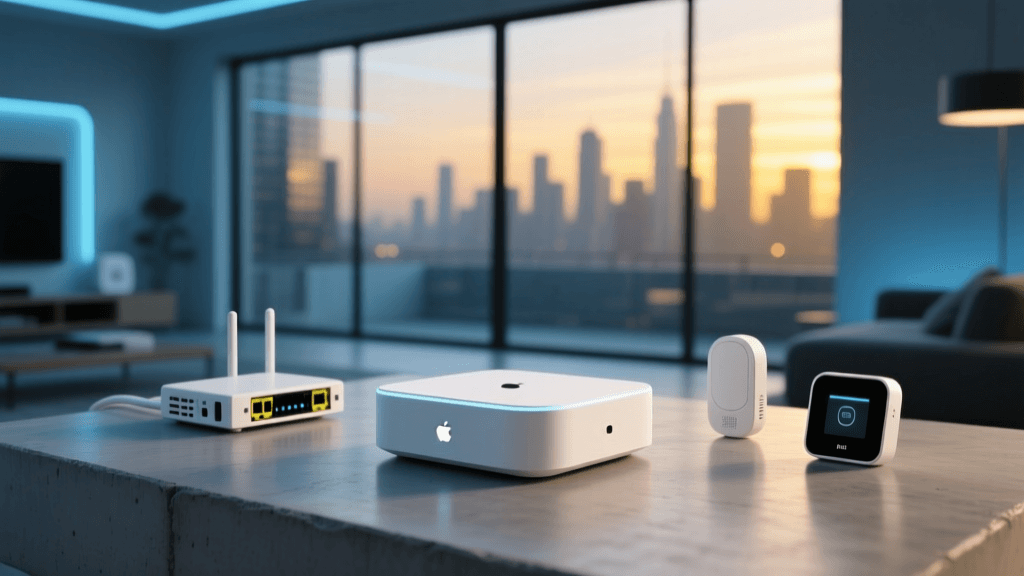
Introduction to Smart Hub Migration Upgrades
The smart home landscape is constantly evolving, and the central hub—the brain of your home automation system—is frequently due for an upgrade. Whether you are migrating away from a discontinued cloud-dependent platform like the Wink Hub, upgrading from the legacy SmartThings v2 Hub to the newer SmartThings Station, or transitioning to a local-processing powerhouse like Home Assistant or Hubitat, hub migration is a critical milestone. However, swapping out your primary controller is rarely as simple as plugging in a new device and transferring your account credentials. For DIY installers and advanced homeowners, the most significant hurdle during a smart home upgrade path is troubleshooting the inevitable mesh network drops that occur when the central coordinator changes.
When you remove an old hub and introduce a new one, your Zigbee, Z-Wave, and Thread mesh networks are thrown into a state of chaos. Devices lose their primary routing paths, security keys may fail to handshake, and network interference can cause cascading failures across your home. In this comprehensive guide, we will explore the technical anatomy of hub migration failures, provide actionable troubleshooting steps for unresponsive devices, and outline the best practices for ensuring your smart home upgrade path is as seamless as possible.
The Anatomy of a Hub Migration Failure
To effectively troubleshoot a failing smart home migration, you must first understand how mesh networks operate and why they break during a hub swap. Unlike Wi-Fi networks, where every device connects directly to a central router in a 'star' topology, Zigbee and Z-Wave rely on a 'mesh' topology. In a mesh network, mains-powered devices (like smart plugs, switches, and light bulbs) act as routers, repeating signals for battery-powered end devices (like motion sensors and door/window contacts) back to the central hub, known as the coordinator.
When you migrate to a new hub, the new coordinator possesses a different hardware MAC address, a different network security key, and potentially a different radio channel. Even if you attempt to clone the network settings from your old hub, slight variations in the radio environment or firmware versions can cause the existing mesh routing tables to become invalid. The devices attempt to send data to the old hub's routing paths, resulting in packet loss, delayed automations, and the dreaded 'unreachable' status in your smart home dashboard.
According to the Connectivity Standards Alliance (CSA), Zigbee networks are designed to be self-healing. However, this self-healing process relies on devices timing out their existing routes and actively scanning for new routers. If the new hub is placed on a different channel, or if the security keys do not match perfectly, the self-healing process will fail, leaving your devices stranded in a digital void.
Pre-Migration Checklist to Prevent Network Collapse
The best way to troubleshoot a migration is to prevent the most common errors before they happen. Before you unplug your legacy hub, complete this essential pre-migration checklist:
- Document Your Device Inventory: Export a list of all paired devices, including their IEEE MAC addresses (for Zigbee) and Node IDs (for Z-Wave). This will help you identify exactly which devices failed to migrate.
- Record Network Credentials: If your new hub supports network cloning (such as migrating from a SmartThings v2 to v3), ensure you have your exact Zigbee PAN ID, Extended PAN ID, Network Key, and Z-Wave Home ID and Network Key.
- Optimize Hub Placement: The new hub must be placed in a central, elevated location. Do not hide it inside a metal AV rack or behind a television, as this will severely degrade the initial mesh rebuilding process.
- Update Device Firmware: Prior to migration, ensure all smart switches and plugs are running the latest firmware. Outdated router firmware is a leading cause of mesh routing loops during a coordinator swap.
Troubleshooting Common Migration Errors
Despite careful planning, errors will occur. Below are the most frequent technical issues encountered during smart home hub upgrades and how to resolve them.
Z-Wave PAN ID and Home ID Conflicts
Z-Wave networks are identified by a Home ID and a PAN ID. When migrating to a new Z-Wave controller, such as a Zooz 800 Series Z-Wave USB stick running Z-Wave JS, the new stick must adopt the exact Home ID of the old controller. If the Home ID differs, every single Z-Wave device will reject the new controller's commands, viewing it as an unauthorized foreign network.
The Fix: If you are using Home Assistant, consult the official Home Assistant Z-Wave JS documentation to learn how to properly backup and restore your Z-Wave network NVM (Non-Volatile Memory). If an NVM restore fails, you may need to perform a factory reset on the Z-Wave stick and manually exclude and re-include your devices, starting with your mains-powered smart switches to rebuild the routing mesh first.
Zigbee Channel Interference and Mesh Rebuilding
Zigbee operates on the 2.4 GHz spectrum, sharing airspace with Wi-Fi, Bluetooth, and microwaves. If your old hub was operating on Zigbee Channel 15, but your new hub defaults to Channel 11, your existing Zigbee devices will not automatically jump to the new channel. Furthermore, if your new hub's Channel 11 overlaps with your home's 2.4 GHz Wi-Fi network, the resulting radio frequency interference (RFI) will cause severe packet loss. The Federal Communications Commission (FCC) provides extensive guidelines on how 2.4 GHz spectrum congestion can degrade wireless device performance, which is highly relevant when troubleshooting smart home dropouts.
The Fix: Use a Wi-Fi analyzer app on your smartphone to identify which 2.4 GHz channels are least congested. Then, configure your new Zigbee coordinator to use a non-overlapping Zigbee channel (Channels 15, 20, or 25 are generally recommended). If your devices are stuck on the old channel, you will need to perform a 'touchlink' reset or physically factory reset the stranded devices and re-pair them to the new coordinator.
Security Key Mismatches: S2 vs S0
Modern Z-Wave devices utilize S2 (Security 2) encryption, which requires a secure bootstrapping process involving QR codes or PINs. When migrating hubs, older controllers that only backed up the legacy S0 security keys will fail to control S2-secured smart locks and garage door openers on the new hub. The new hub will recognize the device exists on the network, but it will lack the cryptographic keys required to send unlock or open commands.
The Fix: Unfortunately, S2 security keys cannot always be seamlessly migrated via standard backup files due to strict encryption protocols. For S2 devices that fail to respond after a hub migration, you must physically exclude the device from the old network (or factory reset it) and re-include it into the new hub using the S2 bootstrapping process, ensuring you have the device's QR code or PIN handy.
Step-by-Step Recovery for Unresponsive Devices
When your migration is complete and you are left with a dashboard full of 'unreachable' devices, follow this systematic recovery protocol to restore your mesh network:
- Reboot the Coordinator: Restart your new hub to force it to broadcast a 'Permit Join' and network update beacon. This signals routers to refresh their neighbor tables.
- Power Cycle Mains-Powered Routers: Turn off the circuit breaker to your smart switches and smart plugs for 30 seconds, then turn them back on. This forces them to drop their stale routing tables and discover the new hub.
- Wake Battery-Powered Devices: Battery-powered sensors sleep to conserve energy. Press the tamper switch or inclusion button on your door/window sensors to wake them up and force them to send a 'Keep Alive' ping to the nearest router.
- Initiate a Network Heal: If your hub software supports it (such as Hubitat or Home Assistant Z-Wave JS), initiate a 'Network Heal'. This forces the hub to recalculate the most efficient routing paths to every node in the mesh based on the new radio environment.
Pro Tip: Never initiate a Z-Wave Network Heal immediately after a hub migration. Wait at least 24 hours to allow the mesh to naturally stabilize and for devices to organically discover their neighbors. Forcing a heal too early can result in suboptimal routing paths that cause long-term latency.
Migration Path Comparison: Cloud vs. Local Hubs
Choosing the right destination for your migration is just as important as the troubleshooting process. Below is a comparison of popular migration paths for advanced DIY installers.
| Feature | SmartThings Station (Cloud/Hybrid) | Hubitat Elevation (Local) | Home Assistant (Local) |
|---|---|---|---|
| Migration Difficulty | Low (Automated App Transfer) | Medium (HubProtect Backup) | High (Manual NVM / Re-pairing) |
| Zigbee Handling | Good (Limited Channel Control) | Excellent (Full Channel Control) | Excellent (via ZHA / Zigbee2MQTT) |
| Z-Wave Handling | Poor (Requires External Dongle) | Excellent (Built-in 800 Series) | Excellent (via Z-Wave JS UI) |
| Internet Dependency | High (Automations may fail offline) | None (100% Local Execution) | None (100% Local Execution) |
| Troubleshooting Tools | Limited (IDE/API access restricted) | Built-in Mesh Details Tables | Advanced (Wireshark, Sniffers) |
Visualizing Mesh Network Recovery Times
Different protocols recover from a hub migration at vastly different speeds. Understanding these timelines helps set expectations and prevents users from prematurely factory-resetting devices that are simply in the process of rebuilding their routing tables.
As the data illustrates, Z-Wave networks take the longest to heal. This is because Z-Wave uses source routing, meaning the hub must calculate and store the exact path to every device. Zigbee, on the other hand, uses distributed routing, allowing devices to dynamically find paths on the fly, resulting in much faster recovery times. Thread networks, built on IPv6, recover almost instantaneously due to their border router redundancy and modern mesh partitioning protocols.
Advanced Troubleshooting: Using Network Sniffers
When standard troubleshooting fails, advanced DIYers can turn to network packet sniffing to diagnose migration issues. By using a secondary USB dongle, such as the Sonoff Zigbee 3.0 USB Dongle Plus, flashed with packet sniffer firmware, you can monitor the raw 802.15.4 radio traffic in your home.
Using software like Wireshark, you can observe whether your stranded Zigbee devices are broadcasting 'Beacon Requests' (indicating they are searching for a network) or if they are sending encrypted data payloads to a PAN ID that your new hub is not recognizing. If you see a flood of Beacon Requests, your devices have been successfully factory reset but are failing to pair due to a full permit-join table or radio interference. If you see encrypted payloads failing to decrypt, you have a network key mismatch, confirming that the devices are still loyal to your old, unplugged hub.
Conclusion
Migrating your smart home hub is a powerful way to unlock local processing, improve privacy, and integrate advanced automation workflows. However, the transition requires a deep understanding of mesh network topologies, security protocols, and radio frequency management. By preparing your network credentials, carefully managing Zigbee channels and Z-Wave S2 security keys, and utilizing systematic recovery protocols, you can troubleshoot through the inevitable network drops and emerge with a stronger, more resilient smart home ecosystem. Remember that patience is your best tool; allowing your mesh networks the necessary time to self-heal will save you hours of unnecessary factory resets and re-pairing sessions.